Easy Tiramisu Cake
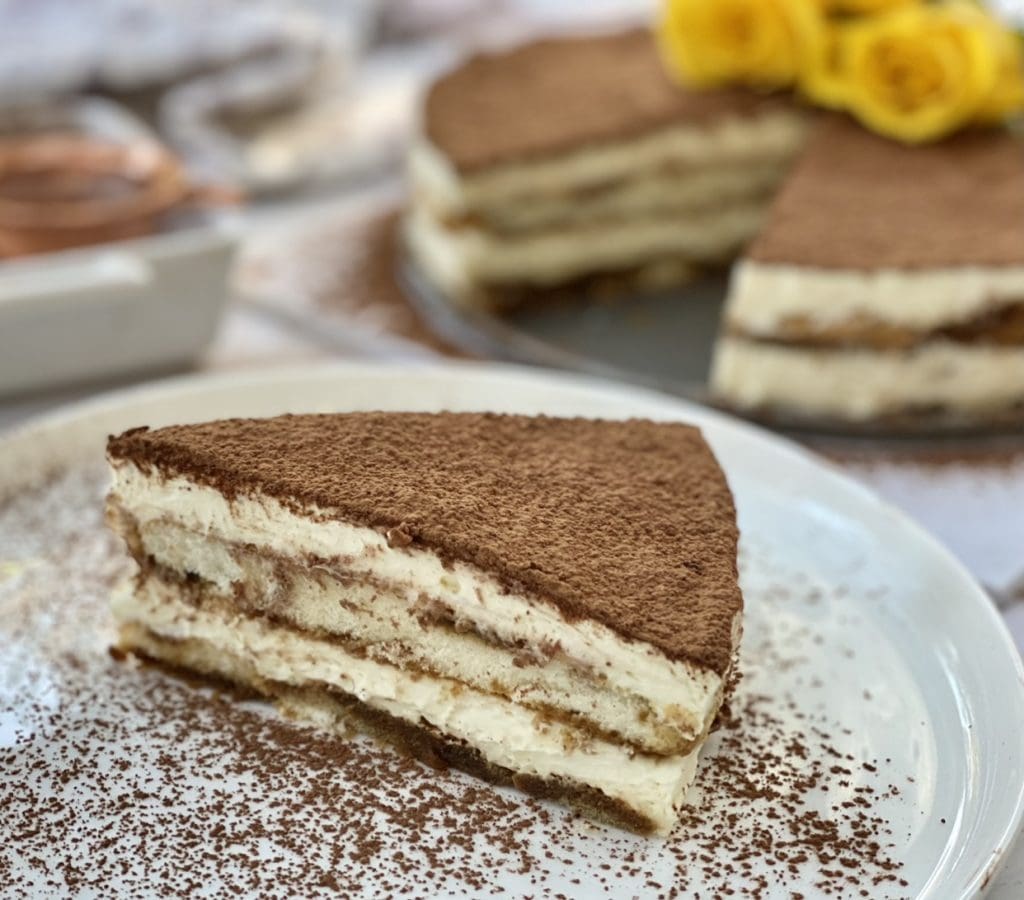
This Easy Tiramisu Cake will take you less than 15 minutes to whip up. It’s beautiful, so tasty and freezes really well!
Quick and Easy Tiramisu Cake
Tiramisu is one of my sister’s favourite cakes. If it’s on the menu, Nara would most likely order it. I enjoy tiramisu too, but unlike Nara, I’m reluctant to order it because I‘m picky about my tiramisu.
I know traditional Italian tiramisu uses eggs rather than cream with mascarpone, but I’m a cream hog. Give me a large bowl of sweet vanilla whipped cream and I’ll be the happiest person in the world! This may be a little controversial and I feel bad about saying this, but I prefer cream tiramisu to the egg version.
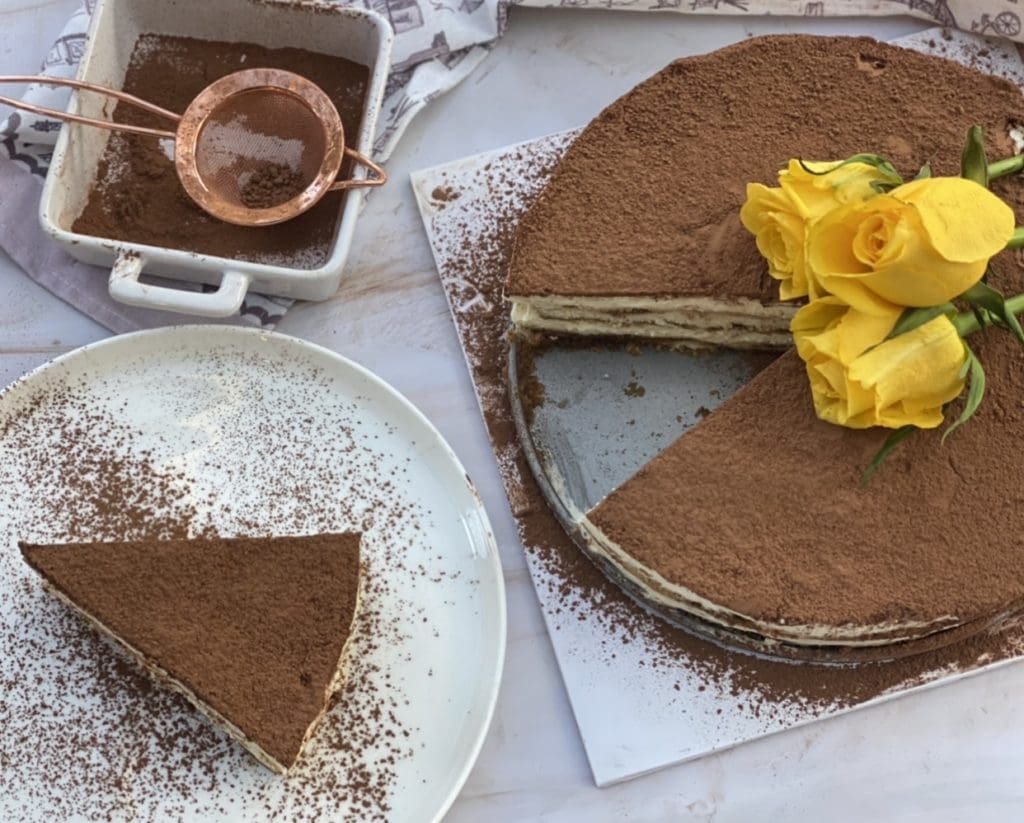
My perfect tiramisu needs to be extra boozy with a strong coffee taste to balance the rich cream. This is why I enjoy home cooking so much as it’s up to me to tweak my recreations to how I love it. Well, in this case, it’s for my sister because it’s her birthday! But lucky for me, she isn’t too fussy about her tiramisu as long as it has a strong coffee taste. Nara always orders her soy latte with a double shot!
This tiramisu cake I whipped up for my sister’s birthday is incredibly easy as it took me less than 15 minutes to prepare. A stress-free cake that’s fun to put together! I love the smell of coffee and liqueur together and had to resist drinking it because I needed to dip those Savoiardi biscuits!
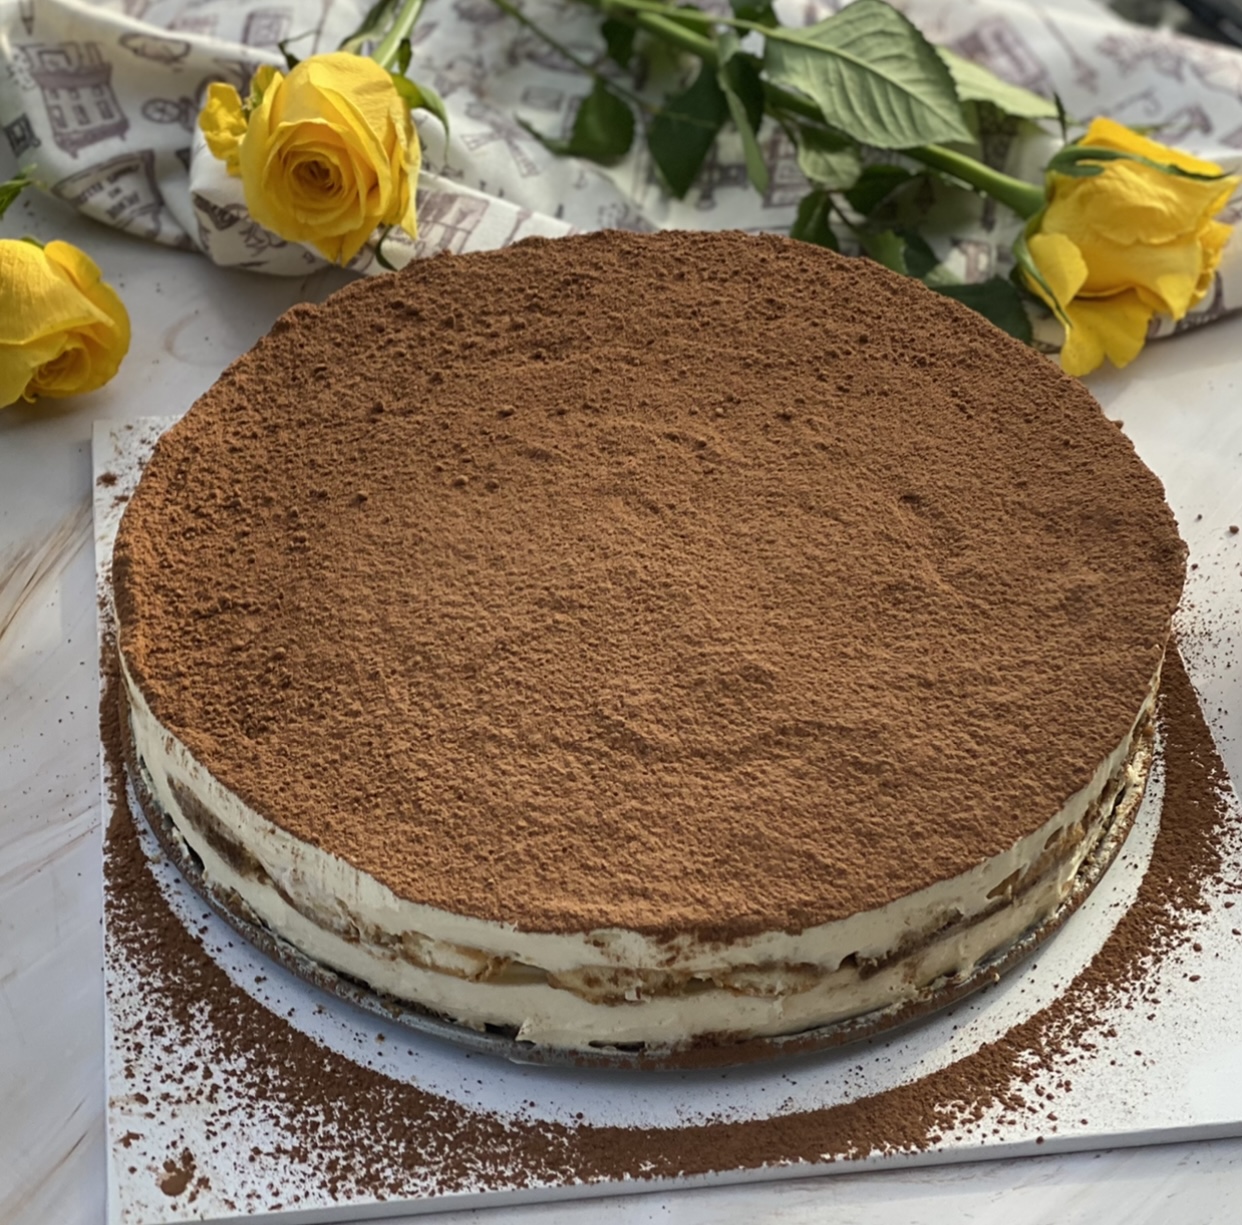
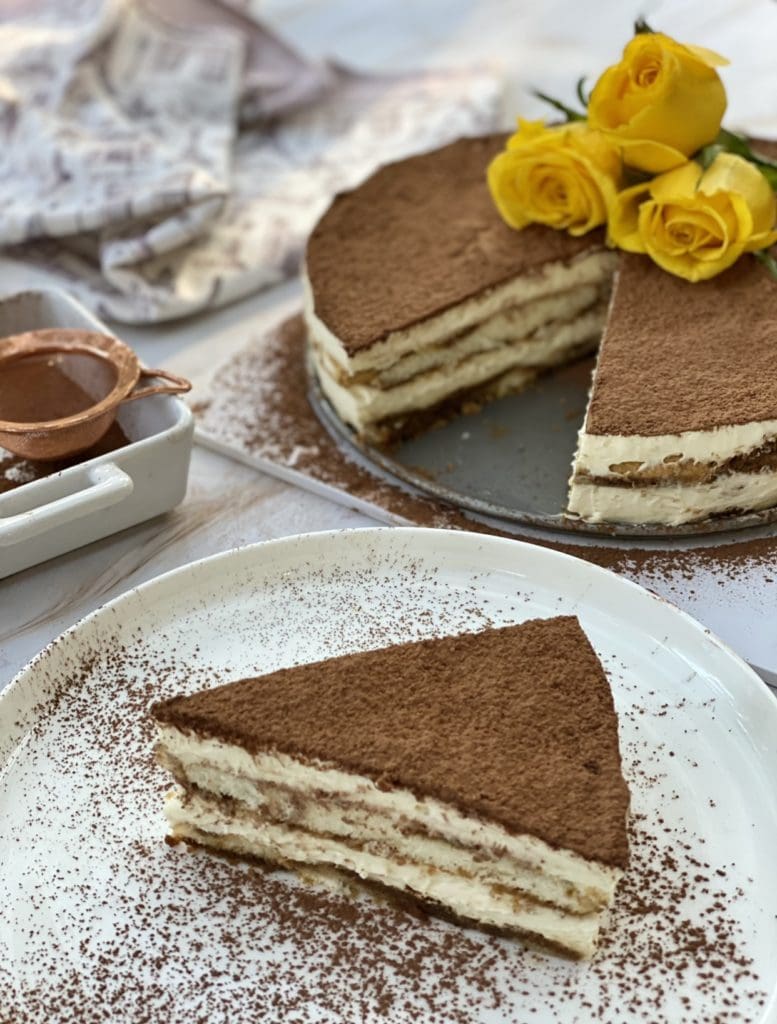
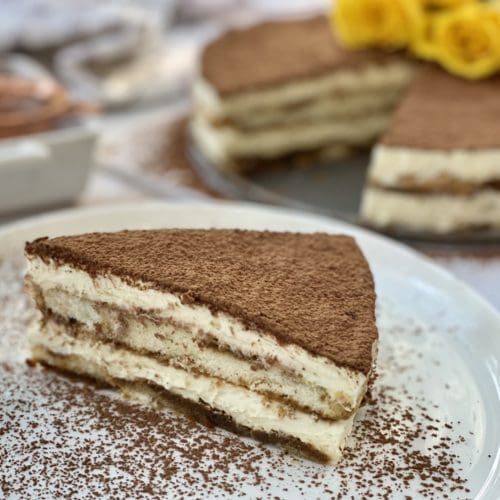
The cake held together beautifully, like a dream. Once dusted in cocoa powder and sliced, it looked so pretty. Foremost, it tasted amazing, light but rich with mouthfuls of boozy coffee flavour. Ah my kind of tiramisu, so heavenly!
If you love boozy desserts as I do, then you would love these recipes:
Chocolate Guinness Cake with Cream Cheese
Coffee Panna Cotta with Kahlúa
June is apparently Nara’s birthday month
It’s June, which means we get to hear repeatedly about Nara’s birthday month. My sister loves to gloat about how many friends are lining up to take her out to trendy restaurants to celebrate her special day. Speaking of which, she’s currently in North Sydney with a bunch of her friends tonight. They’re treating her to dinner and drinks!
My sister and I are only two years apart, but we are very different. We have 3 older brothers, so Nara is the youngest of the five of us. Everyone in our family doted on her, and she pretty much got away with murder. Every time we fought, my parents would be on her side by default. They would go ‘You’re the older so you should know better!’ But that’s okay because when my parents weren’t looking, I would steal her food.
Going through kindergarten up to primary school, other kids and teachers had a difficult time telling us apart. Looks-wise, they thought we looked like identical twins. It also didn’t help that my mum loved dressing us in the same dresses and gave us the same boring hairstyle, long hair, with a straight fringe.
One day I just had enough and came home from school and grabbed a pair of scissors and chopped my fringe off. At the tender age of 7 or 8, I was old enough to know I just made my situation worse. I wore a crooked fringe for months and died from embarrassment. Most times I held my forehead, hoping people wouldn’t notice. It wasn’t funny then, but amusing now. What in the world was I thinking?! Nara brings this up often and has a giggle at my expense.
Anyway, Nara grew up collecting friends everywhere she went and kept them. School, tafe and in all her jobs and they’re on her Facebook. Meanwhile, I’m pickier with the people I surround myself with. We are different in a million ways, but we have a few things in common. The obvious one is we’re big ‘foodaholics’, we both love to eat! However, unlike me, she doesn’t enjoy cooking!
Ingredients for Easy Tiramisu Cake
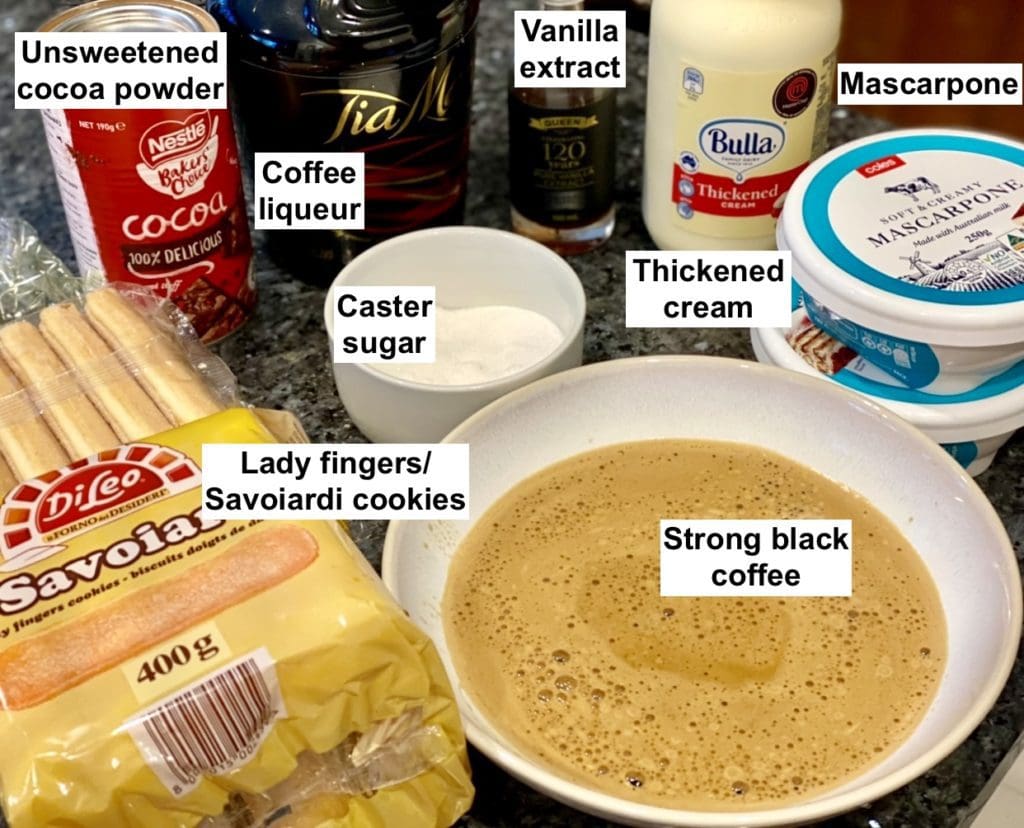
Savoiardi (lady fingers) – These large sponge cake-like biscuits are usually served with coffee or used to make cakes and puddings. Savoiardi biscuits usually come in a large packet and are available in the biscuit section of the supermarket.
Strong black coffee – I used my Nespresso coffee capsules for my coffee mixture. Other options would be an espresso machine, filtered coffee or 3 tablespoons of instant coffee powder/granules.
Mascarpone is Italian soft cream cheese. It has a sweet mild flavour and is less tangy than regular cream cheese. Supermarkets usually stock mascarpone near the dips and cheese in the chilled section.

For the latest recipes, join our FREE 3CatsFoodie mailing list
Thickened cream (whipping cream) has gelatine added to it and contains 35% milk fat. I don’t recommend using low fat, thickened cream because the fat helps the cake set nicely, plus it tastes better!
Caster sugar (superfine sugar) – Caster sugar has finer granules than regular white sugar, but it’s not the same as icing/powdered sugar. Many baking or candy recipes call for caster sugar as it dissolves faster and better into mixtures. If you can’t find caster sugar, you can make your own by placing regular sugar in a food processor or blender. Pulse the sugar a few times until it looks finer, but don’t over-blitz to a powder consistency. However, you could just use equal amounts of regular white sugar.
Coffee liqueur – I love booze in my tiramisu, but if you don’t, simply leave it out and swap it for more coffee. I used Tia Maria, but you could use Kaluha, marsala wine, brandy, Irish cream or dark rum.
How to make Easy Tiramisu Cake
Step-by-step guide with photos
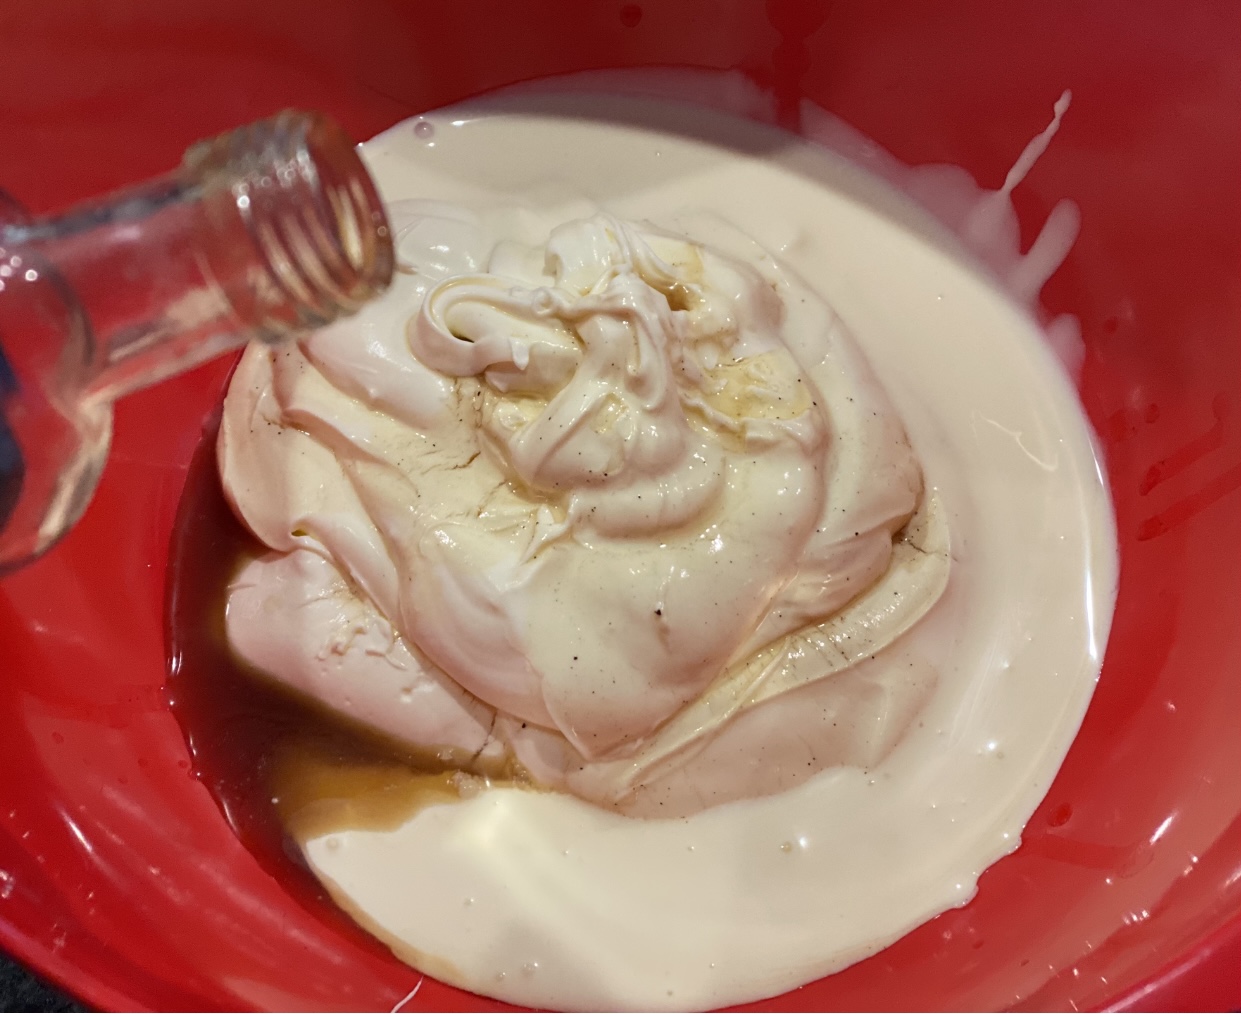
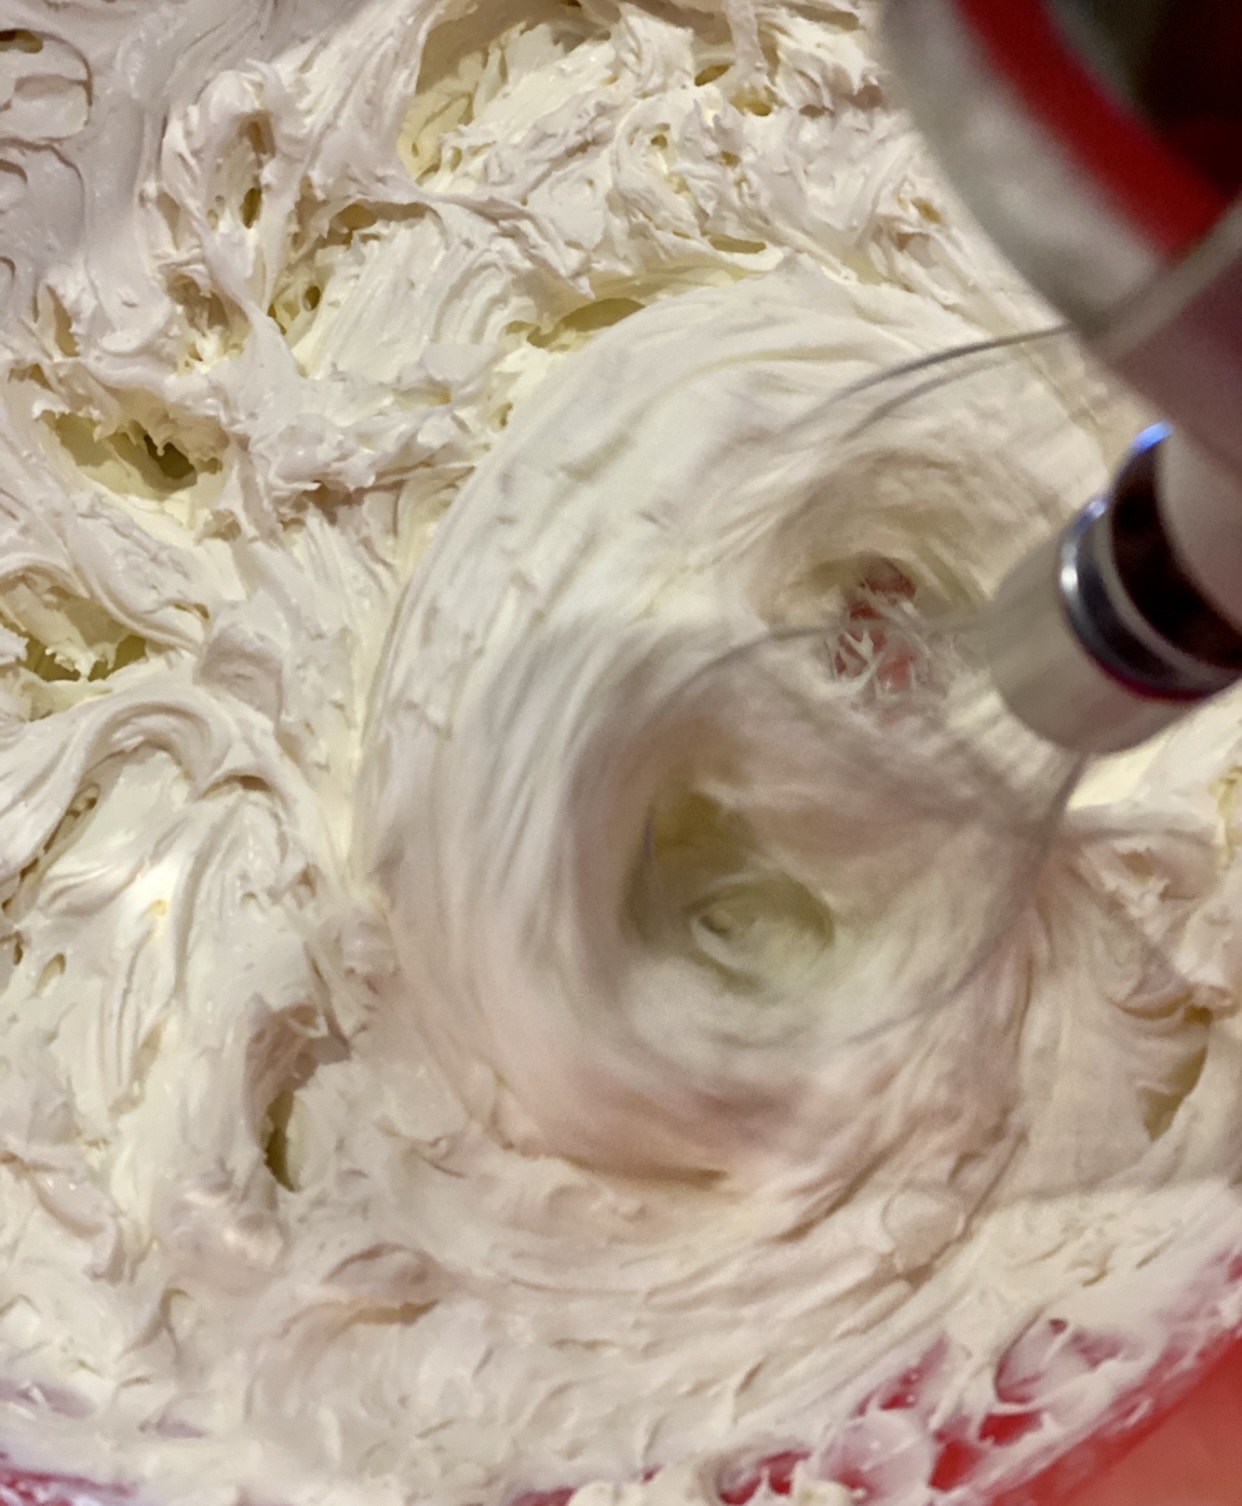
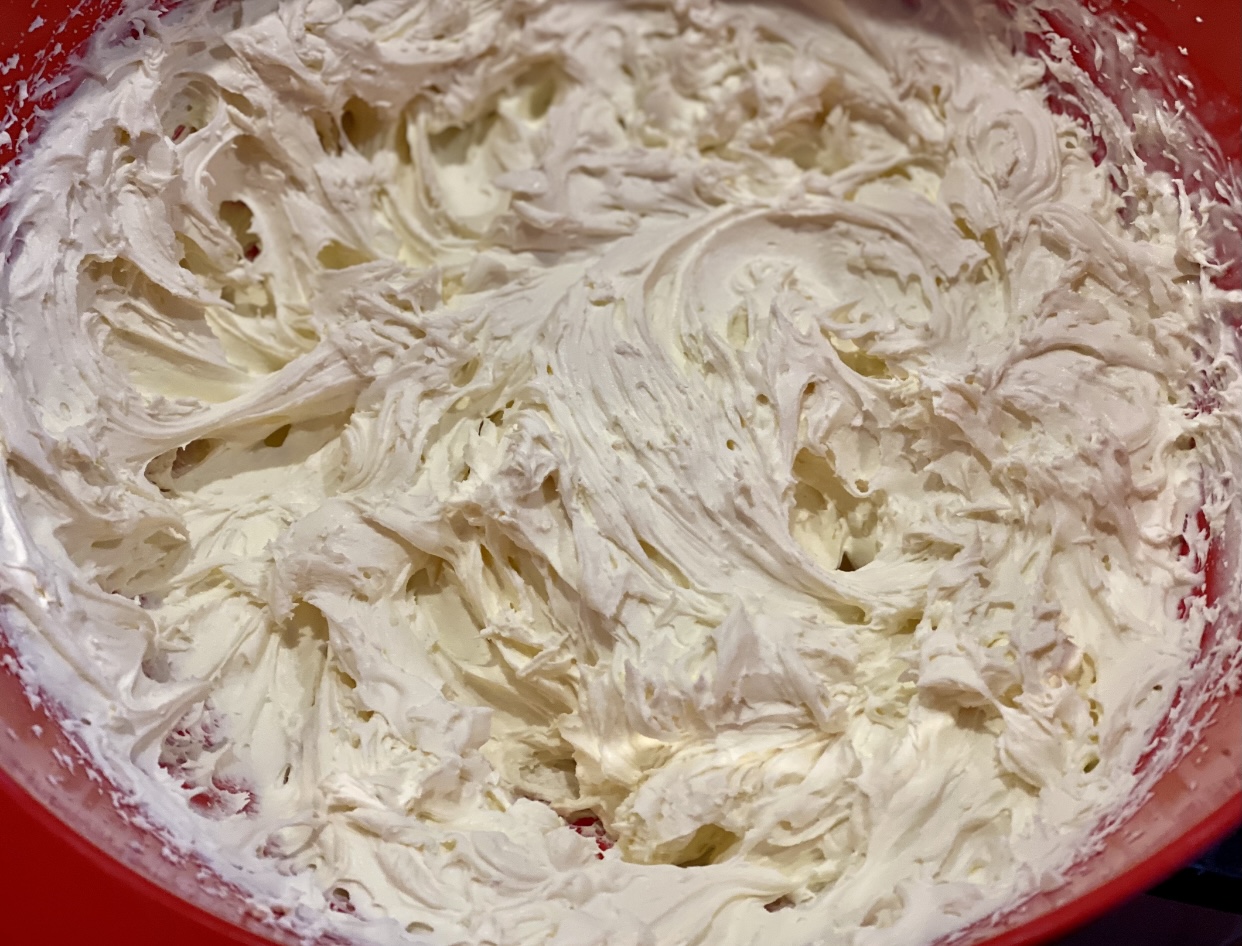
Place the mascarpone and the vanilla into a mixing bowl. Whisk with a hand or stand mixer on low for 30 seconds, then increase the speed to medium-high for 2 minutes or until smooth and thick.
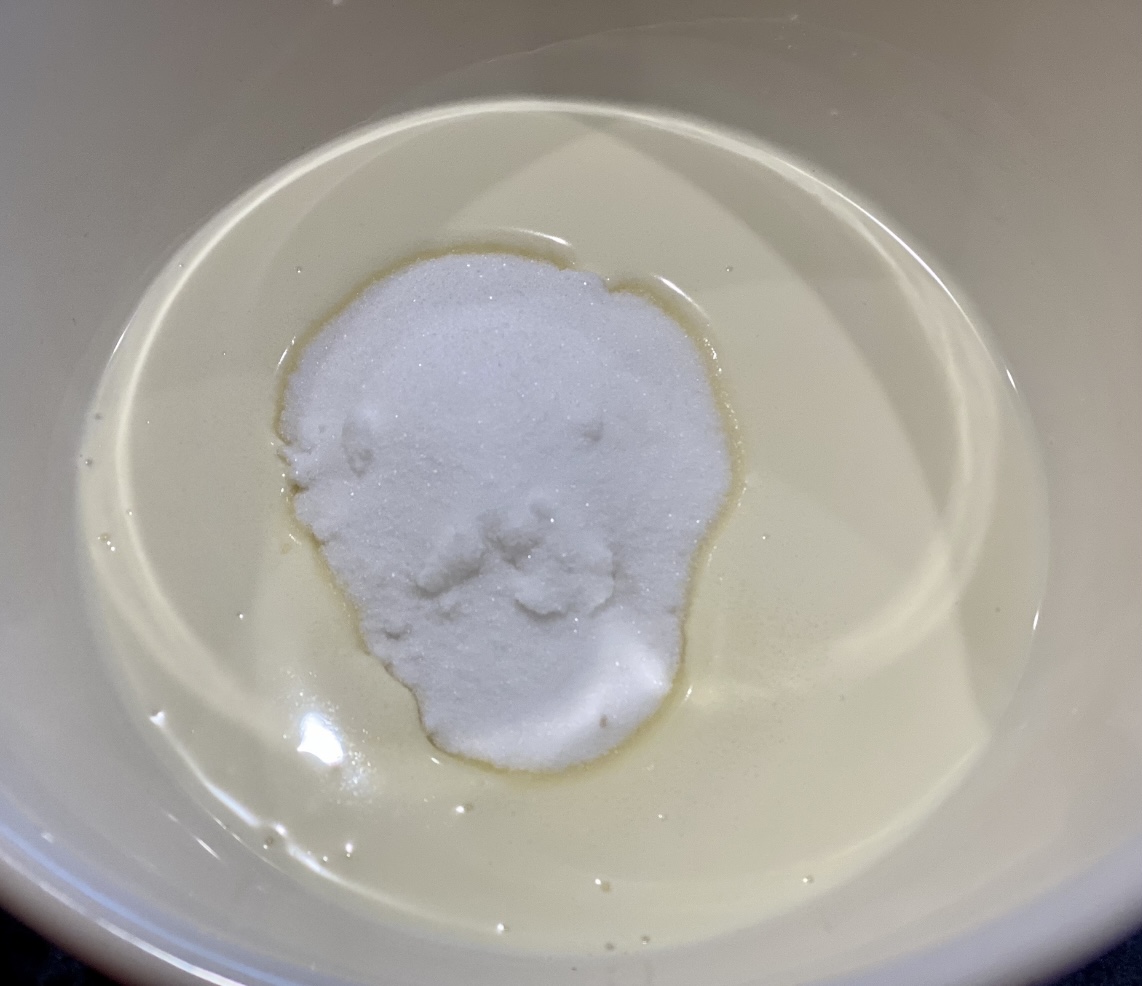
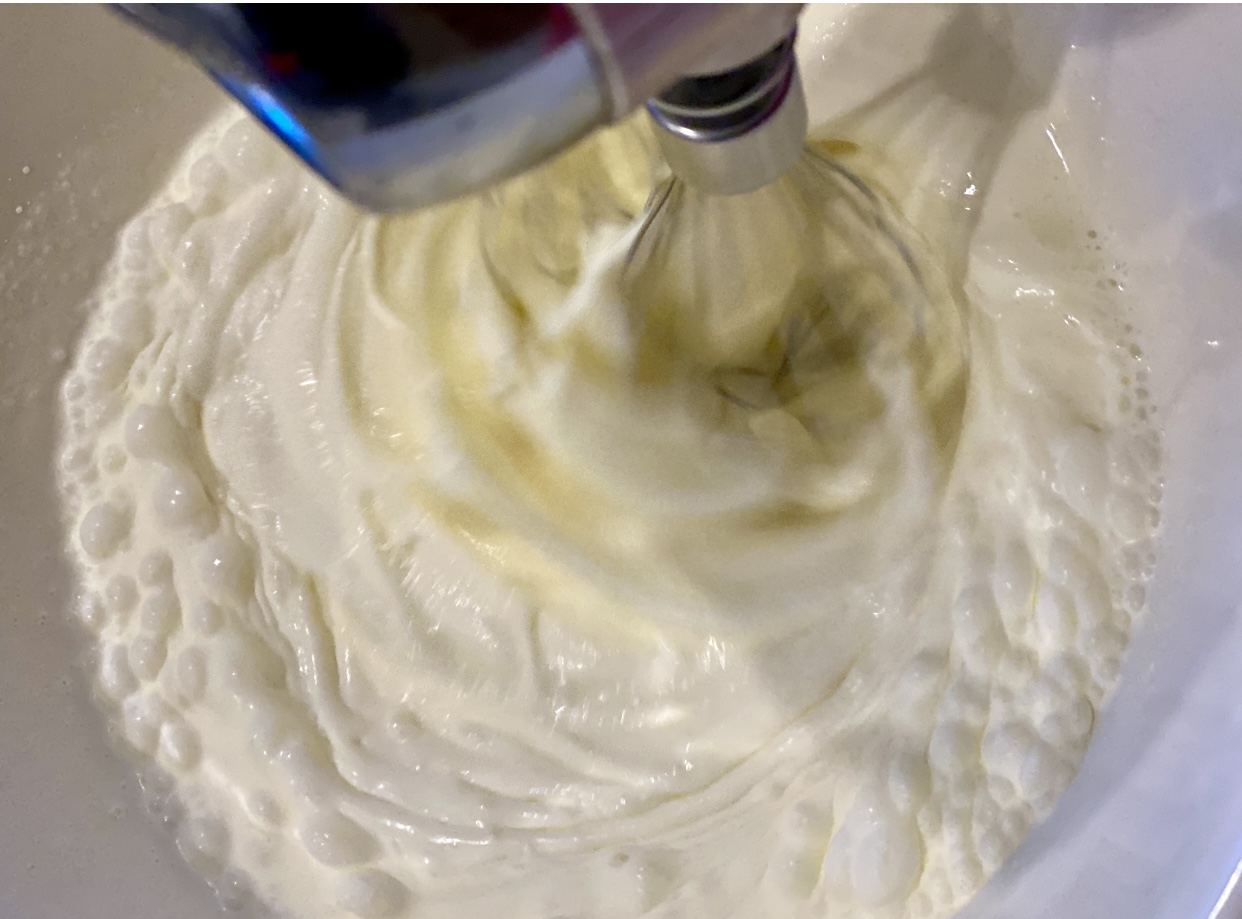
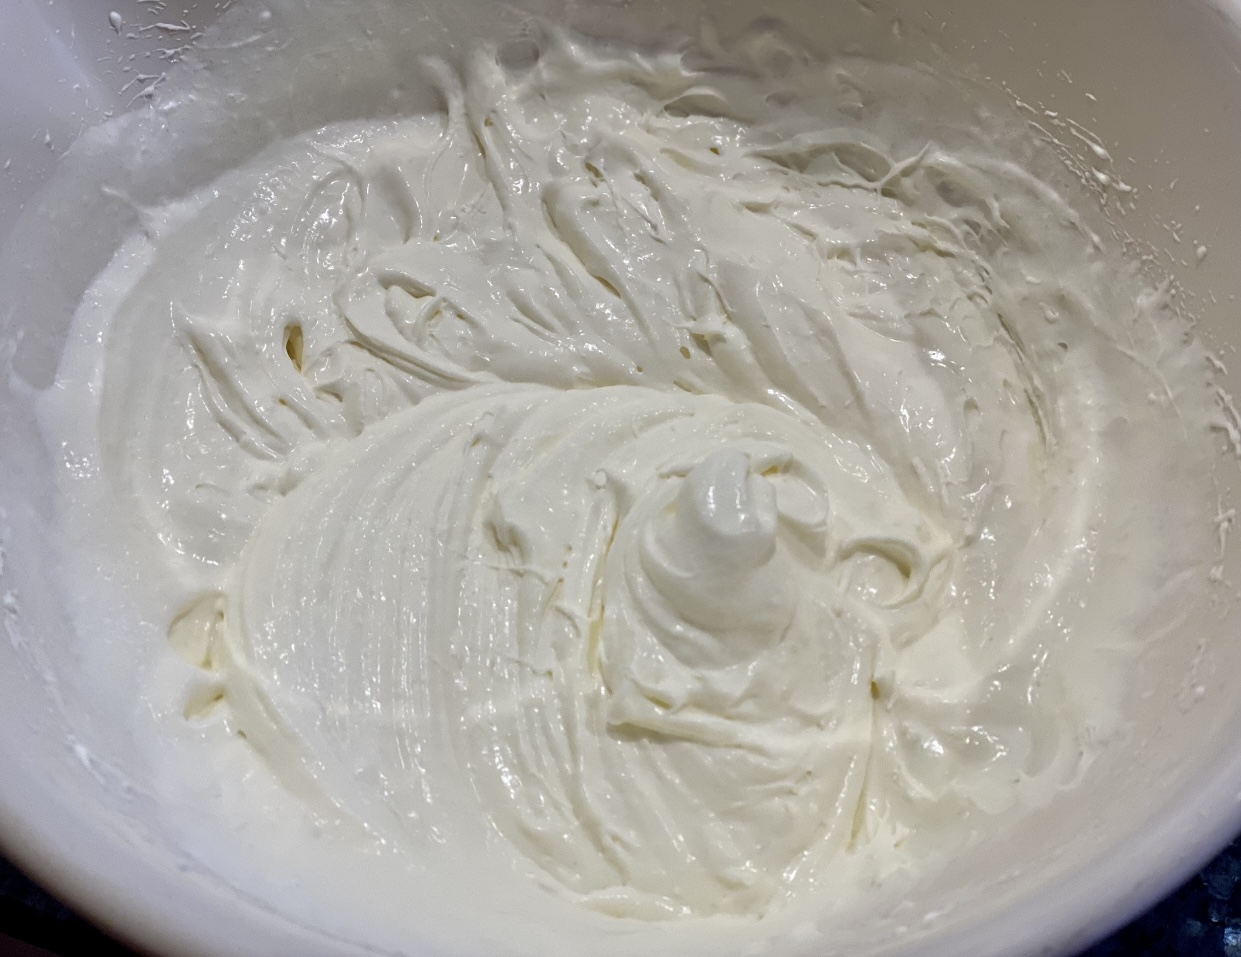
Place the cream and sugar in a separate mixing bowl. Whisk on low for 30 seconds, then increase speed to medium-high for 1-2 minutes or until the cream reaches medium peaks.
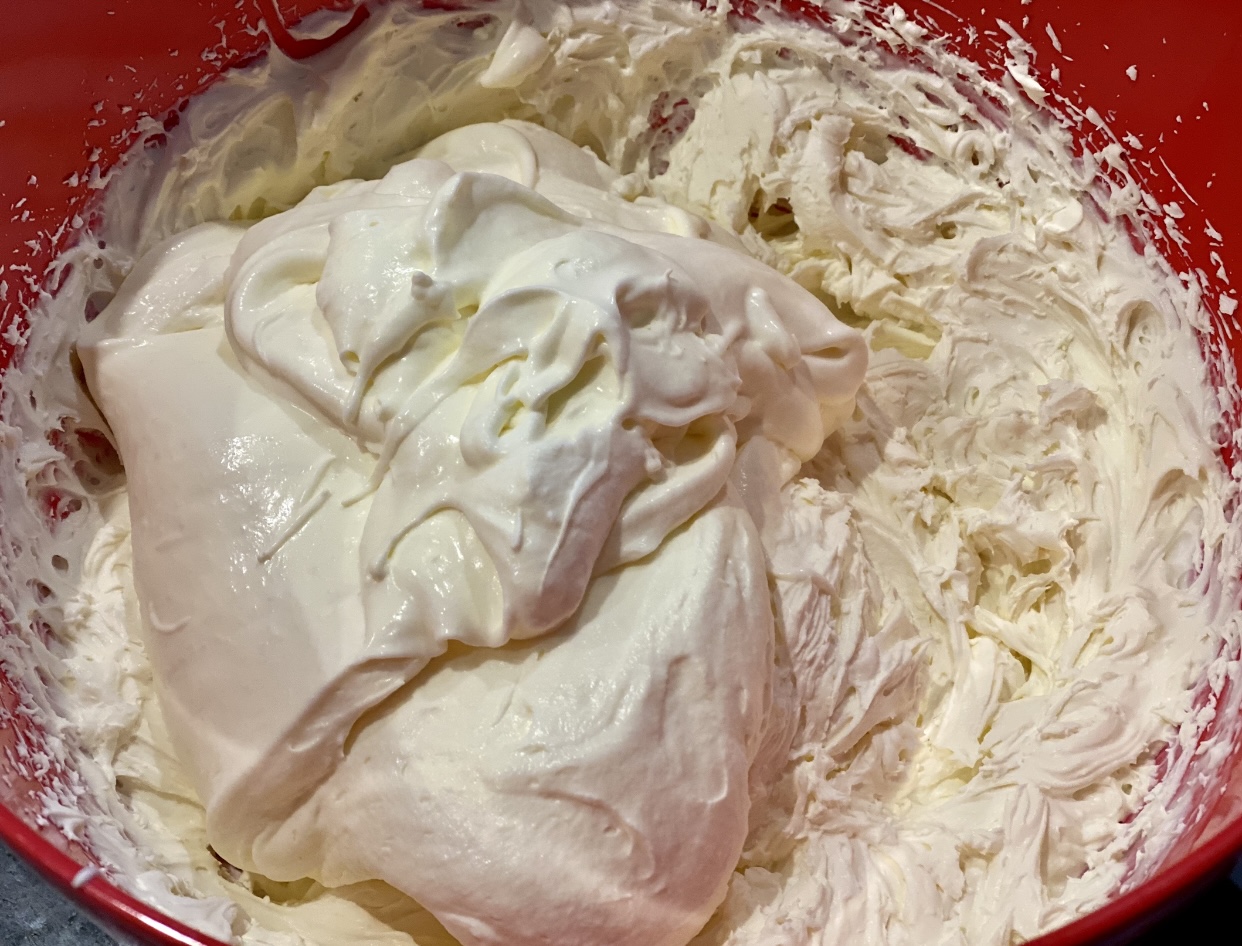
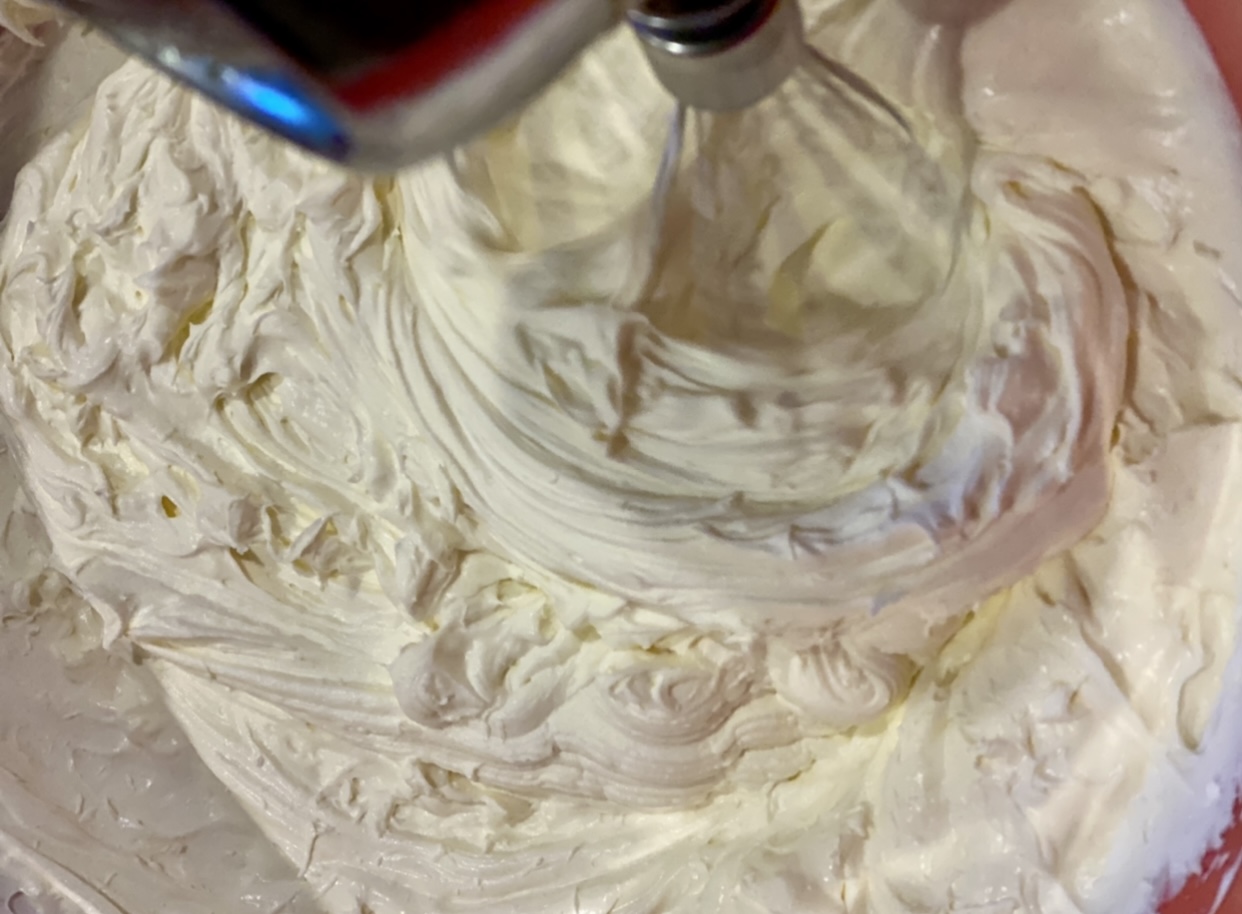
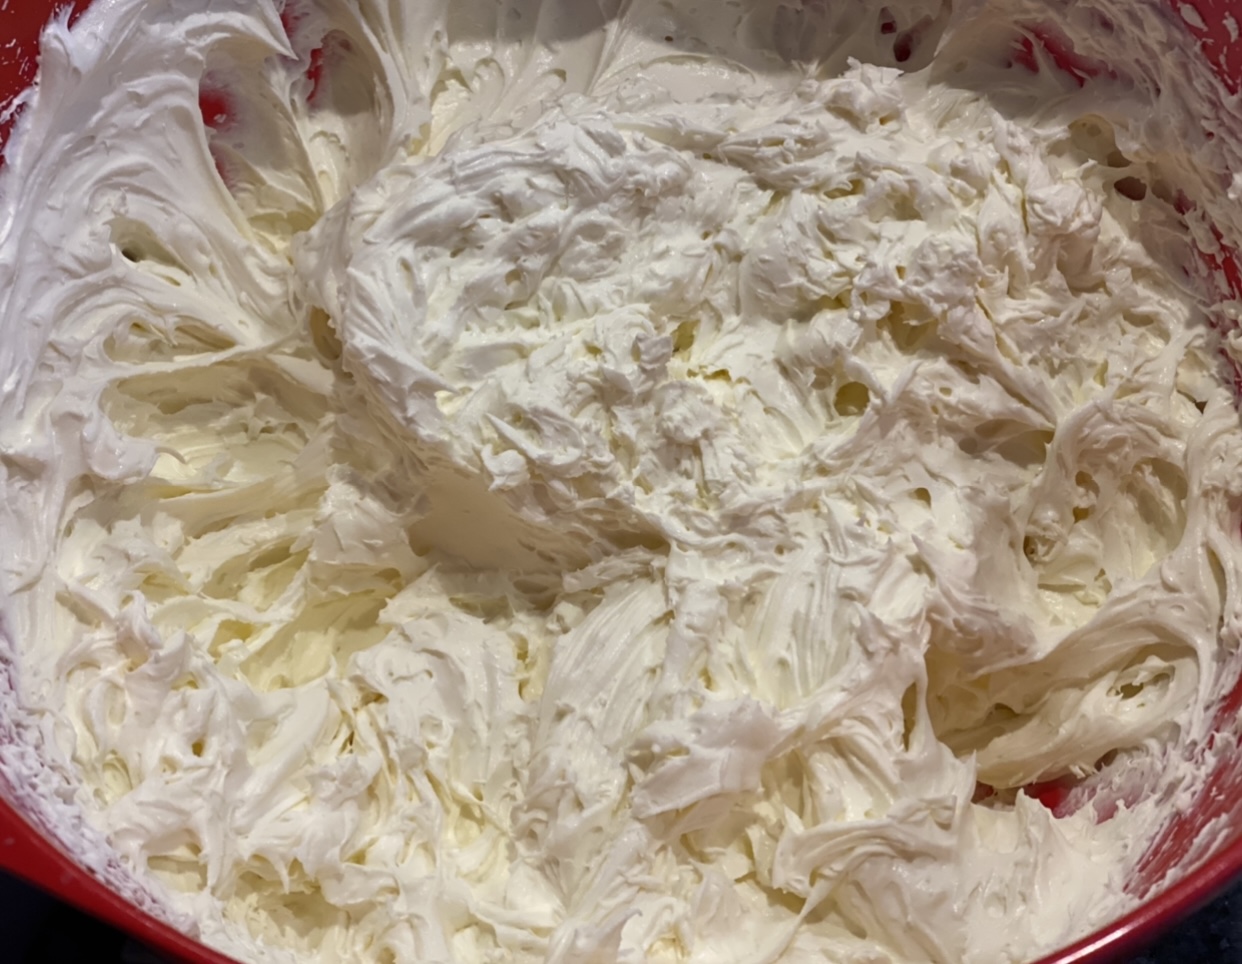
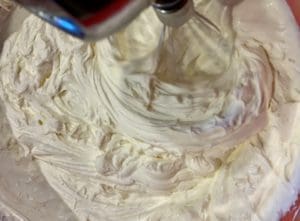
Transfer all the whipped cream to the mascarpone mixture. Whip on high for 2-3 minutes or until firm peaks. This is important, as a firm cream and cheese mixture will help set the cake and give it structure.
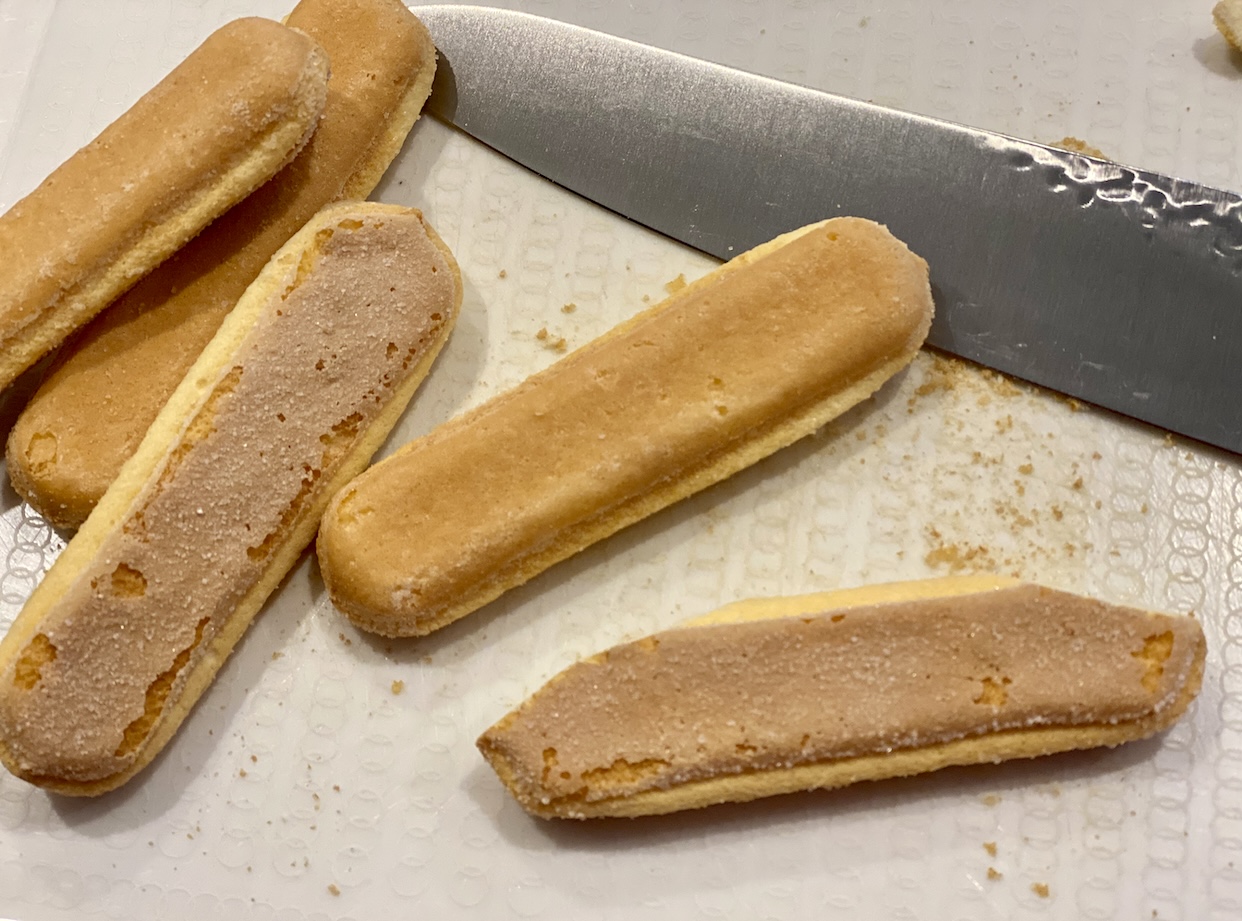
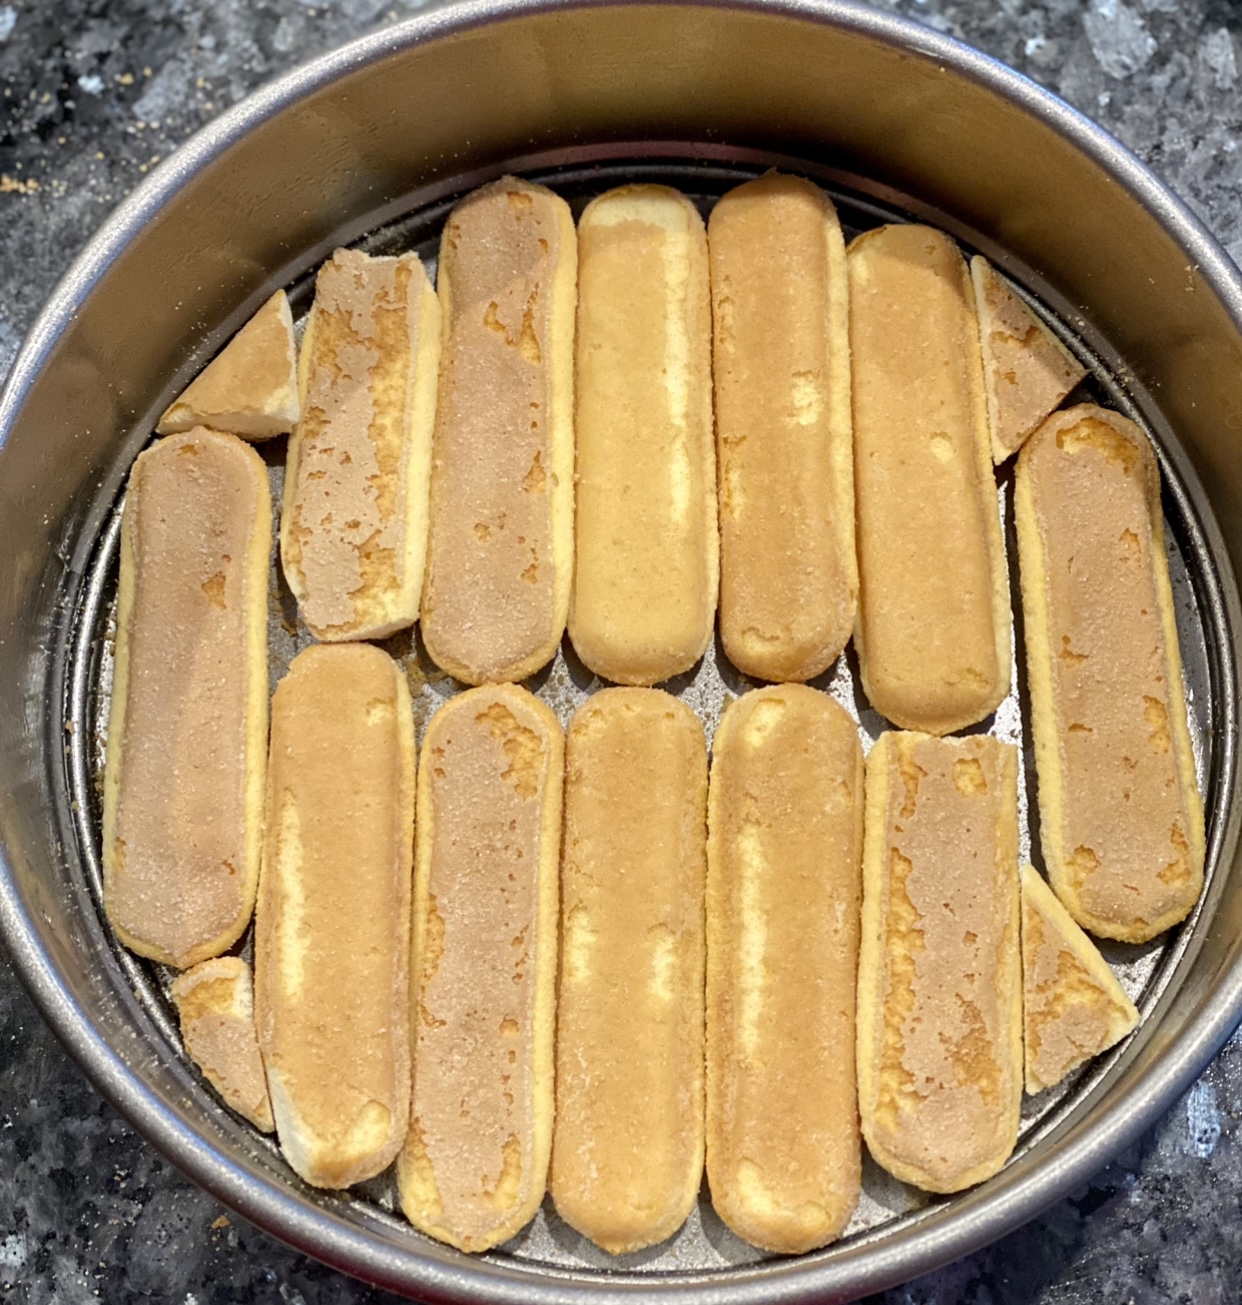
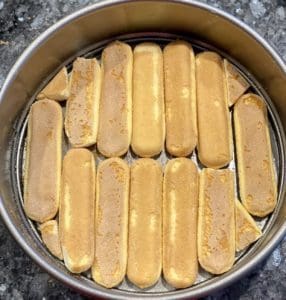
Lay out the biscuits on the base of a 24cm (9.5in) spring form cake tin (a tin with removable sides). You may need to slice or shave the edges of some biscuits so they fit snugly together without big gaps. Don’t worry if it doesn’t look pretty, it won’t affect the overall look or taste at the end.
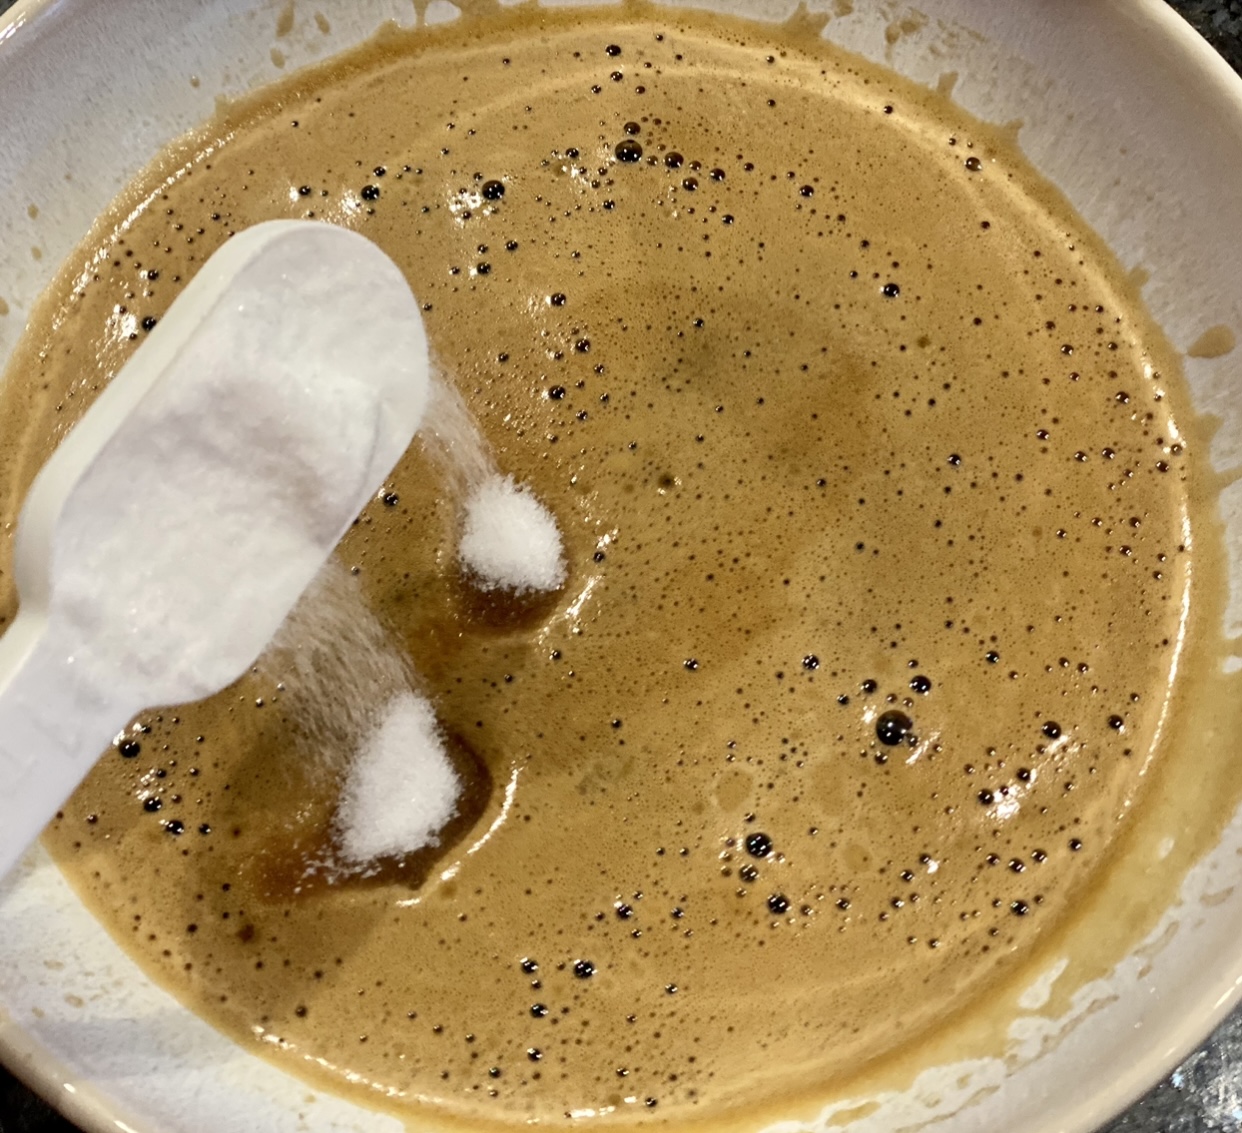
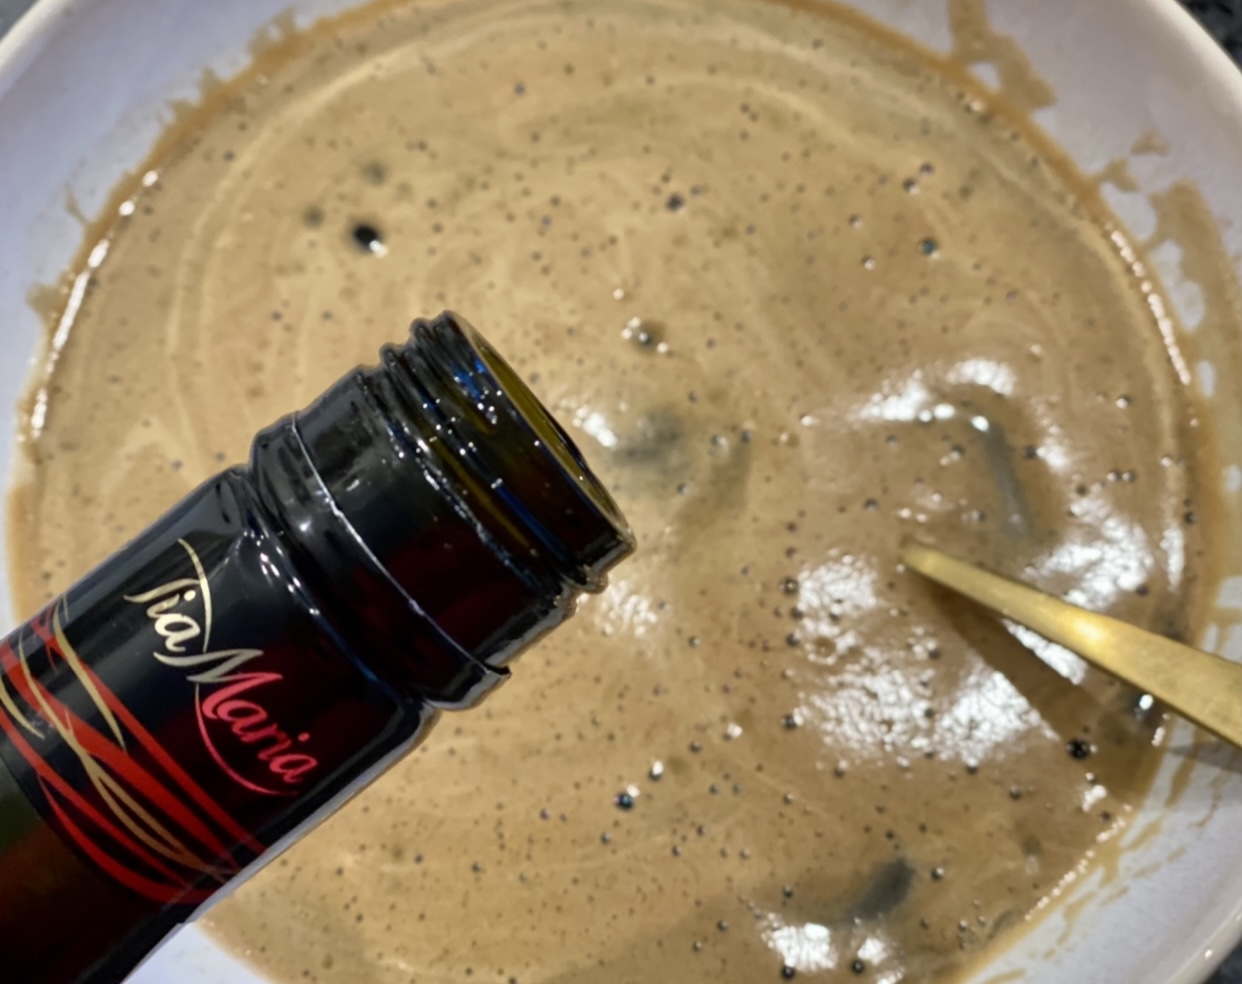
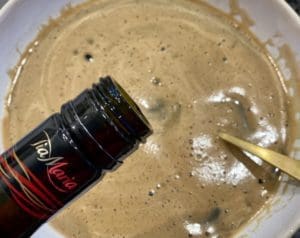
Make the coffee mixture – In a flat bowl, mix the hot coffee, sugar and liqueur together until the sugar has dissolved.
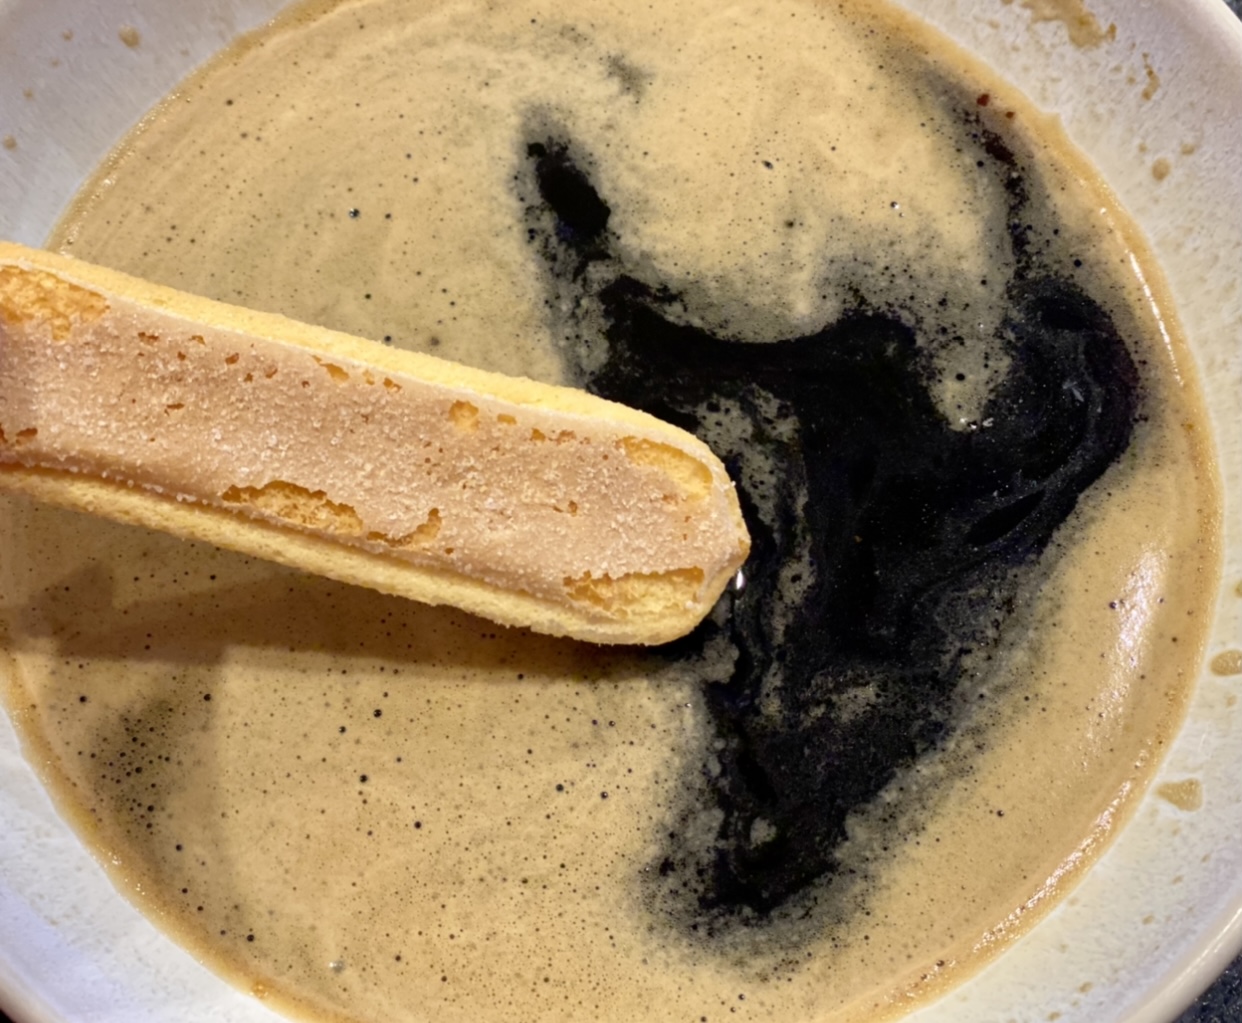
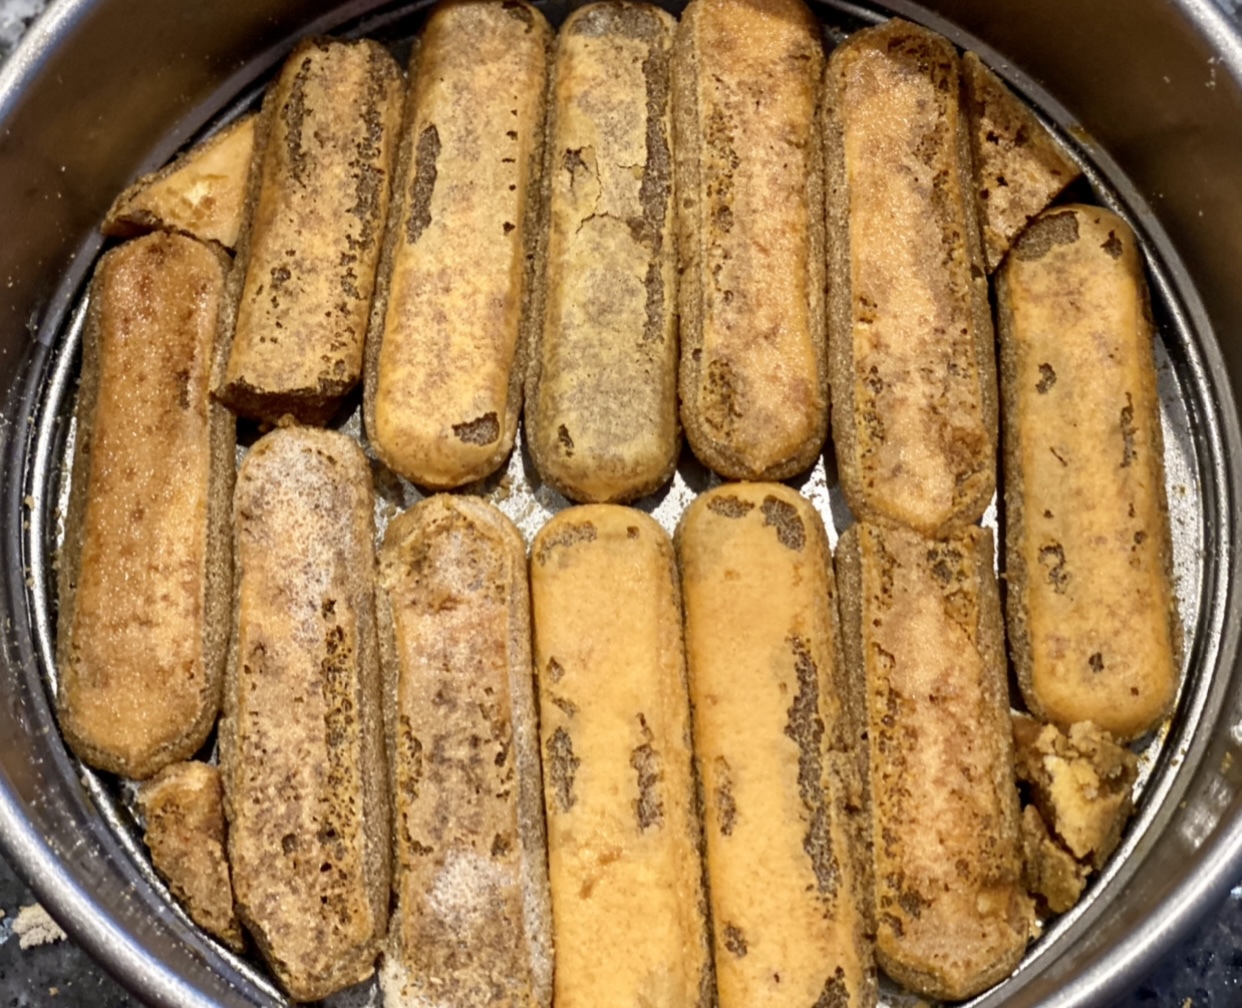
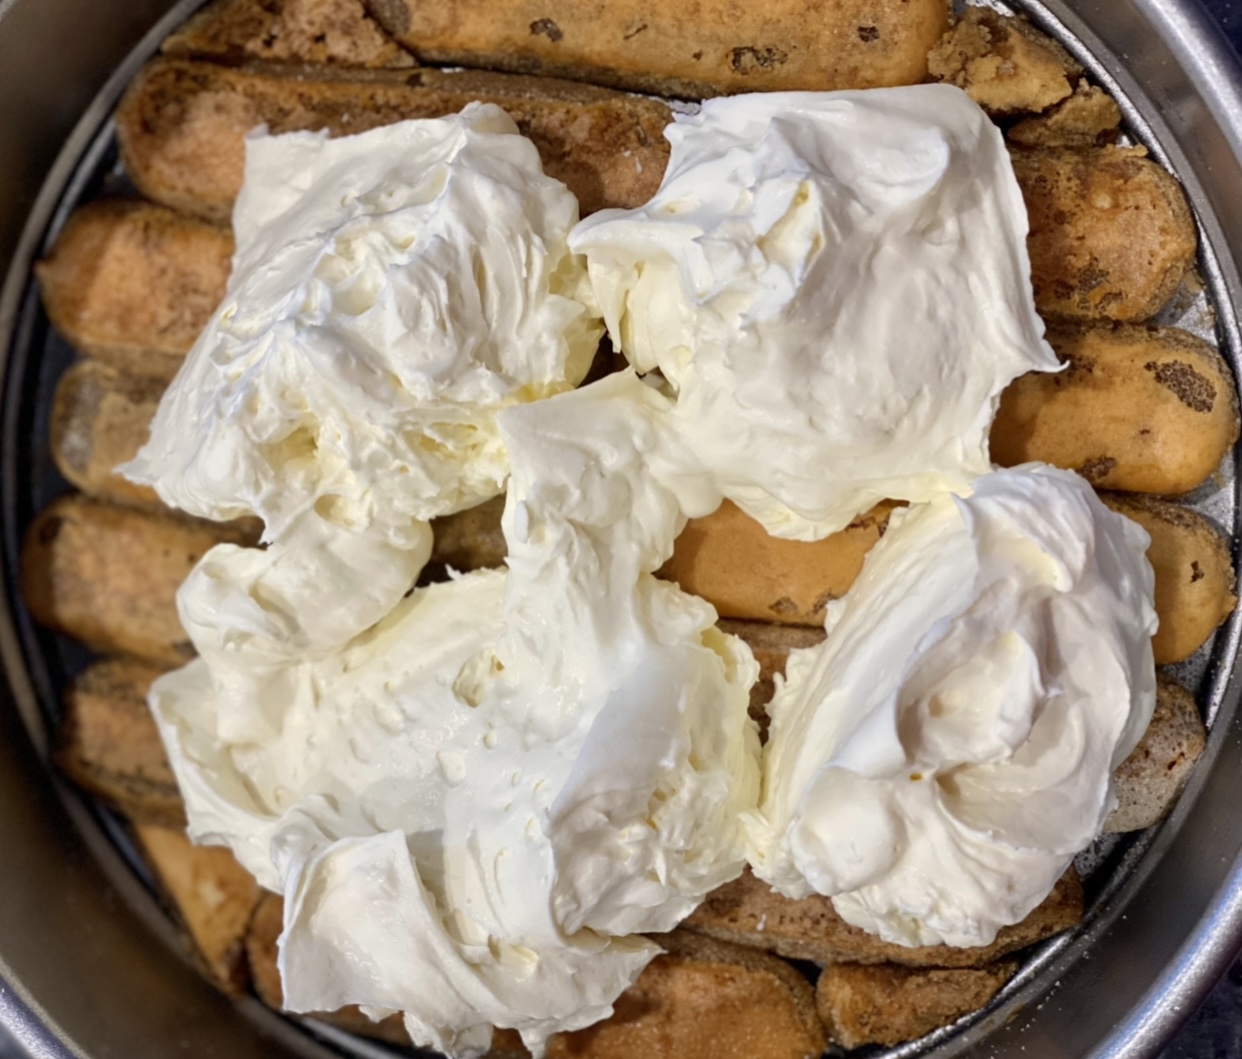
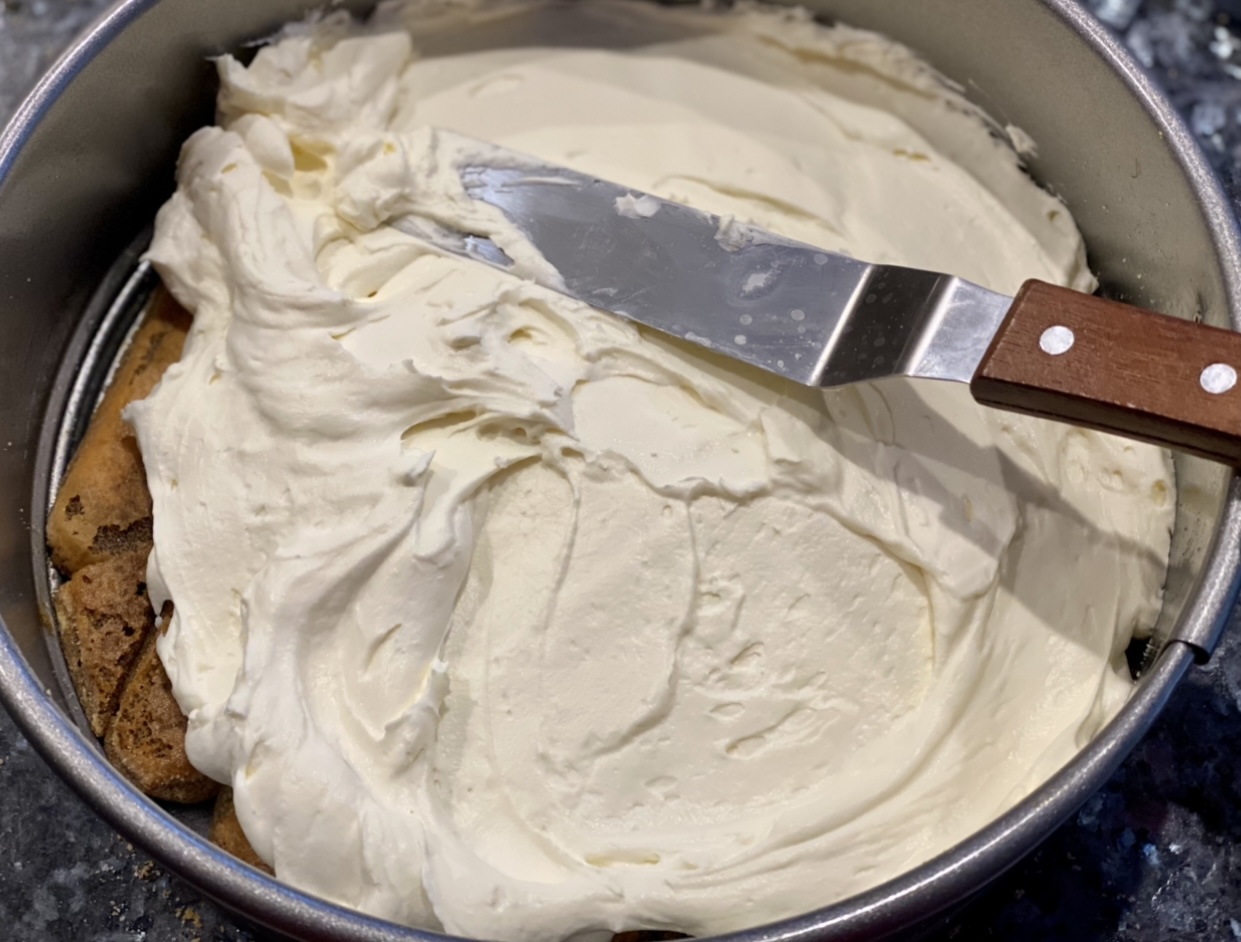
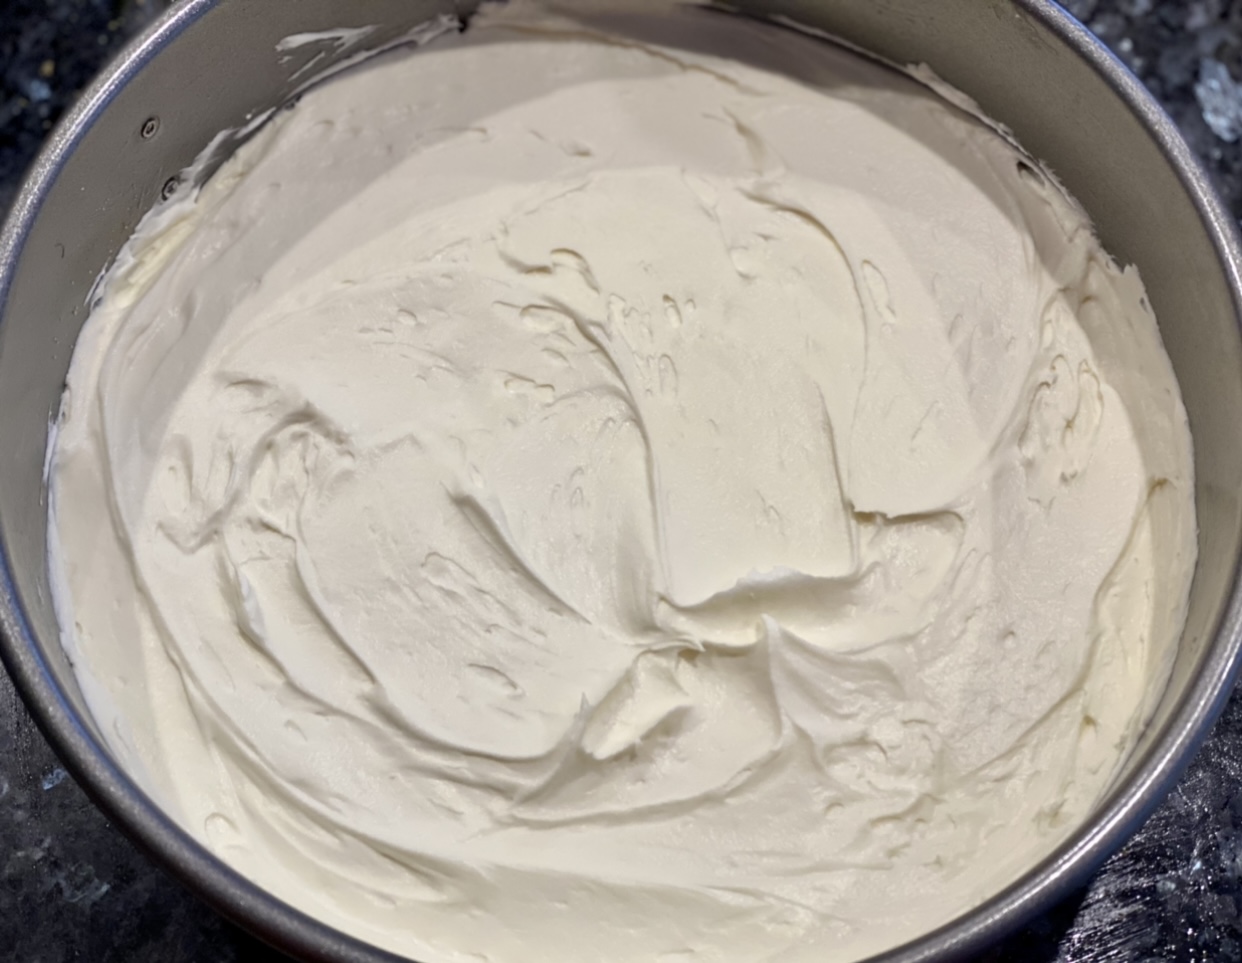
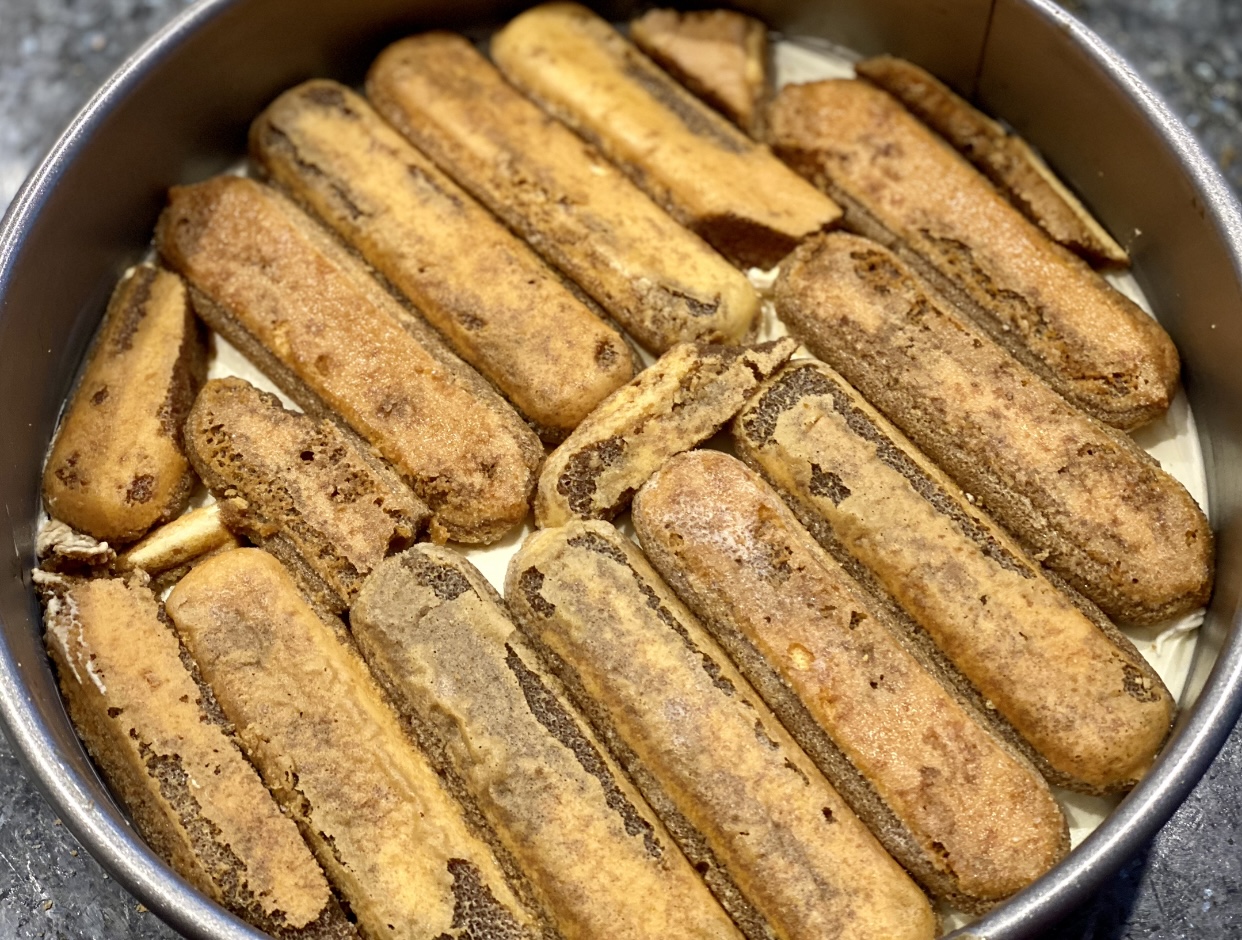
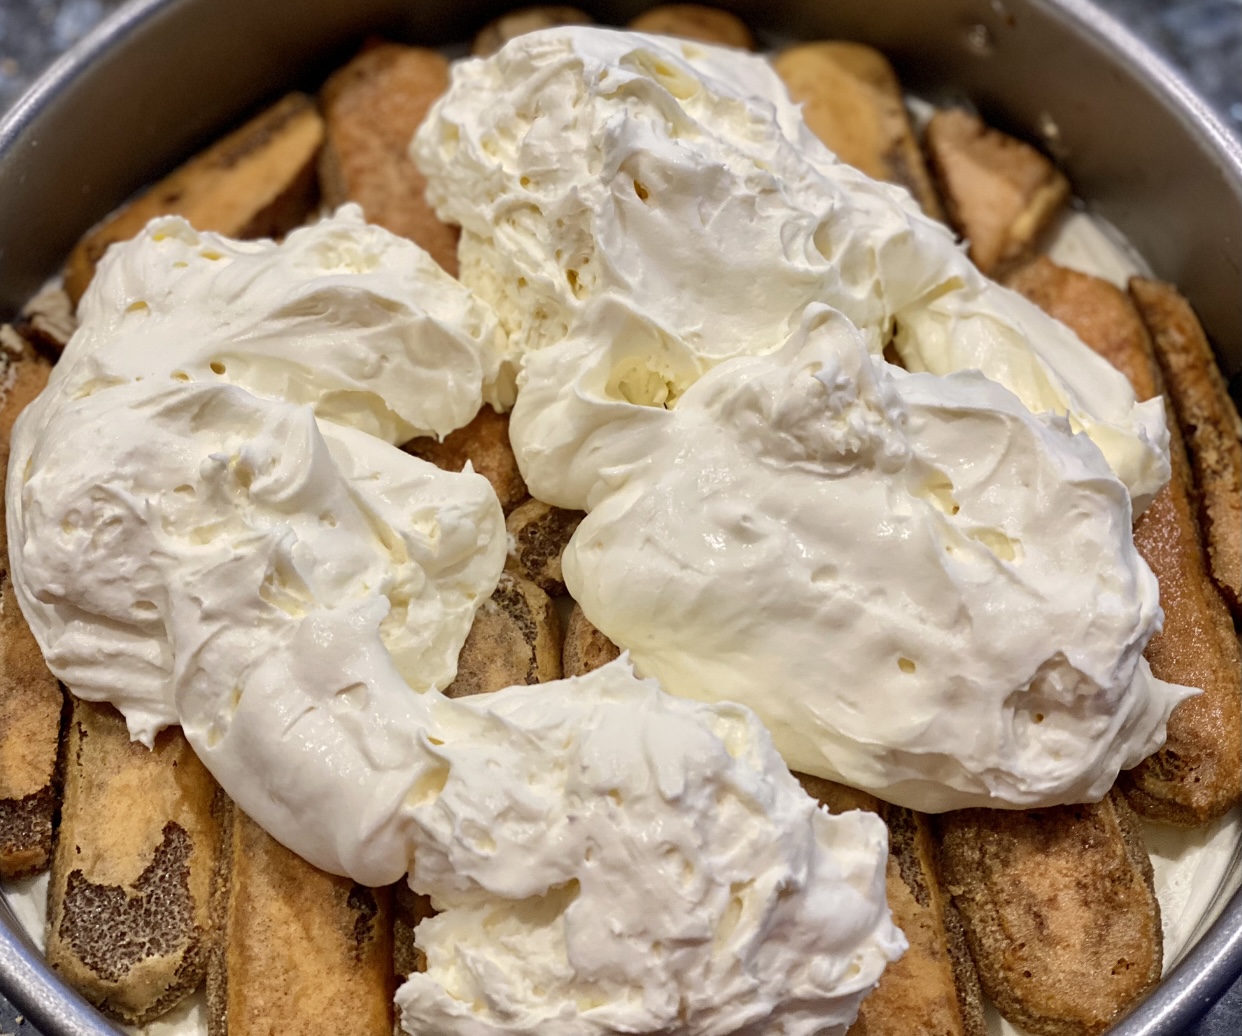
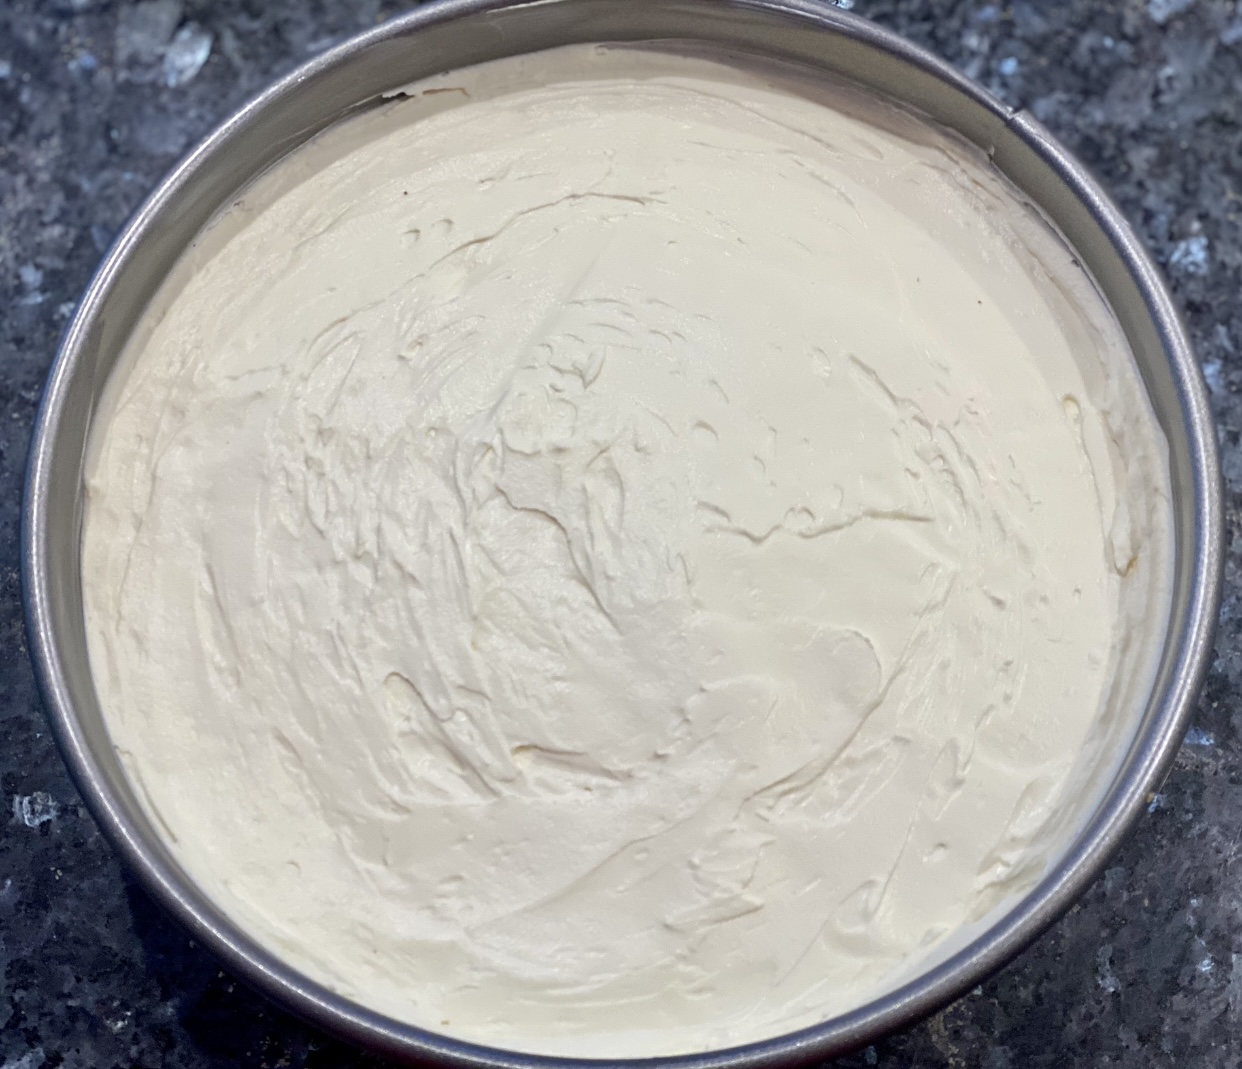
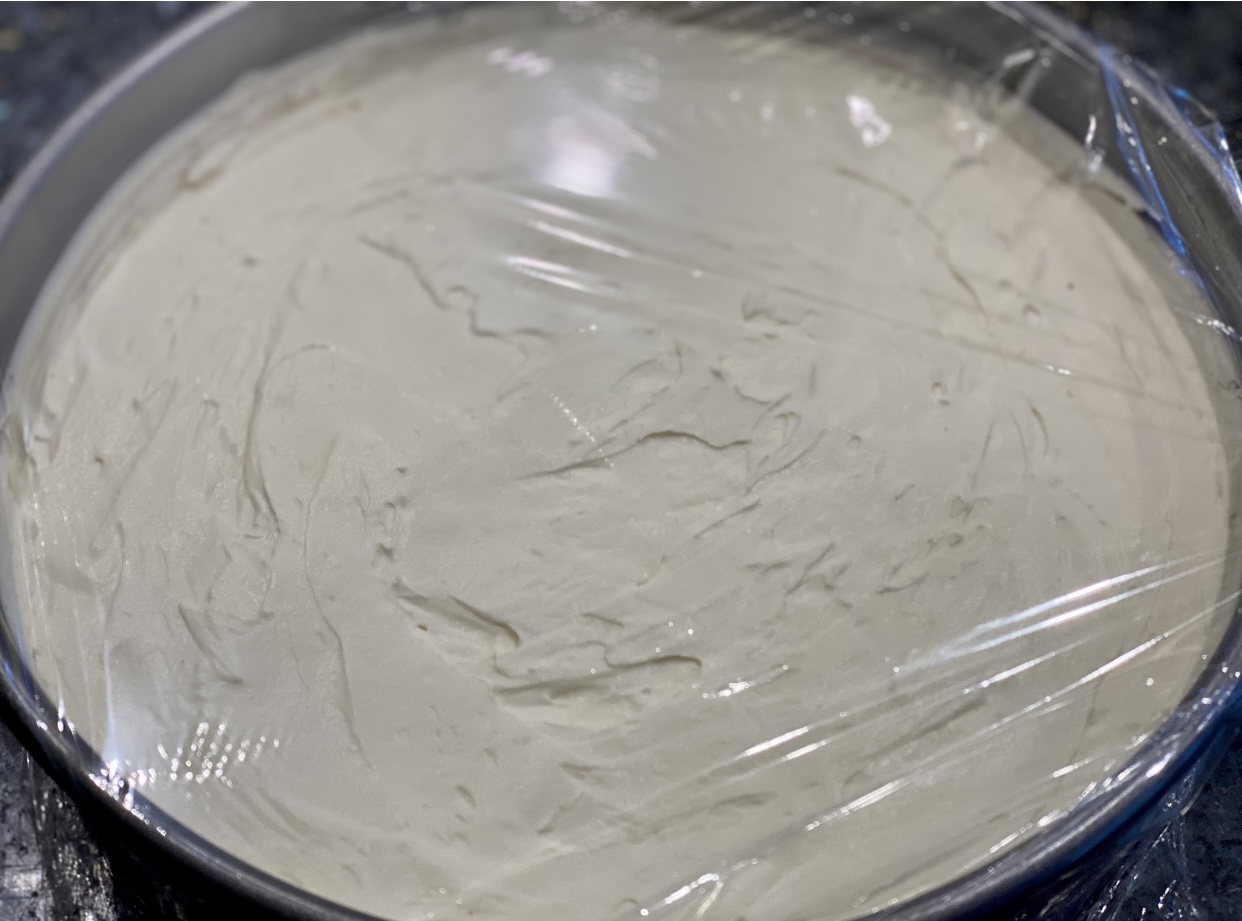
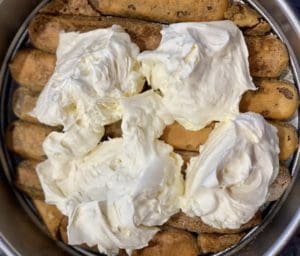
Remove a biscuit from the base of the tin and quickly dip the entire biscuit into the coffee mixture and place it back into its space in the tin. Repeat this step with the remaining biscuits for the first bottom layer only. Spoon half of the cheese and cream mixture over the biscuits, then use a spatula to smooth it out evenly. Place another layer of coffee-dipped biscuit and then cover it with the remaining cream and cheese mixture. Smooth the surface of the cake as best as you can, then cover with plastic wrap/film. Transfer the cake to the fridge to chill for at least 4 hours, or even better, overnight.
When the wait is over!

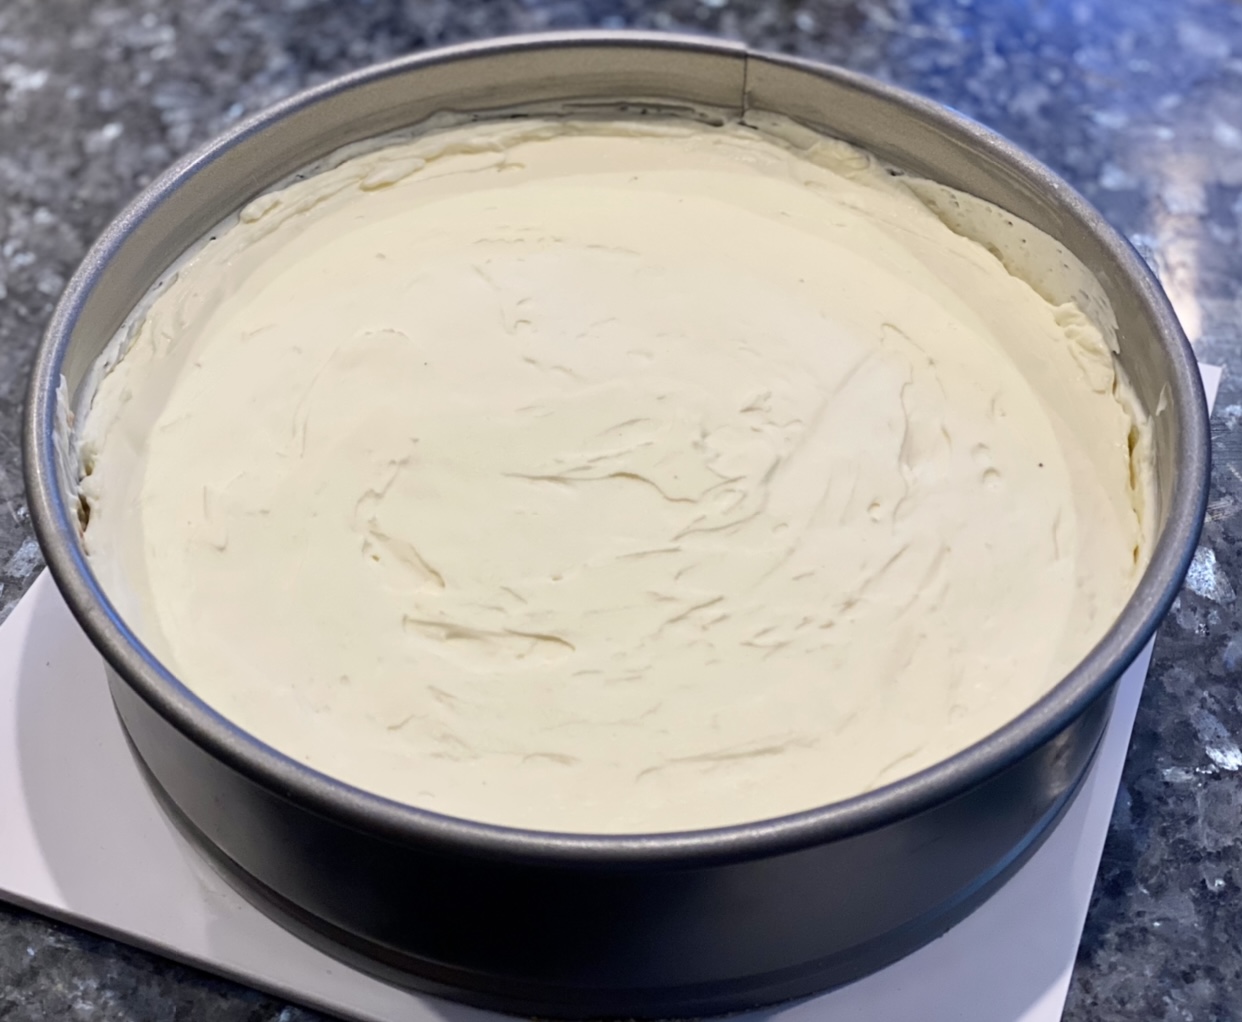
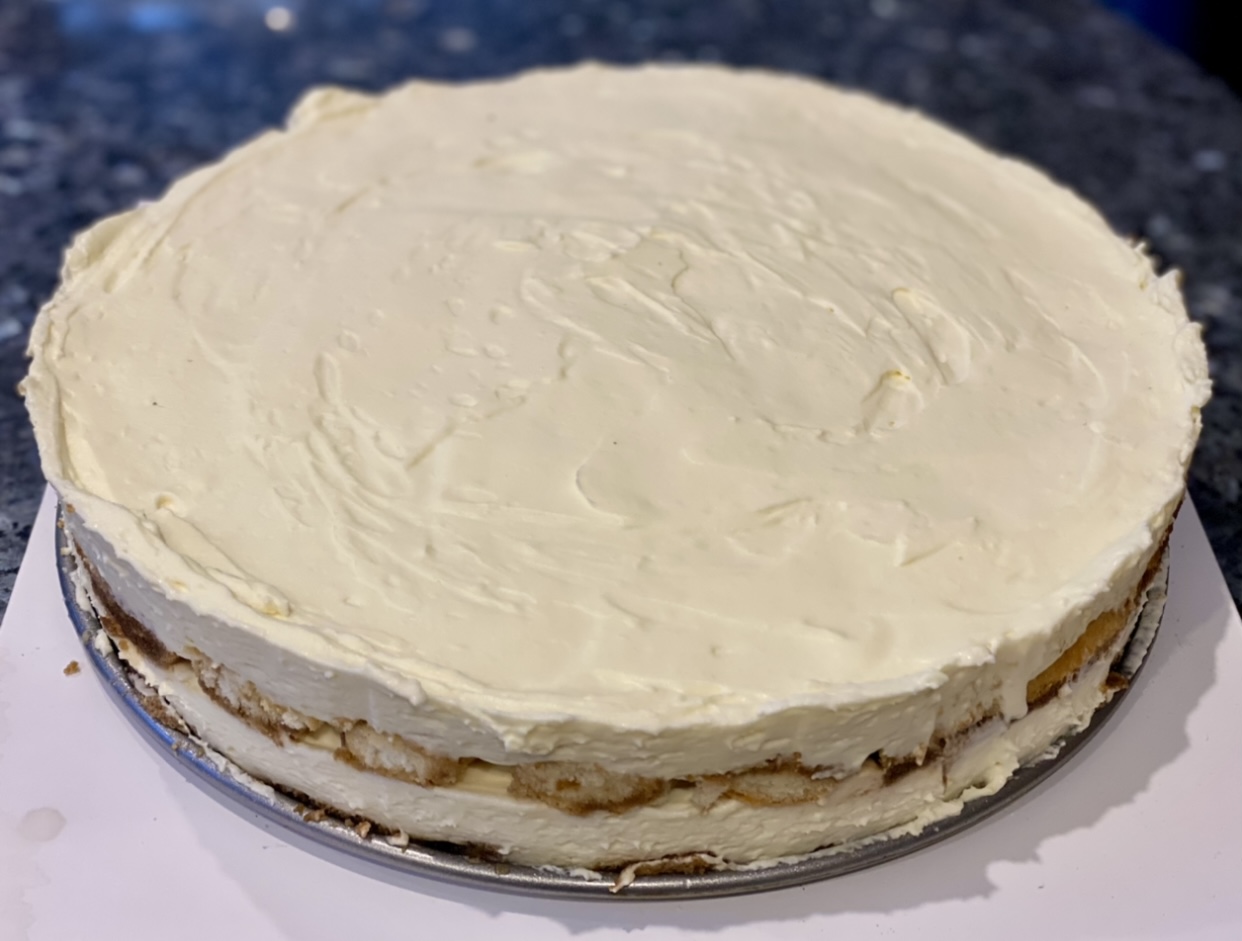
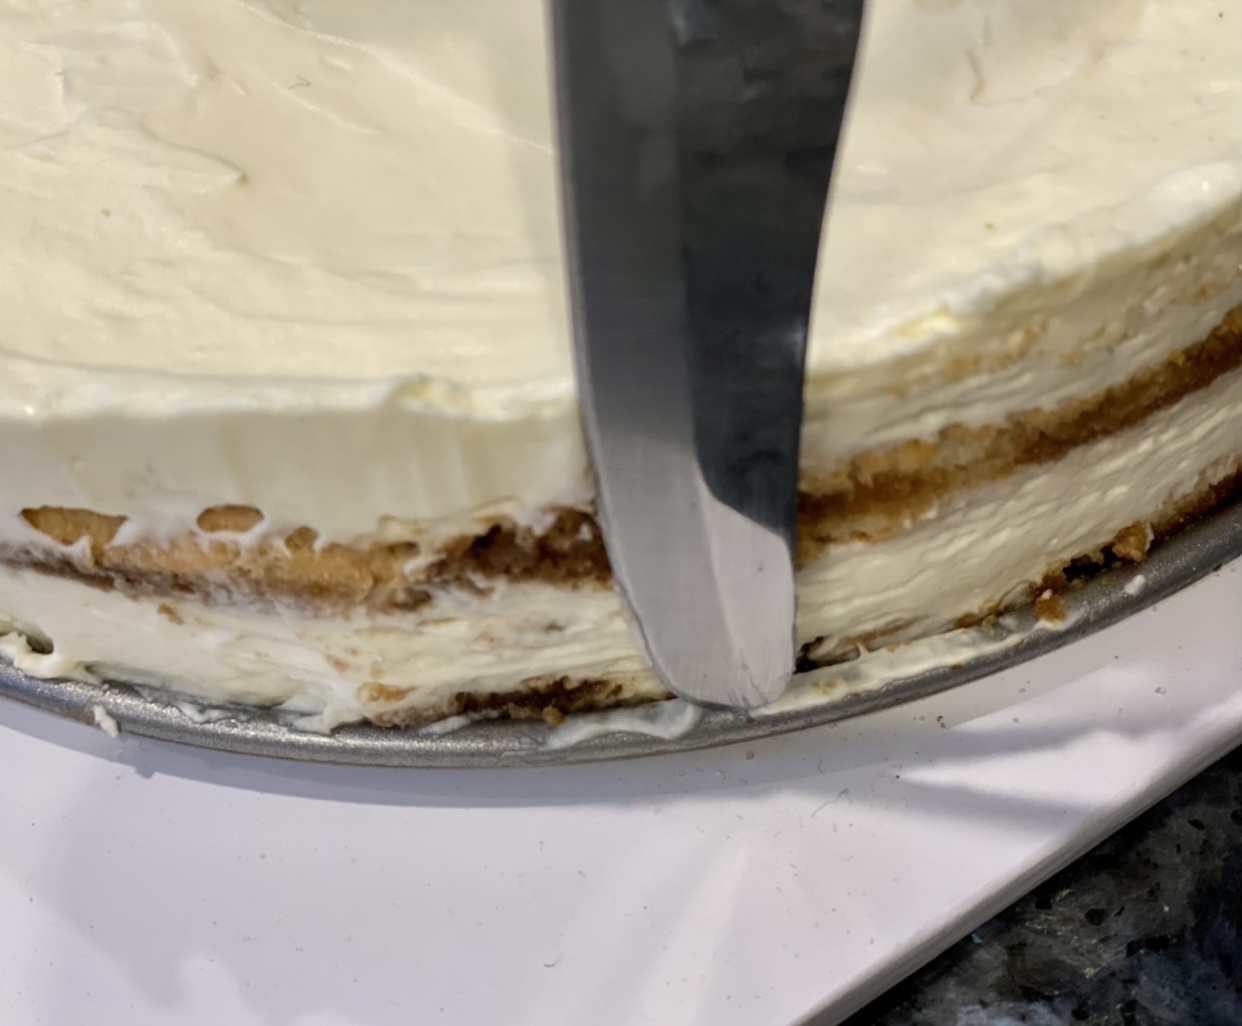
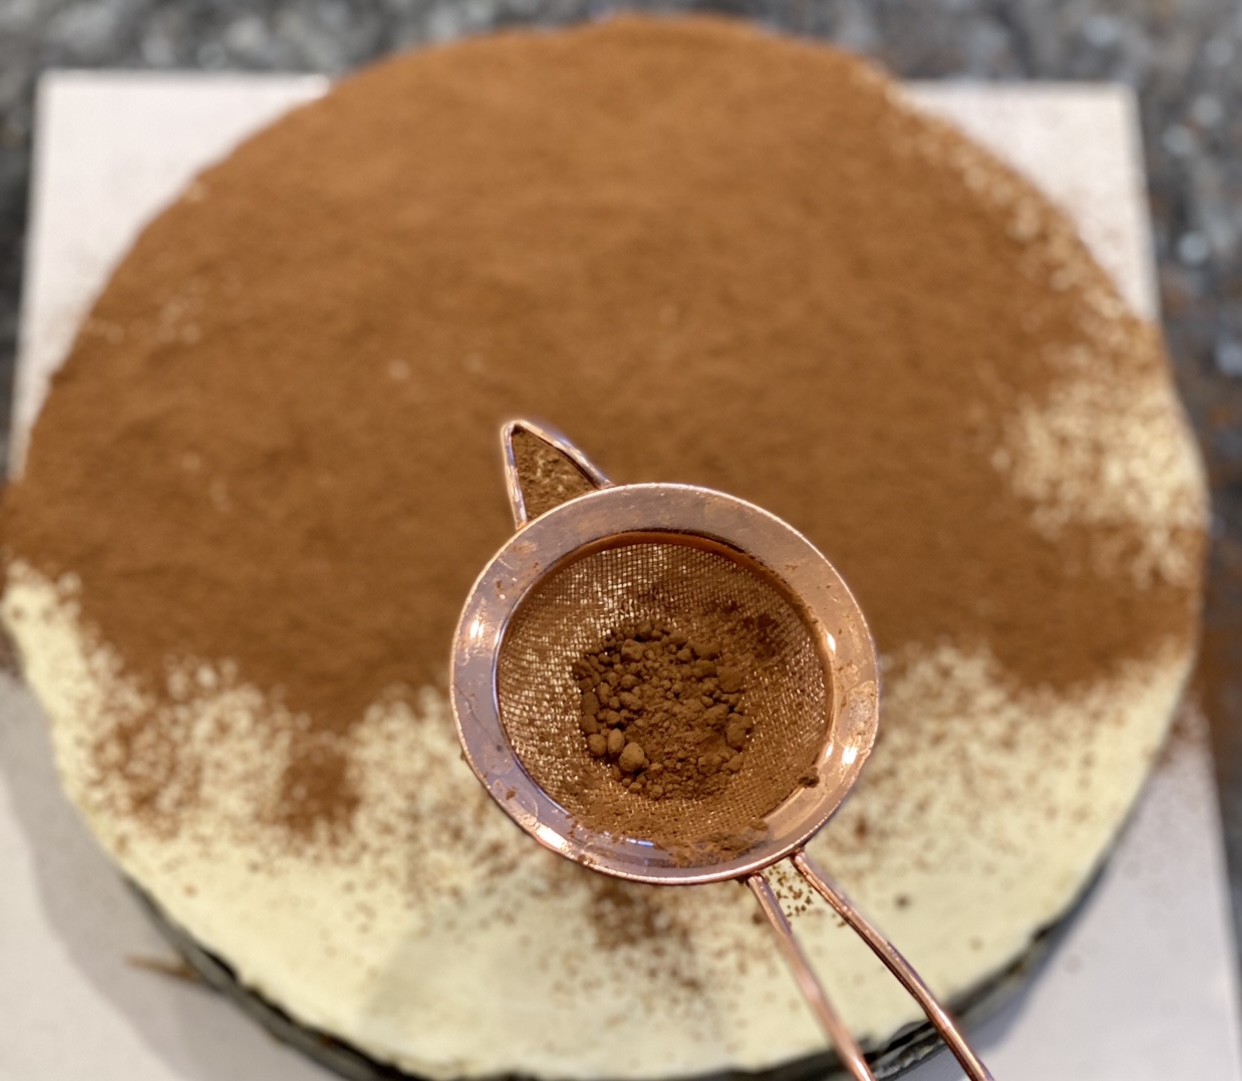

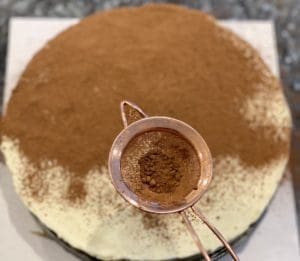
Run a flat thin knife between the sides of the cake and the tin. Release the sides of the tin, then use a thin spatula to smooth out the sides and edges of the cake to make it look neater. Serve the cake with the base of the tin, but place it on a serving plate. Dust the top surface of the cake generously with cocoa powder.
Leftovers – Store the tiramisu in a sealed container and refrigerate for up to 3 days. This tiramisu cake also freezes really well and still tastes incredible when defrosted. I froze the unsliced part of the cake and froze it for 4-5 hours as this makes it easier to slice the cake into nice uniform slices. I then individually wrap them up with plastic wrap and store them in the freezer.
A Third-Party Application calculated the calories and nutritional information. Please use this as an approximate guide only.
Cooking measurements are in Australian standard spoon and cup measurements.
I would love to hear your thoughts or feedback on this post. If you have made this recipe, please show your support by commenting and rating this recipe. You can do this by scrolling down or by clicking the green circle on the left. To prevent spam on this site, an email address is required but it won’t be published.
Cheers (I’ll drink to that) – Cat Tre
Easy Tiramisu Cake
Ingredients
- 400 gm mascarpone cheese (NOTE 1)
- 3 tsp vanilla extract
- 450 ml thickened cream (NOTE 2)
- ½ cup caster sugar (NOTE 3)
- 26-30 Savoiardi biscuits (lady fingers) (NOTE 4)
- 1-2 tbsp cocoa powder (unsweetened, for dusting)
For the coffee mixture
- 1½ cup strong black coffee (NOTE 5)
- 3 tbsp coffee liqueur (more or less, adjust to taste) (NOTE 6)
- 1 tbsp caster sugar
Instructions
- Place the mascarpone and the vanilla into a mixing bowl. Whisk with a hand or stand mixer on low for 30 seconds, then increase the speed to medium-high for 2 minutes or until smooth and thick.
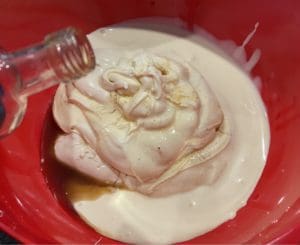
- Place the cream and sugar in a separate mixing bowl. Whisk on low for 30 seconds, then increase speed to medium-high for 1-2 minutes or until the cream reaches medium peaks.
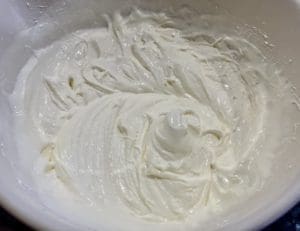
- Transfer all the whipped cream to the mascarpone mixture. Whip on high for 2-3 minutes or until firm peaks. This is important, as a firm cream and cheese mixture will help set the cake and give it structure.
- Lay out the biscuits in the base of a 24cm (9.5in) spring form cake tin (a tin with removable sides). You may need to slice or shave the edges of some biscuits so they fit snugly together without big gaps. Don't worry if it doesn't look pretty, it won't affect the overall look or taste at the end.
- Make the coffee mixture – In a flat bowl, mix the hot coffee, sugar and liqueur together until the sugar has dissolved.
- Remove a biscuit from the base of the tin and quickly dip the entire biscuit into the coffee mixture and place it back into its space in the tin. Repeat this step with the remaining biscuits for the first bottom layer only. Spoon half of the cheese and cream mixture over the biscuits, then use a spatula to smooth it out evenly. Place another layer of coffee-dipped biscuit and then cover it with the remaining cream and cheese mixture. Smooth the surface of the cake as best as you can, then cover with plastic wrap/film. Transfer the cake to the fridge to chill for at least 4 hours, or even better, overnight.
- Run a flat thin knife between the sides of the cake and the tin. Release the sides of the tin, then use a thin spatula to smooth out the sides and edges of the cake to make it look neater. Serve the cake with the base of the tin, but place it on a serving plate. Dust the top surface of the cake generously with cocoa powder.
