Hokey Pokey Ice Cream (no-churn)
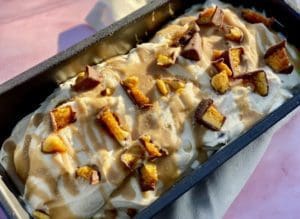
This no-churn Hokey Pokey Ice Cream is incredibly simple and irresistible with loads of chocolate honeycomb and butterscotch sauce.
The no-churn Hokey Pokey Ice Cream
I have a confession to make… are you ready for it? I’ve never made proper homemade ice cream. In cooking shows, contestants pull out large expensive equipment to make their ice creams.
For someone that loves collecting kitchen appliances that I sometimes hardly use (my husband, Tomasi would vouch for that), I never thought about getting an ice cream machine. Like most people, I’m crazy about ice cream, but the thought of having to freeze a gigantic bowl overnight and having to make space for another large kitchen appliance wasn’t appealing.
Besides, supermarkets and ice cream stores offer us a heavenly range of ice cream that’s hassle-free. So, I wasn’t that keen on making my own. Then, out of the blue, no-churn ice cream popped out from nowhere. Foodies on Instagram posted pictures of the popular ‘only 3-ingredients no-churn ice cream’ and some claimed their ice cream tasted way better than store-bought ones. Well, guess what? I’m sold, so let’s do this!
The magic 3 ingredients are thickened cream, sweetened condensed milk and vanilla extract. Let’s not forget to mention that special ice cream gadgets aren’t required!
In one week, I made 3 versions of this no-churned ice cream. This one is by far the best, so say hello to this New Zealand inspired no-churn ‘Hokey Pokey ice cream’.
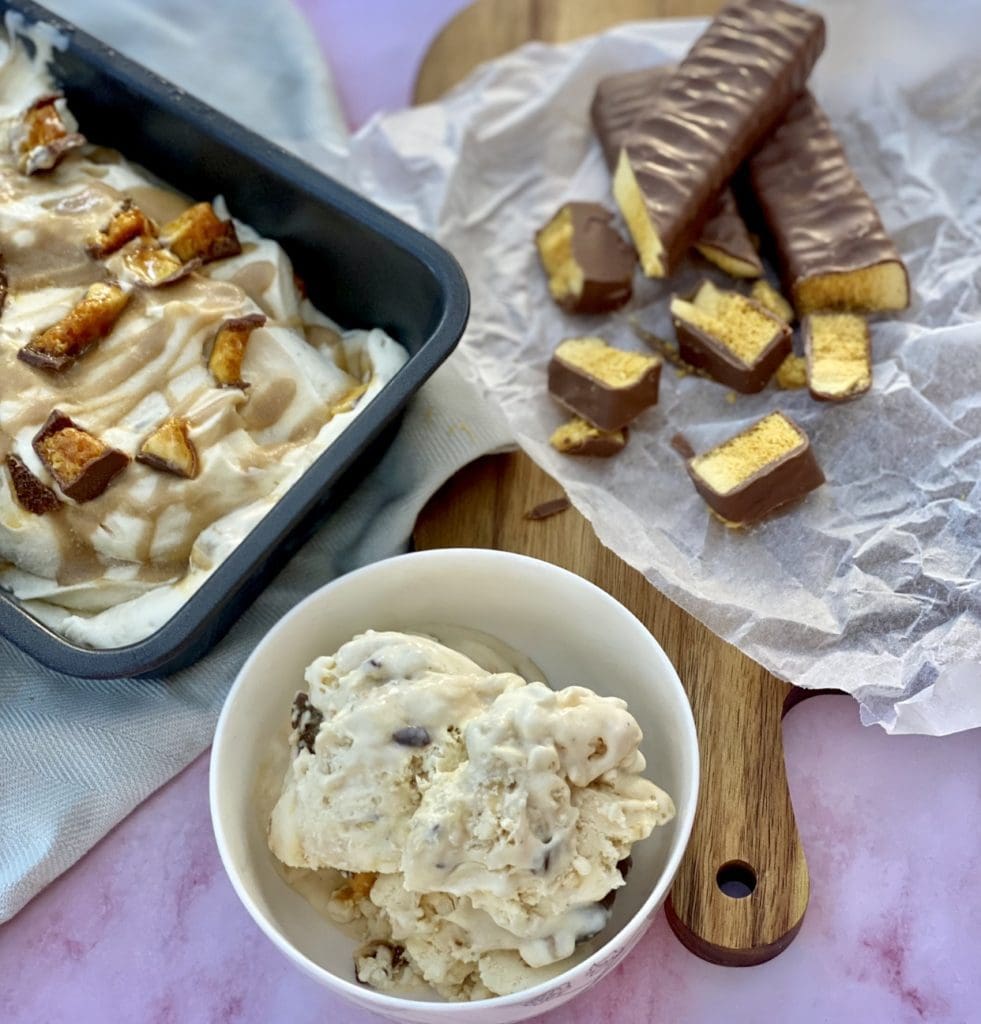
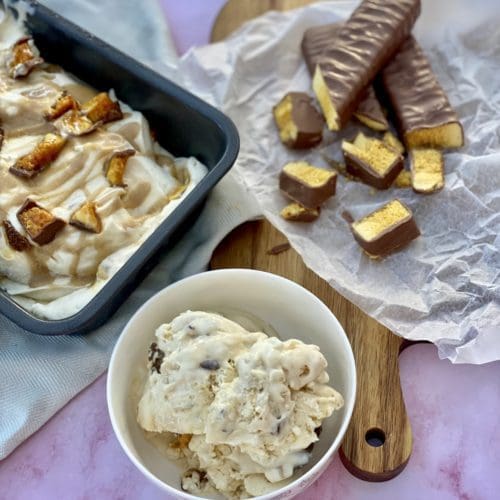
Hokey Pokey ice cream is my husband’s favourite flavour. It’s vanilla ice cream mixed with honeycomb (hokey pokey) pieces. This version has chocolate, honeycomb and butterscotch syrup drizzled into the ice cream and OMG it’s utterly divine!
What does no-churn ice cream taste like?
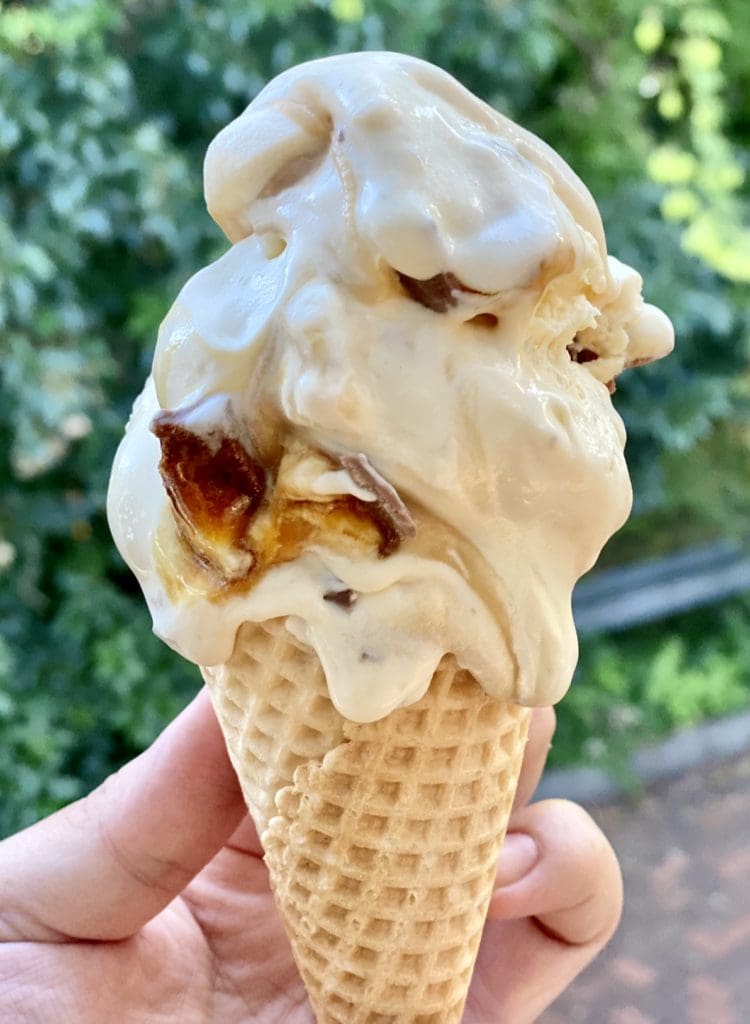
I’m suspect of fad foods that go viral, but man, this no-churn ice cream doesn’t disappoint. Easy, affordable, creamy and super delicious.
With my first attempt, I made the 3 ingredients no-churn ice cream. My taste testers (hubby, Tomasi and sister, Nara) and I unanimously agreed the ice cream was tasty, but it was way too sweet. The texture was silky and creamy but it had a subtle ‘sticky’ but not offensive texture, which is from the sweetened condensed milk. Overall, it’s a win!
The best part of this no-churn ice cream is you have the option to be ultra-creative with a variety of flavours to mix in. In saying that, let me tell you that my first flavoured ice-cream invention try was A BIG FAIL!

I loved the idea of coffee and bubble (pearls or boba) ice cream, so I put this plan into action. Everything was going all so well. The pearls were deliciously soft and chewy and the coffee cream was lush. I froze my ice cream overnight and I couldn’t wait to try my ice cream invention the next morning. Anyway, that morning I almost had to see my dentist as I almost lost a tooth! The pearls were no longer soft but frozen solid, like hard marbles.
Thank goodness for my next challenge. The Hokey Pokey ice cream turned out beautifully, and it was exactly what I wanted. To keep life easy, I used store-bought honeycomb chocolate bars and made a quick butterscotch syrup. Serve this at your next dinner party and watch how impressed your guests will be when you tell them the ice cream was homemade!
Ingredients for Hokey Pokey Ice Cream
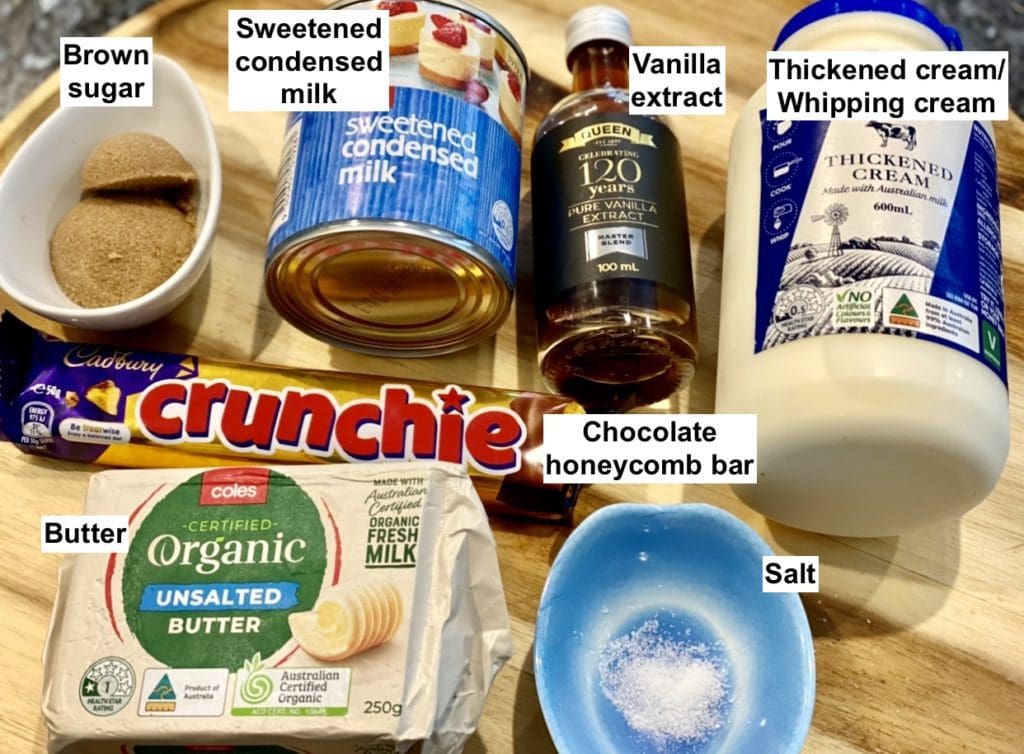
Thickened cream (whipping cream) has gelatine added to it and contains 35% milk fat. I haven’t yet tried this recipe using reduced-fat or low fat, thickened cream, but I would imagine the ice cream won’t be as creamy.
Honeycomb chocolate bar – These are honeycomb (hokey pokey) covered in milk chocolate. I used Crunchie, but any brand such as Violet Crumble would also work.
Sweetened condensed milk – Supermarkets usually stock cans of condensed milk near the long-life milk section. It’s quite thick and sticky with a very sweet milky flavour. Skim condensed milk is also available, but I haven’t tested it out with this recipe as yet.

For the latest recipes, join our FREE 3CatsFoodie mailing list
Hokey Pokey Ice Cream
Step-by-step guide with photos

Place a large loaf tin into the freezer and prepare the butterscotch syrup an hour before whipping the cream mixture.
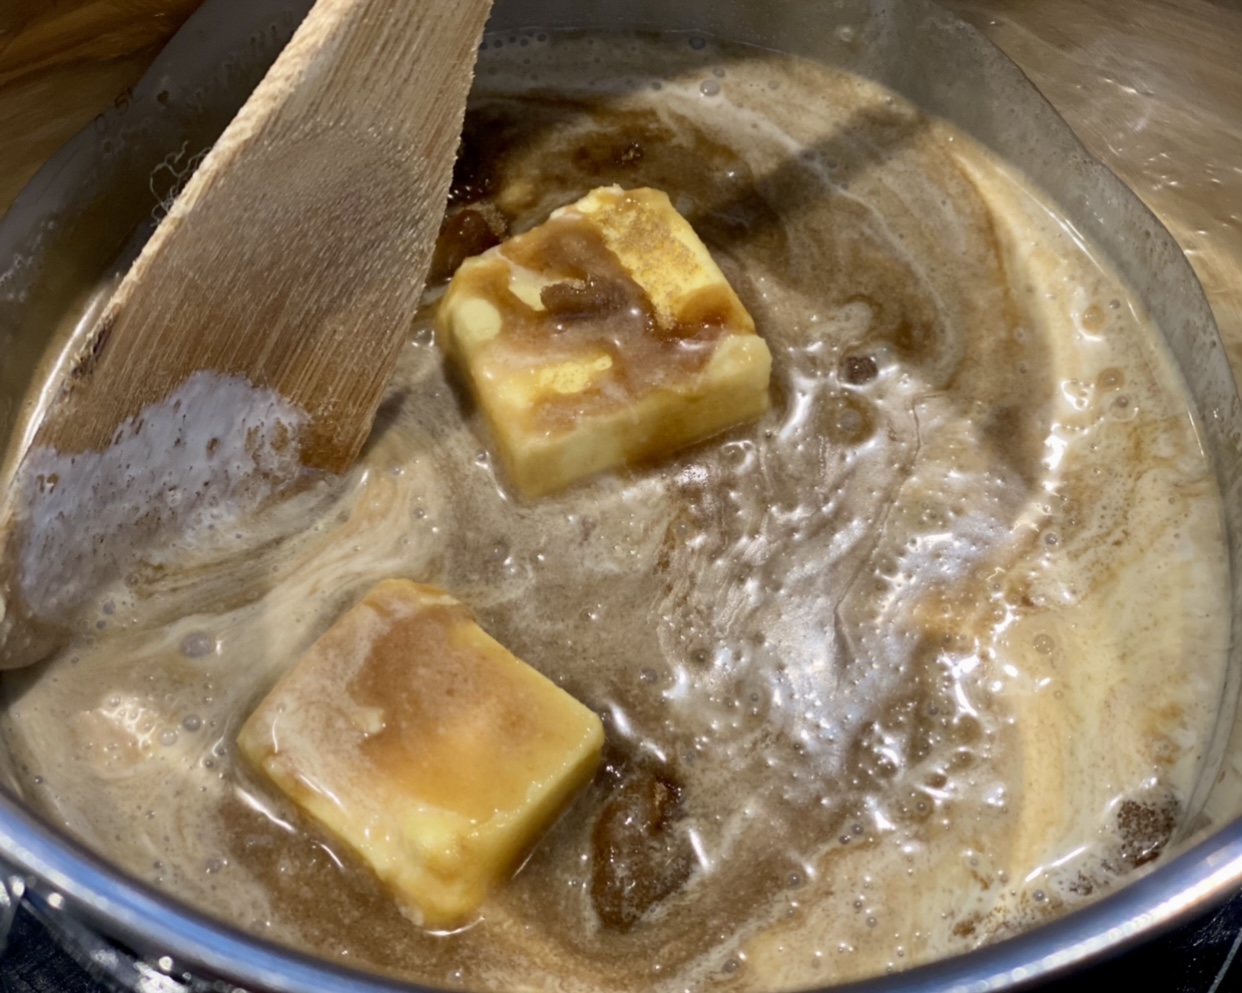
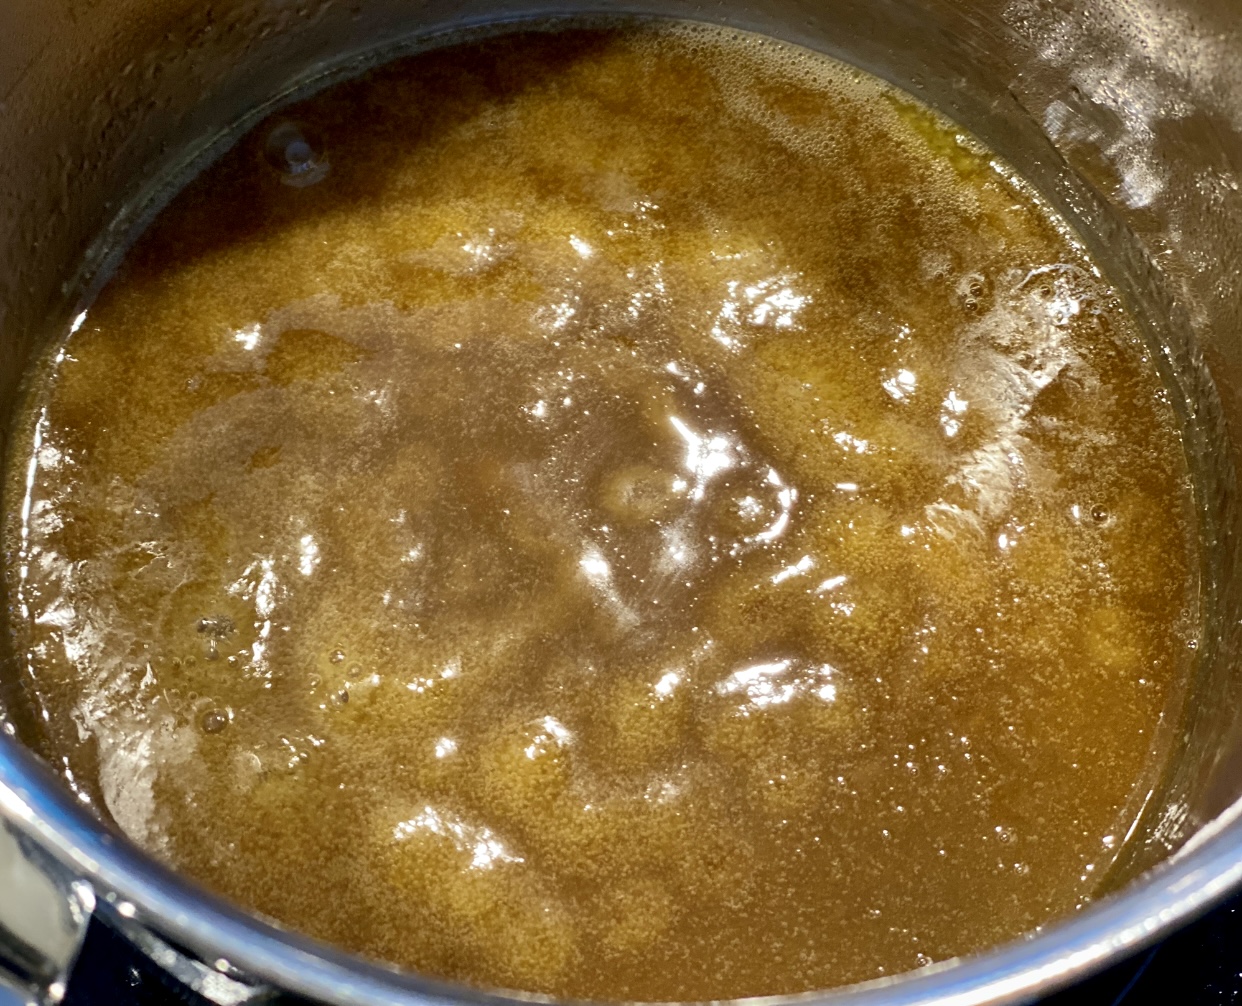
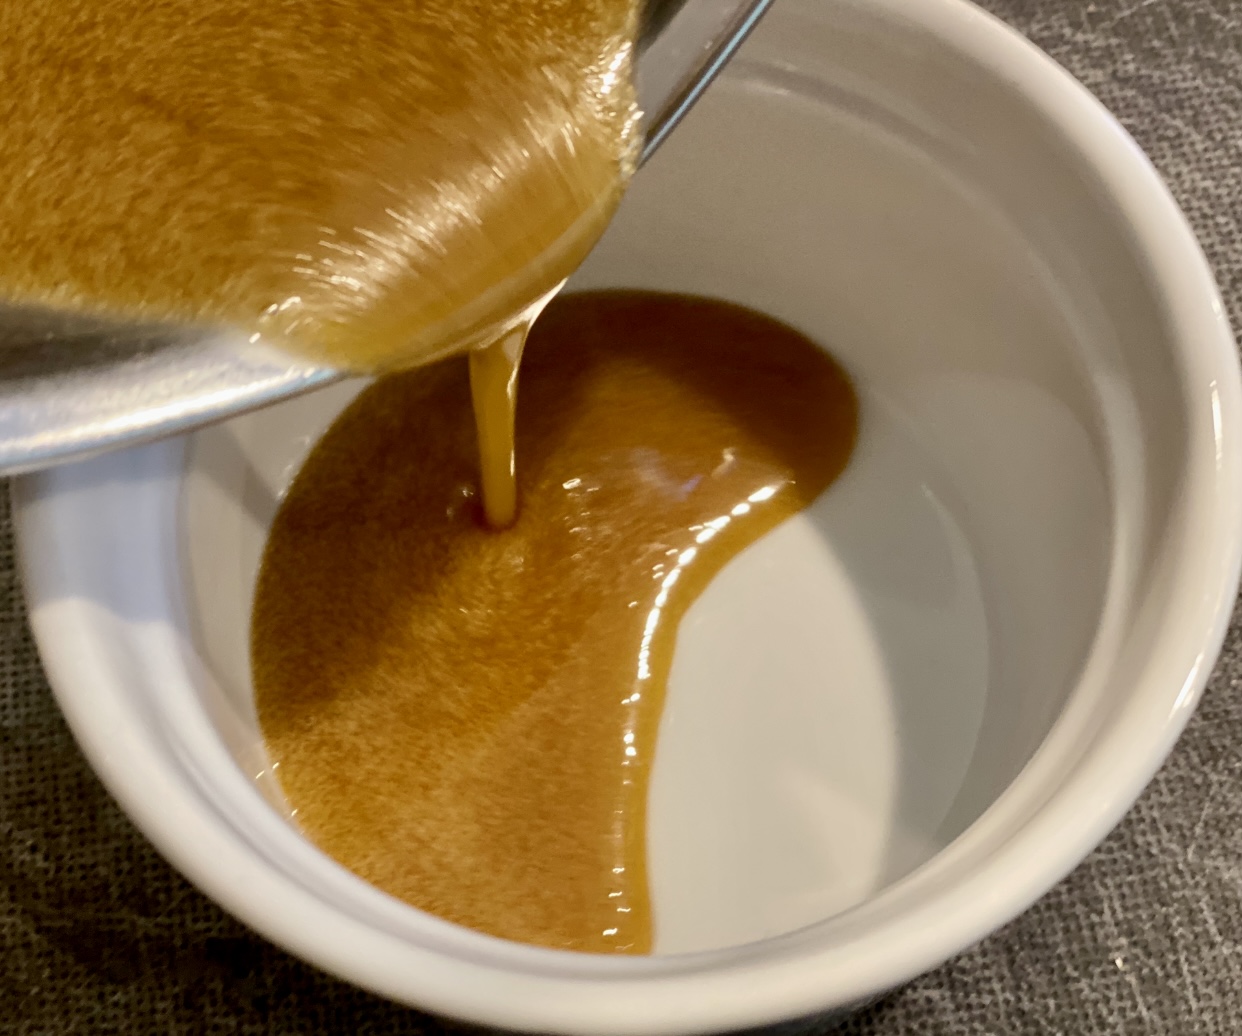
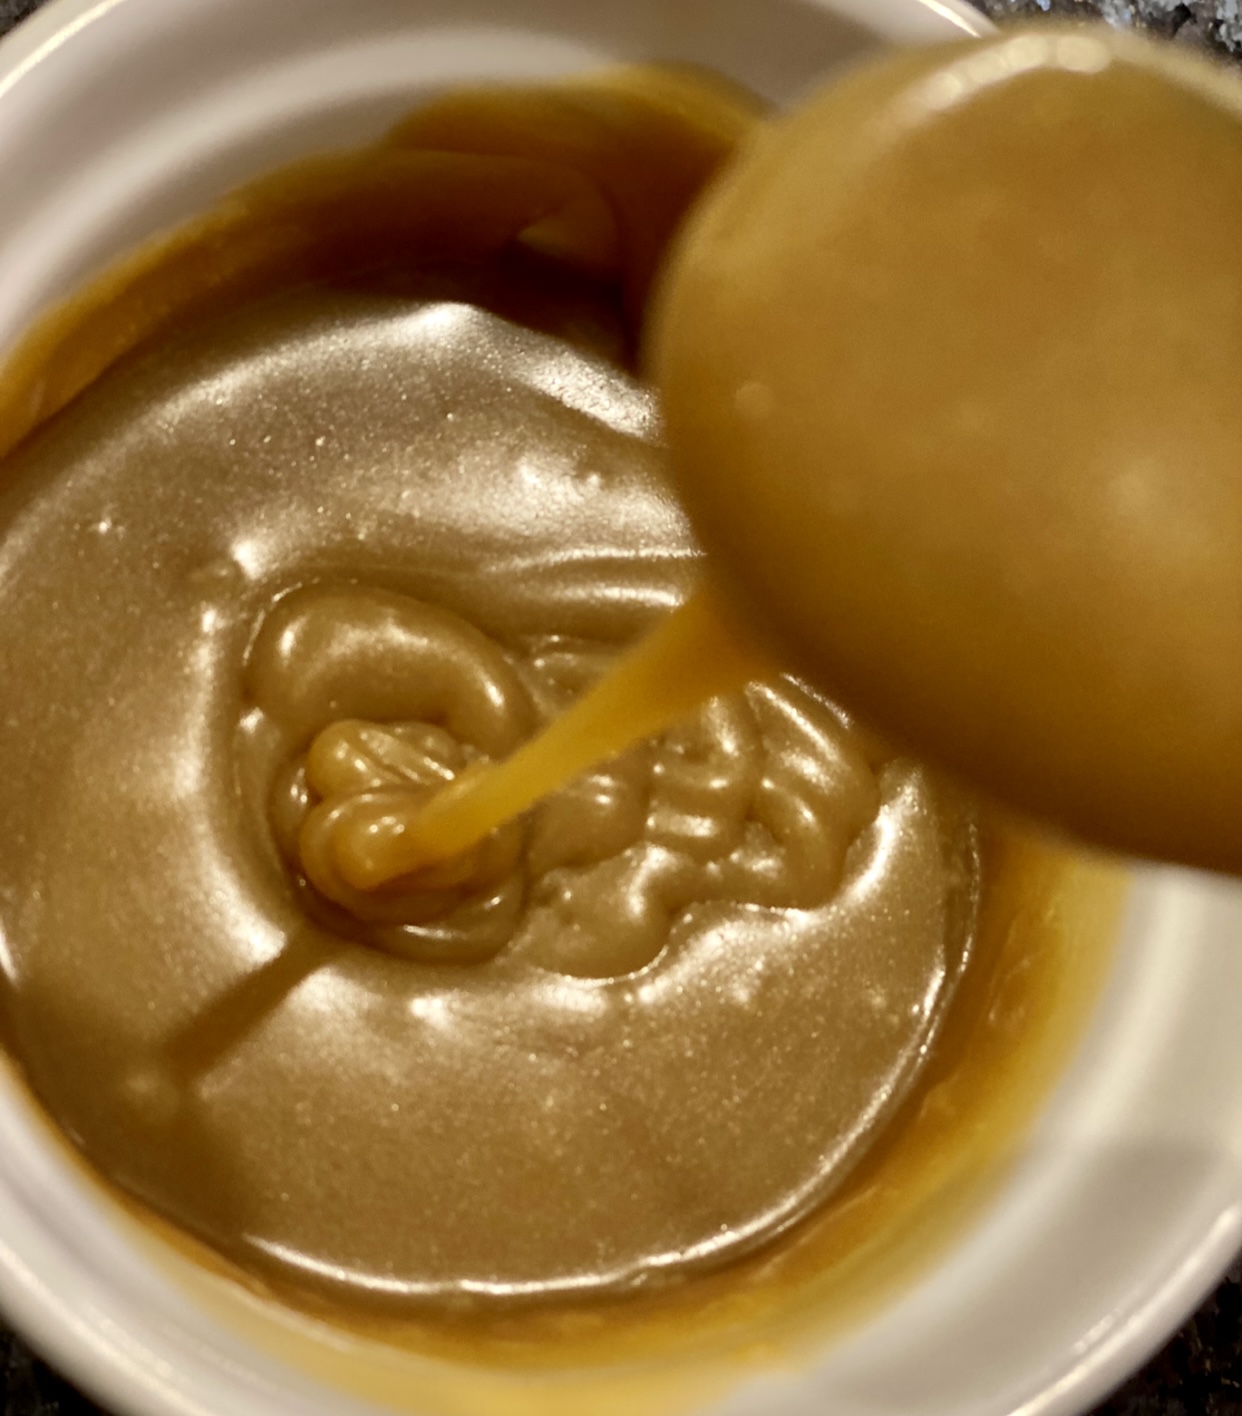
For the butterscotch syrup – In a small saucepan, place the butter, cream and brown sugar over medium-low heat. Stir regularly until butter melts and the mixture just starts to bubble. Pour the syrup into a heatproof bowl and set it aside at room temperature for an hour or until it thickens to a syrup-like consistency. If it’s still too loose, place it in the fridge for 15 to 20 minutes, then stir to combine.
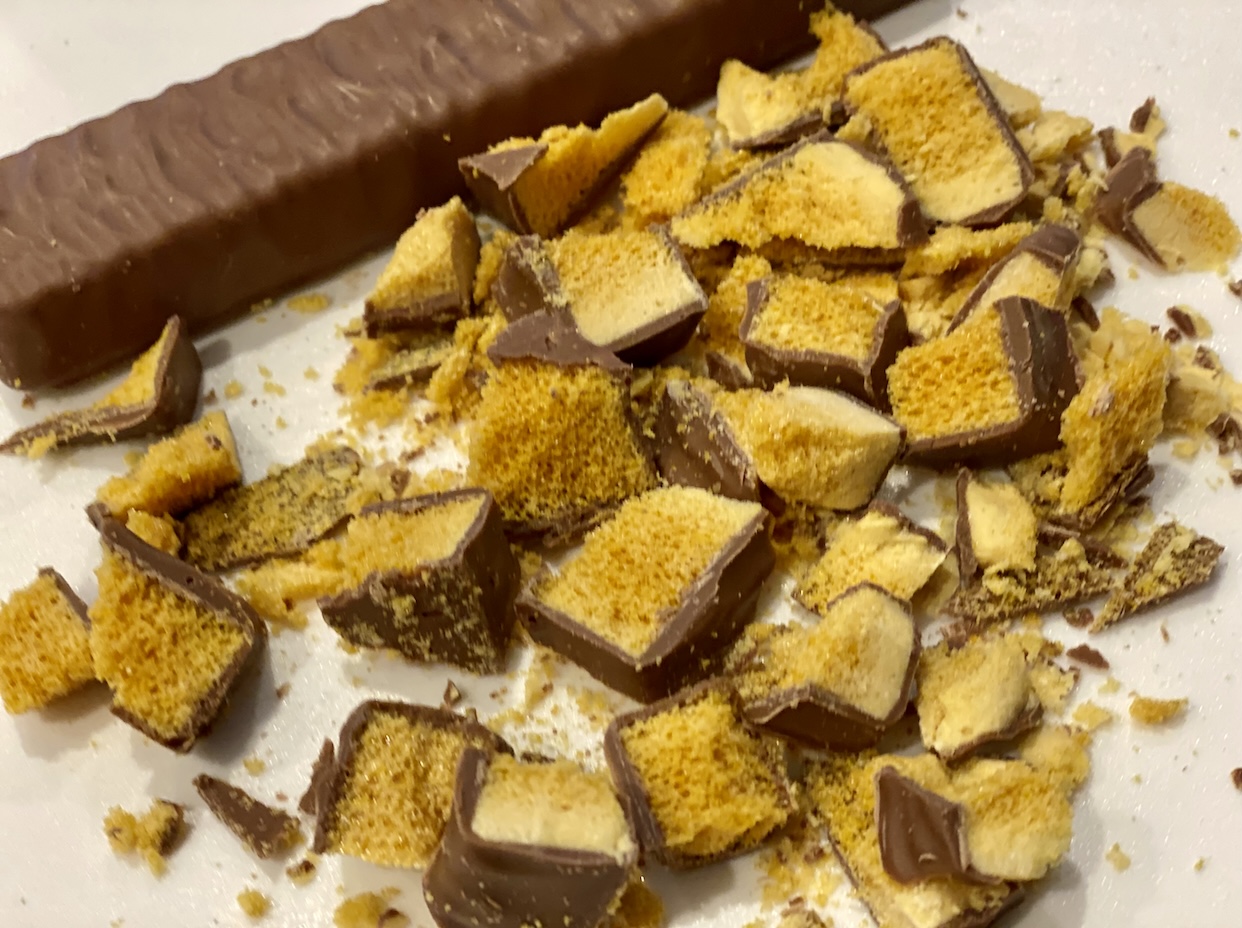
Chop the chocolate honeycomb bars roughly into chunky bite-sized pieces.
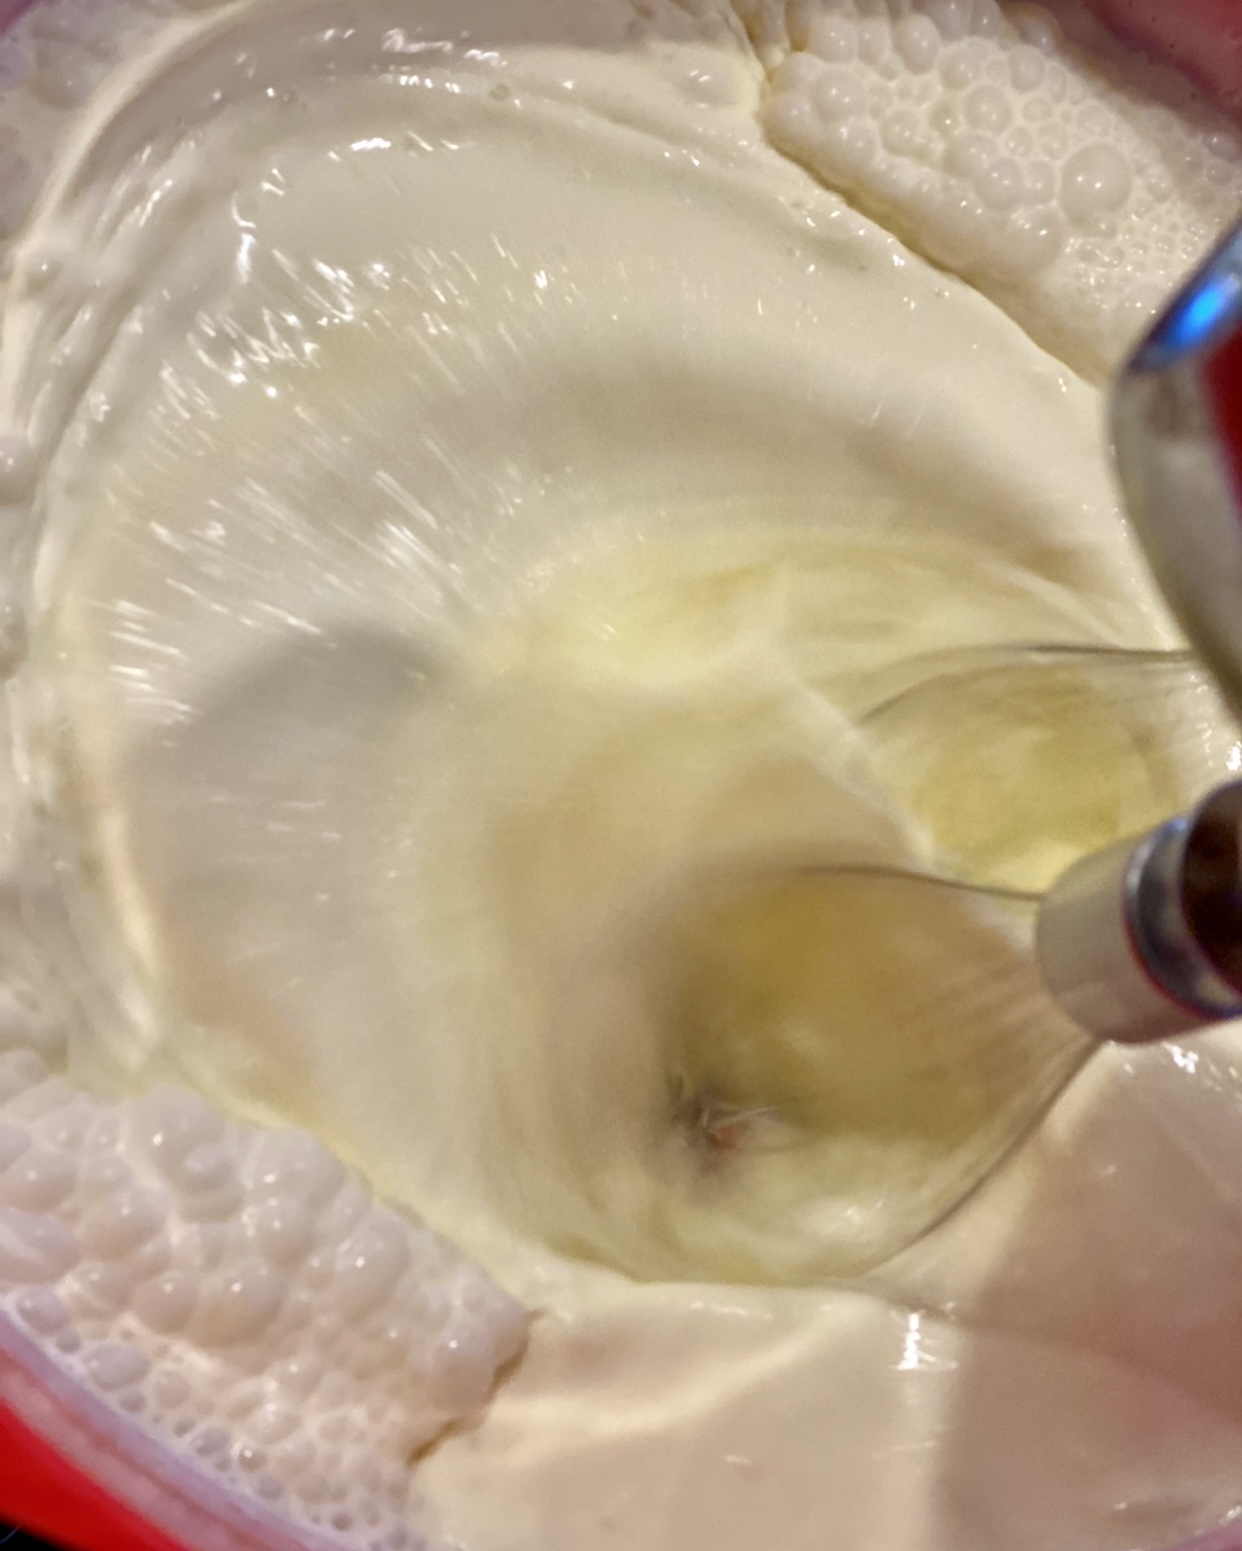
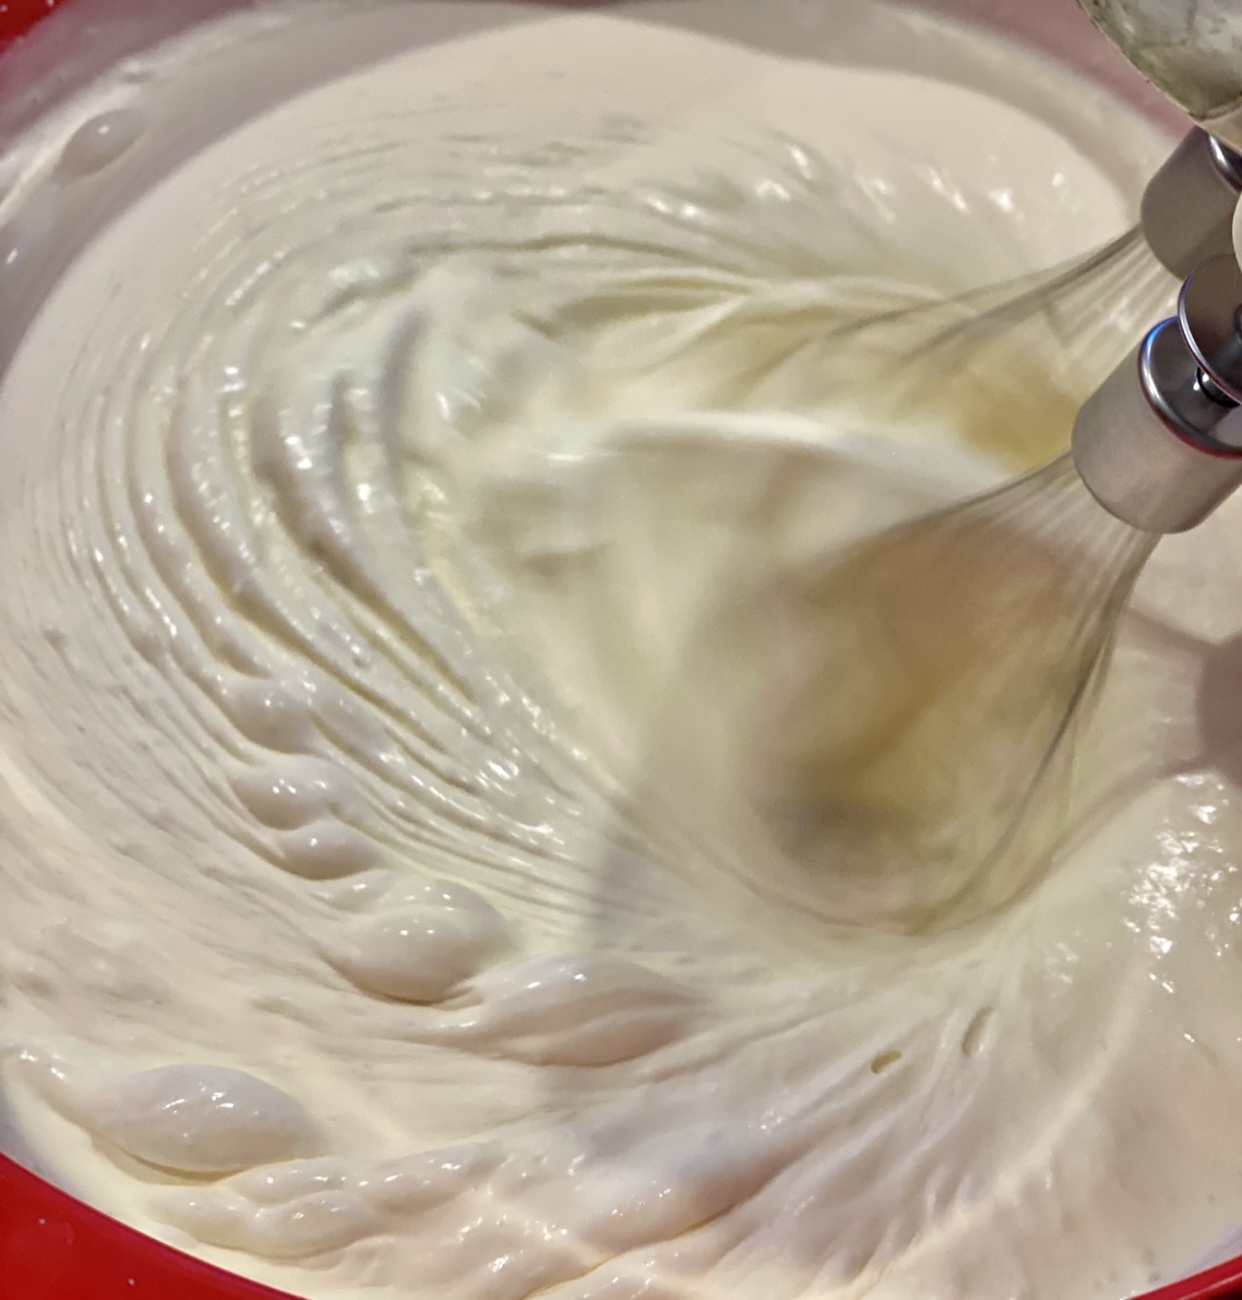
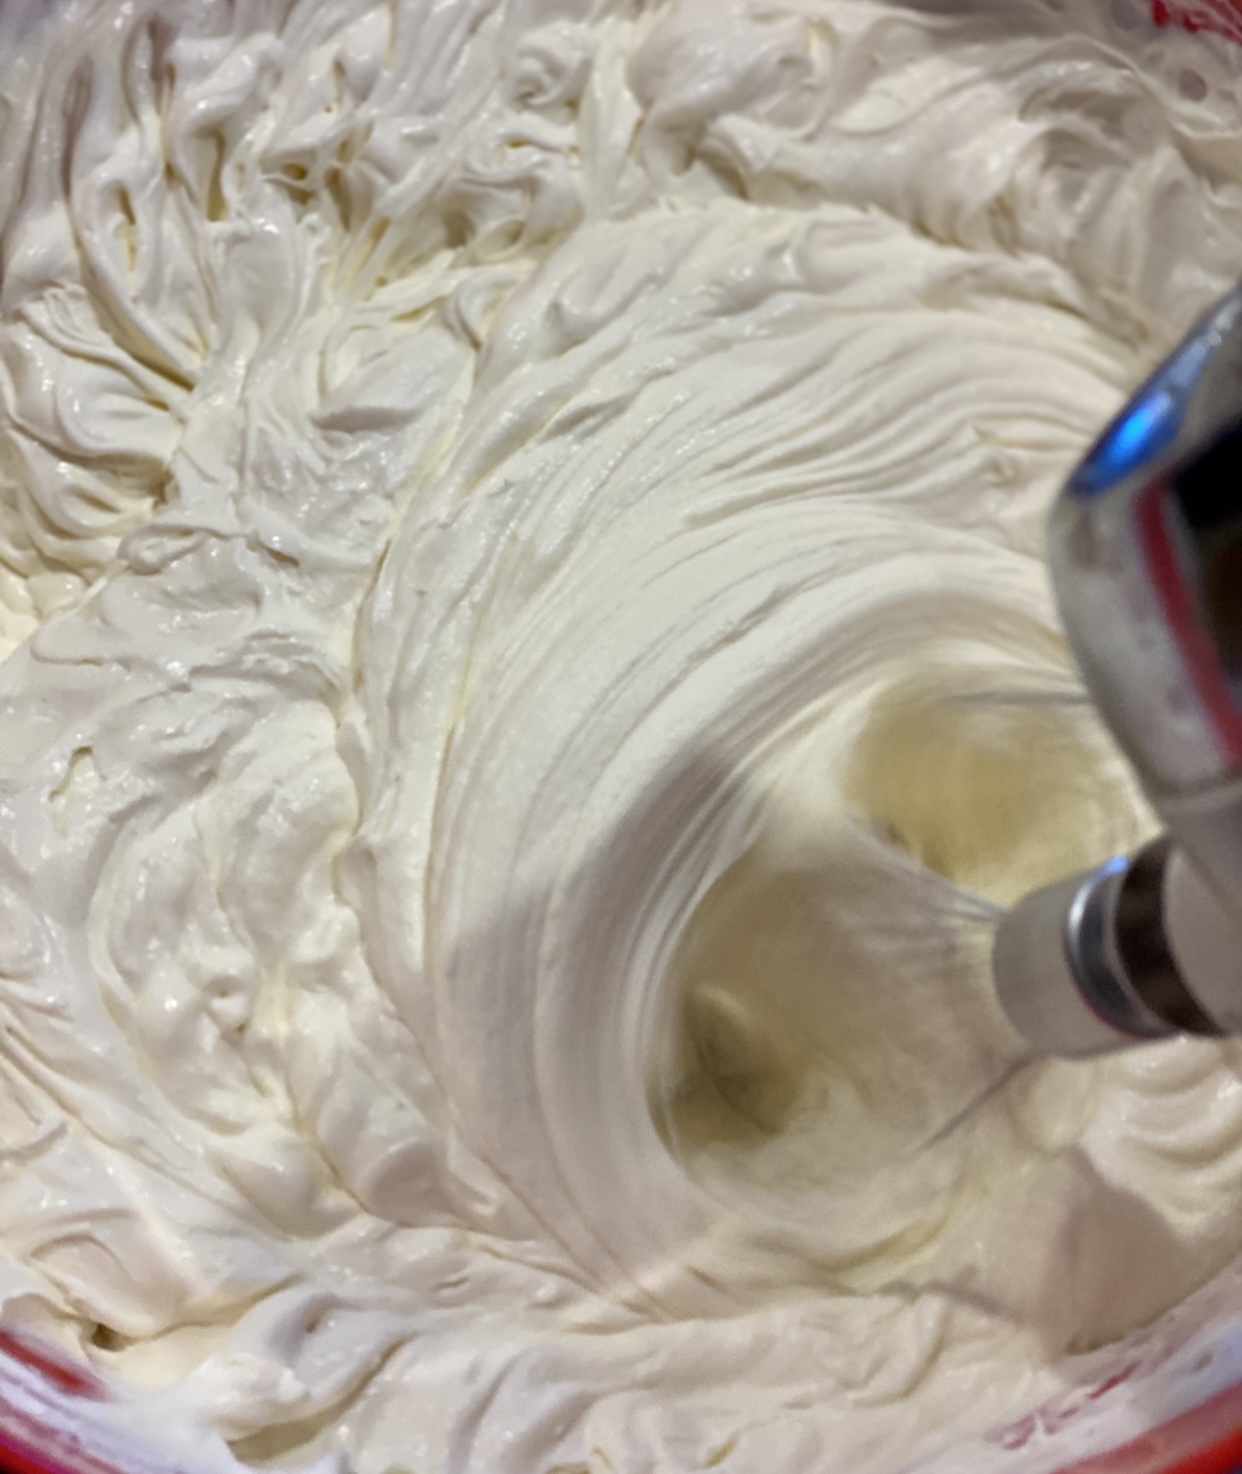
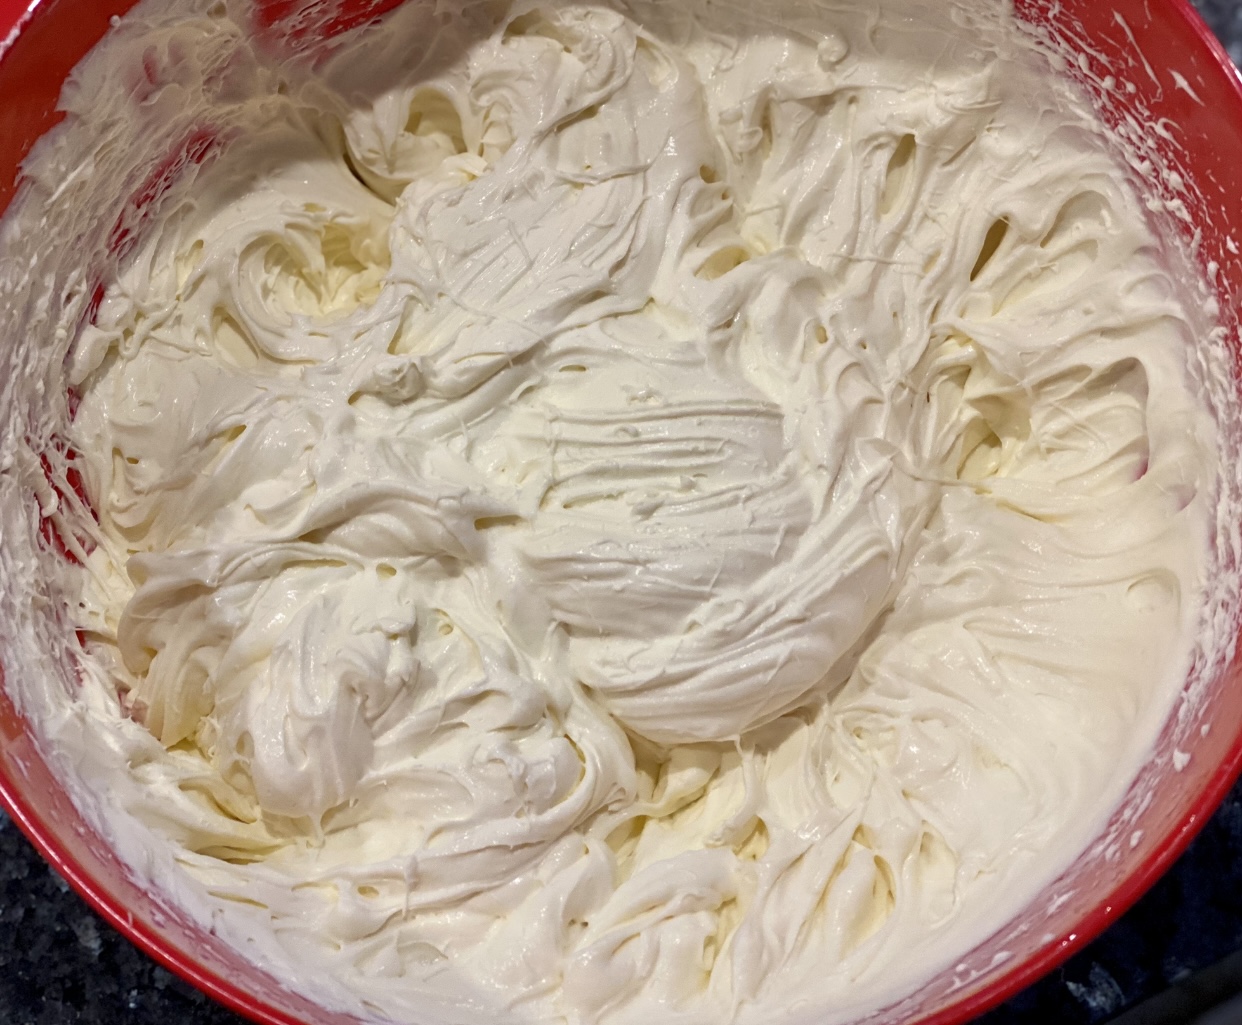
For the no-churn ice cream – Place the condensed milk, cream, vanilla and salt into a large mixing bowl. Use a hand or stand mixer to whisk the cream on medium-high speed until it reaches firm peaks. The consistency of the cream mixture should be firm enough to hold on to the chocolate and syrup so they don’t sink into the bottom.
The hardest part is waiting!
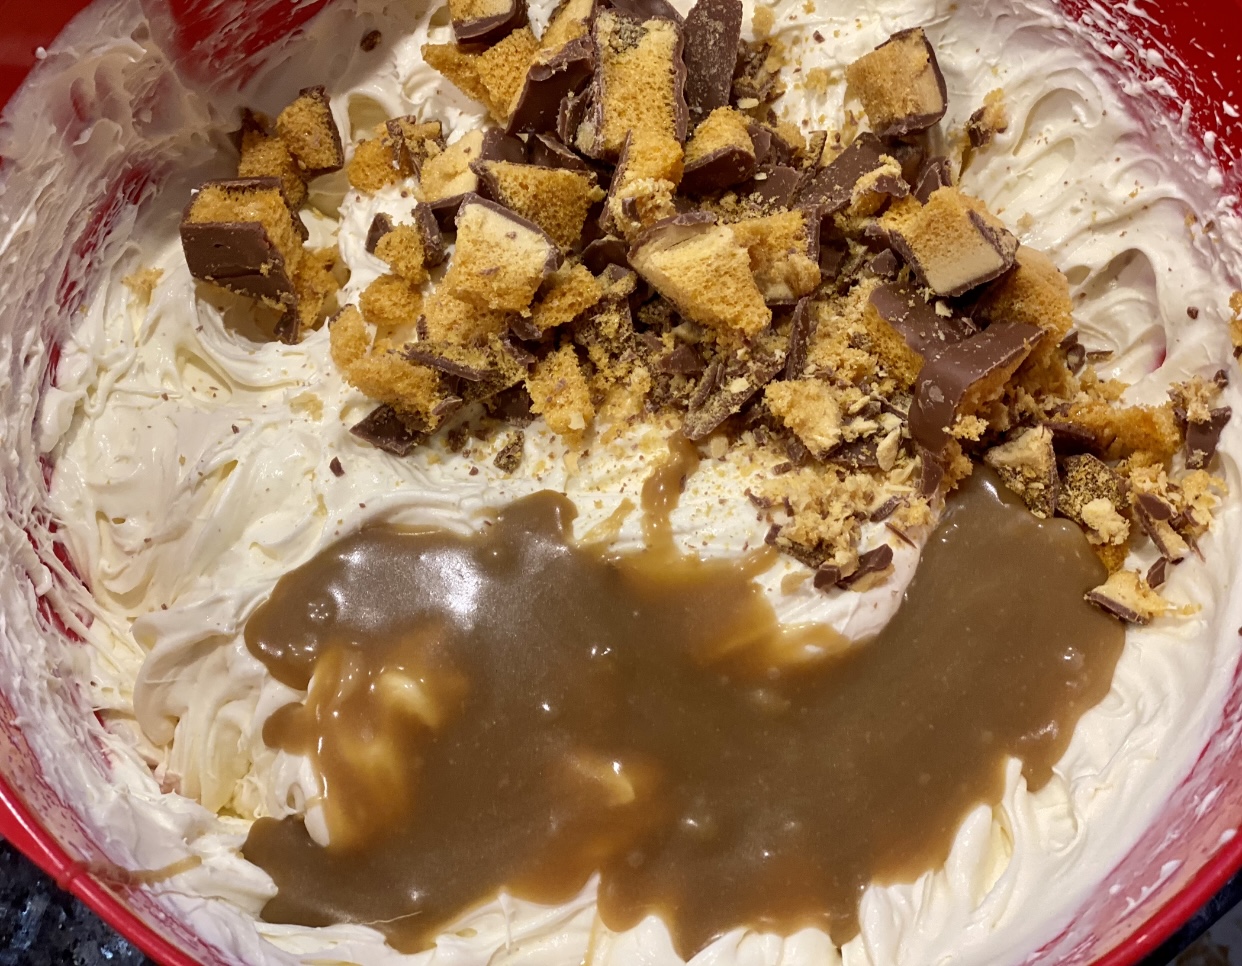
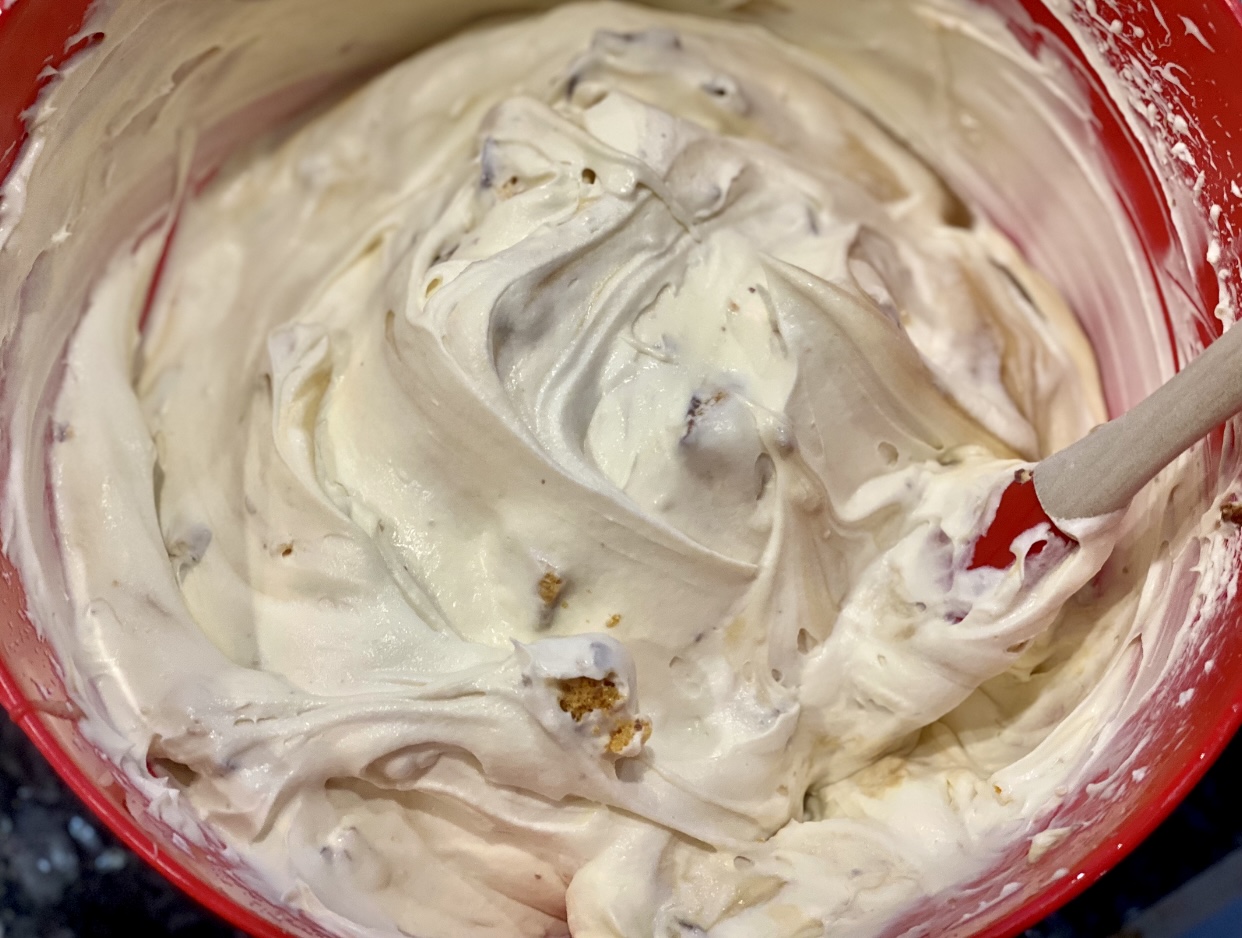
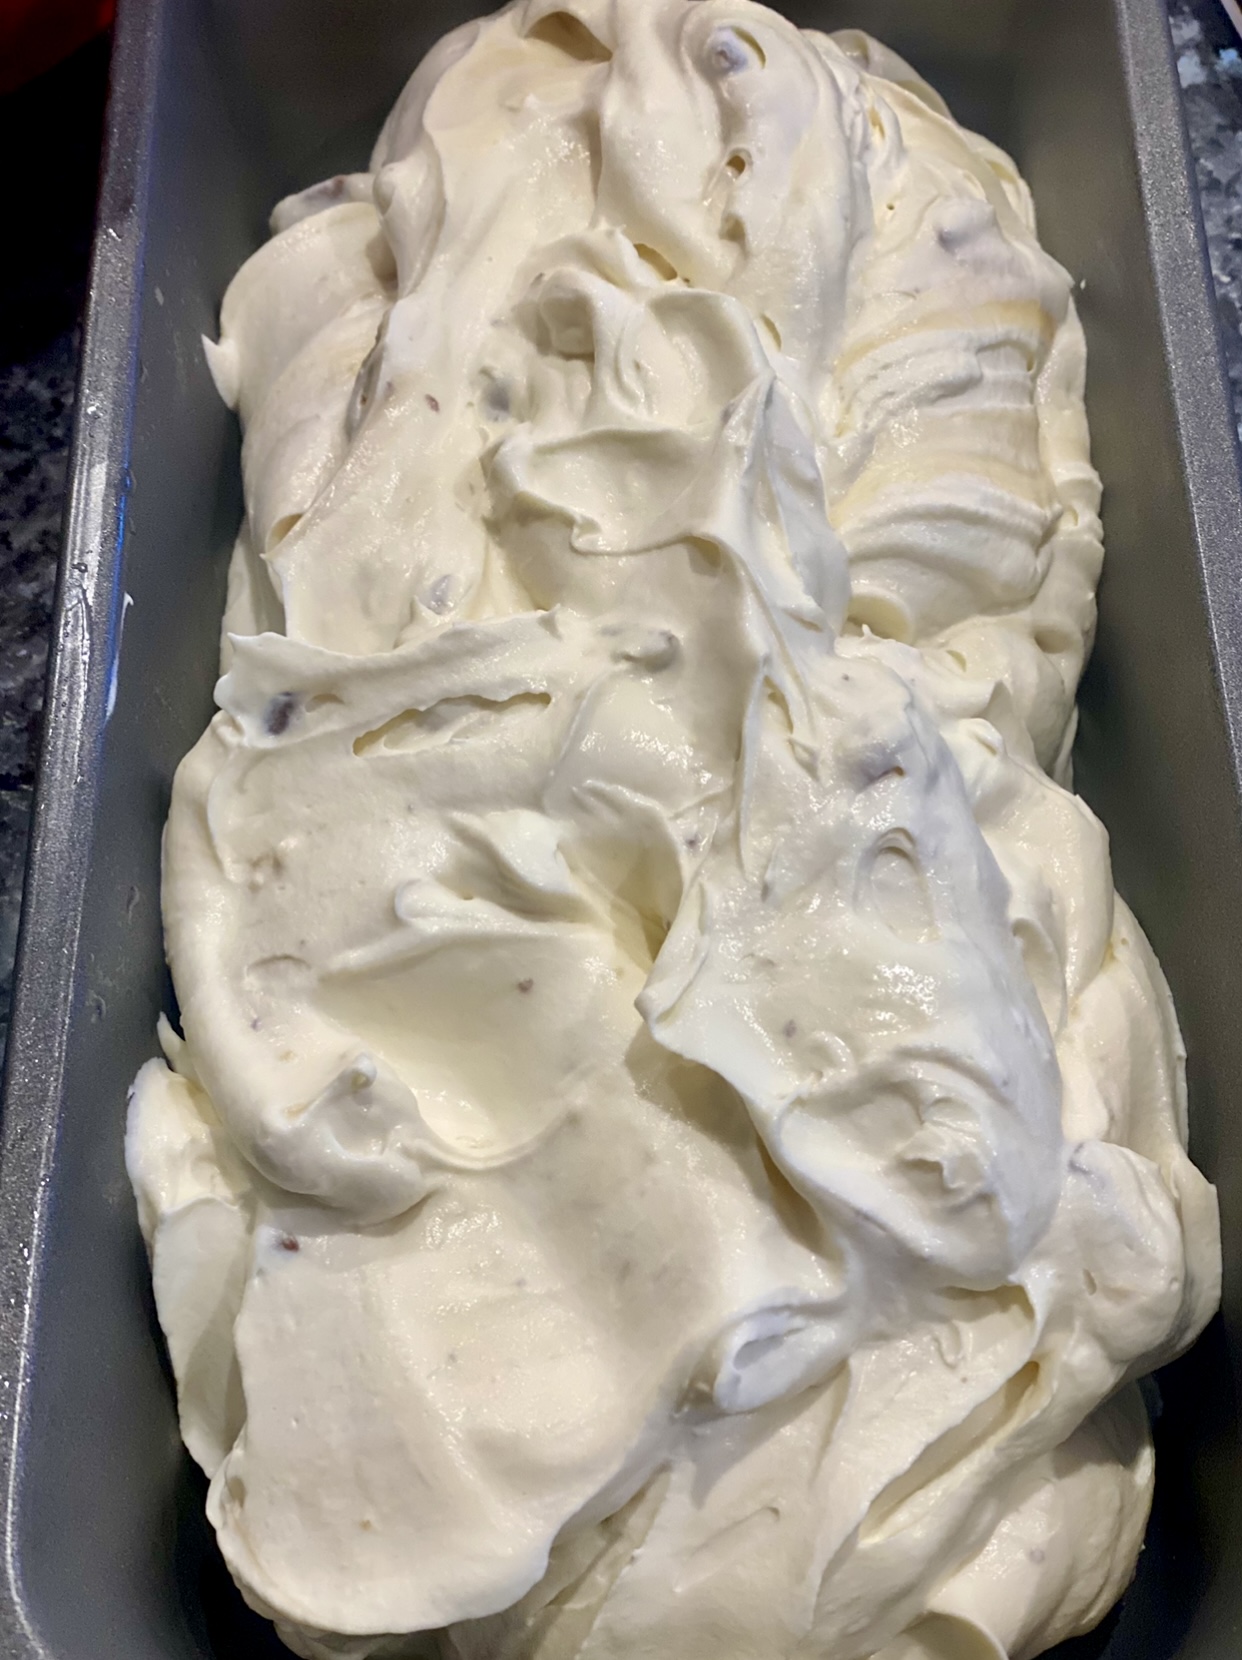
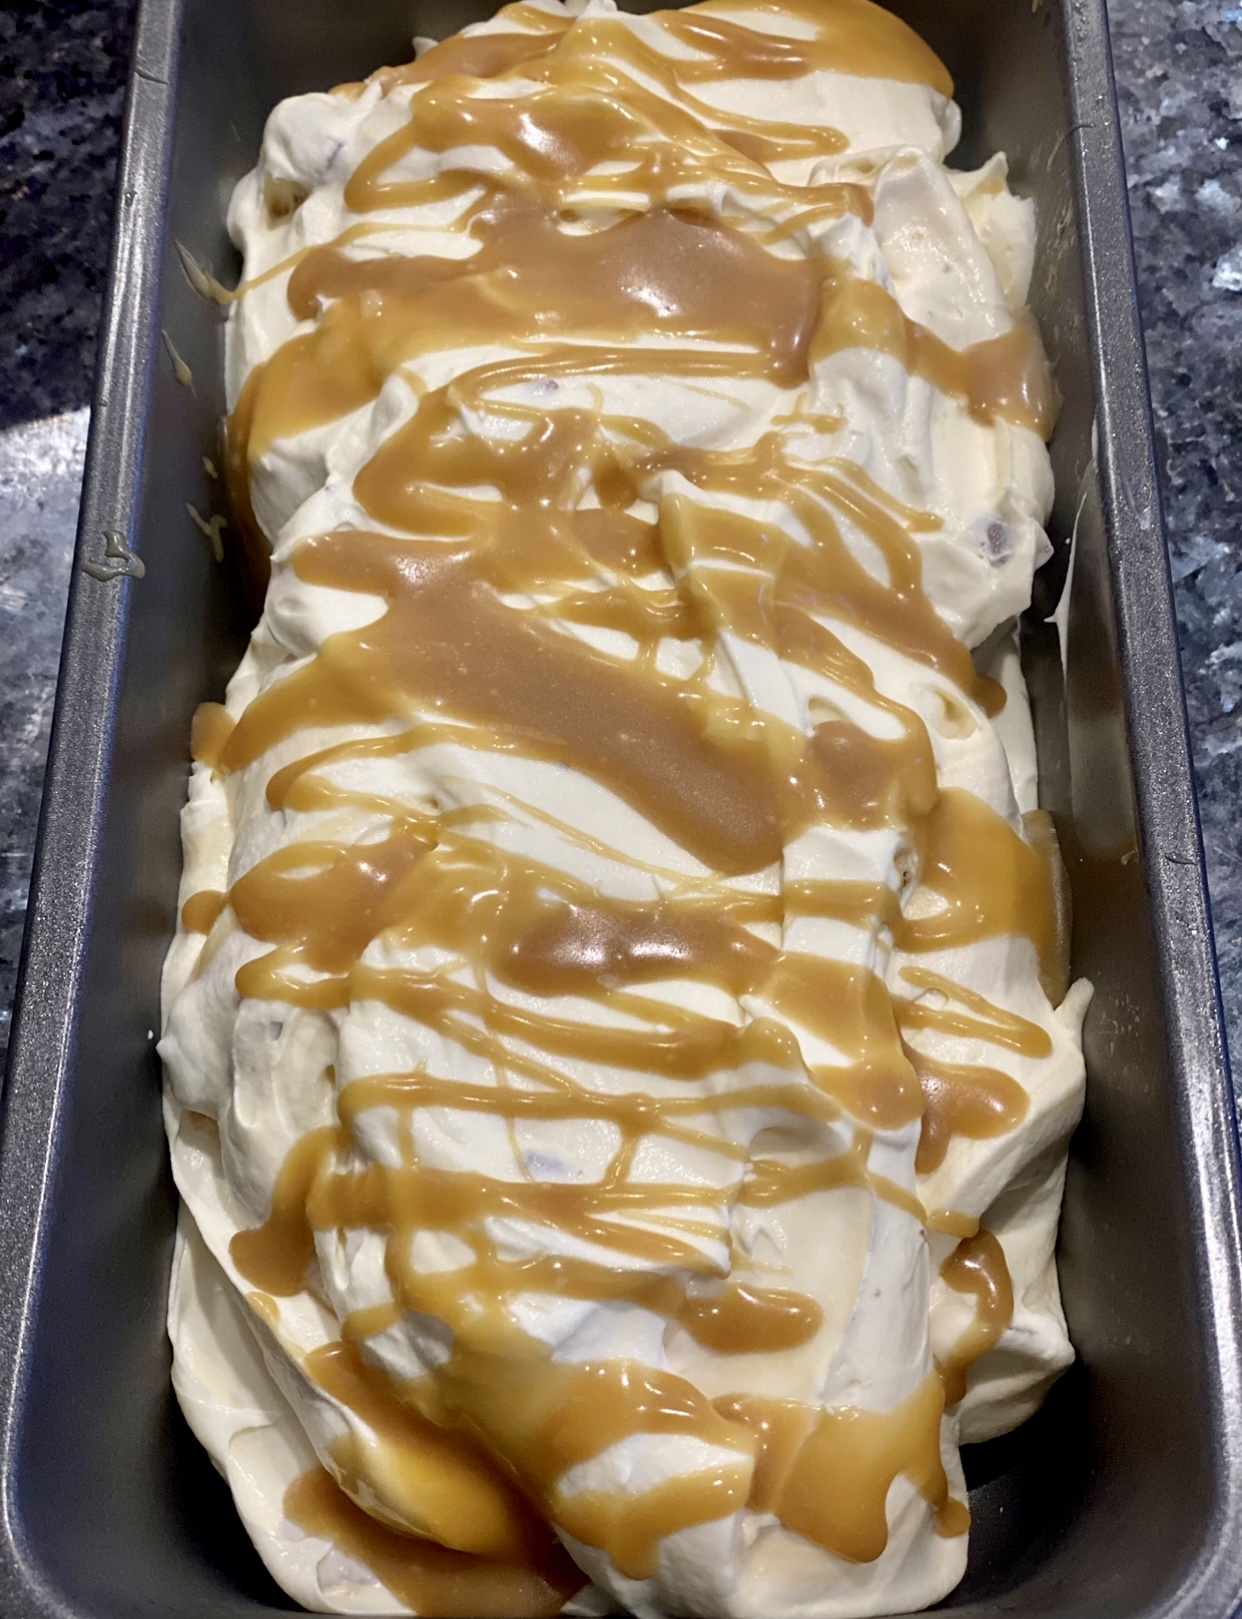
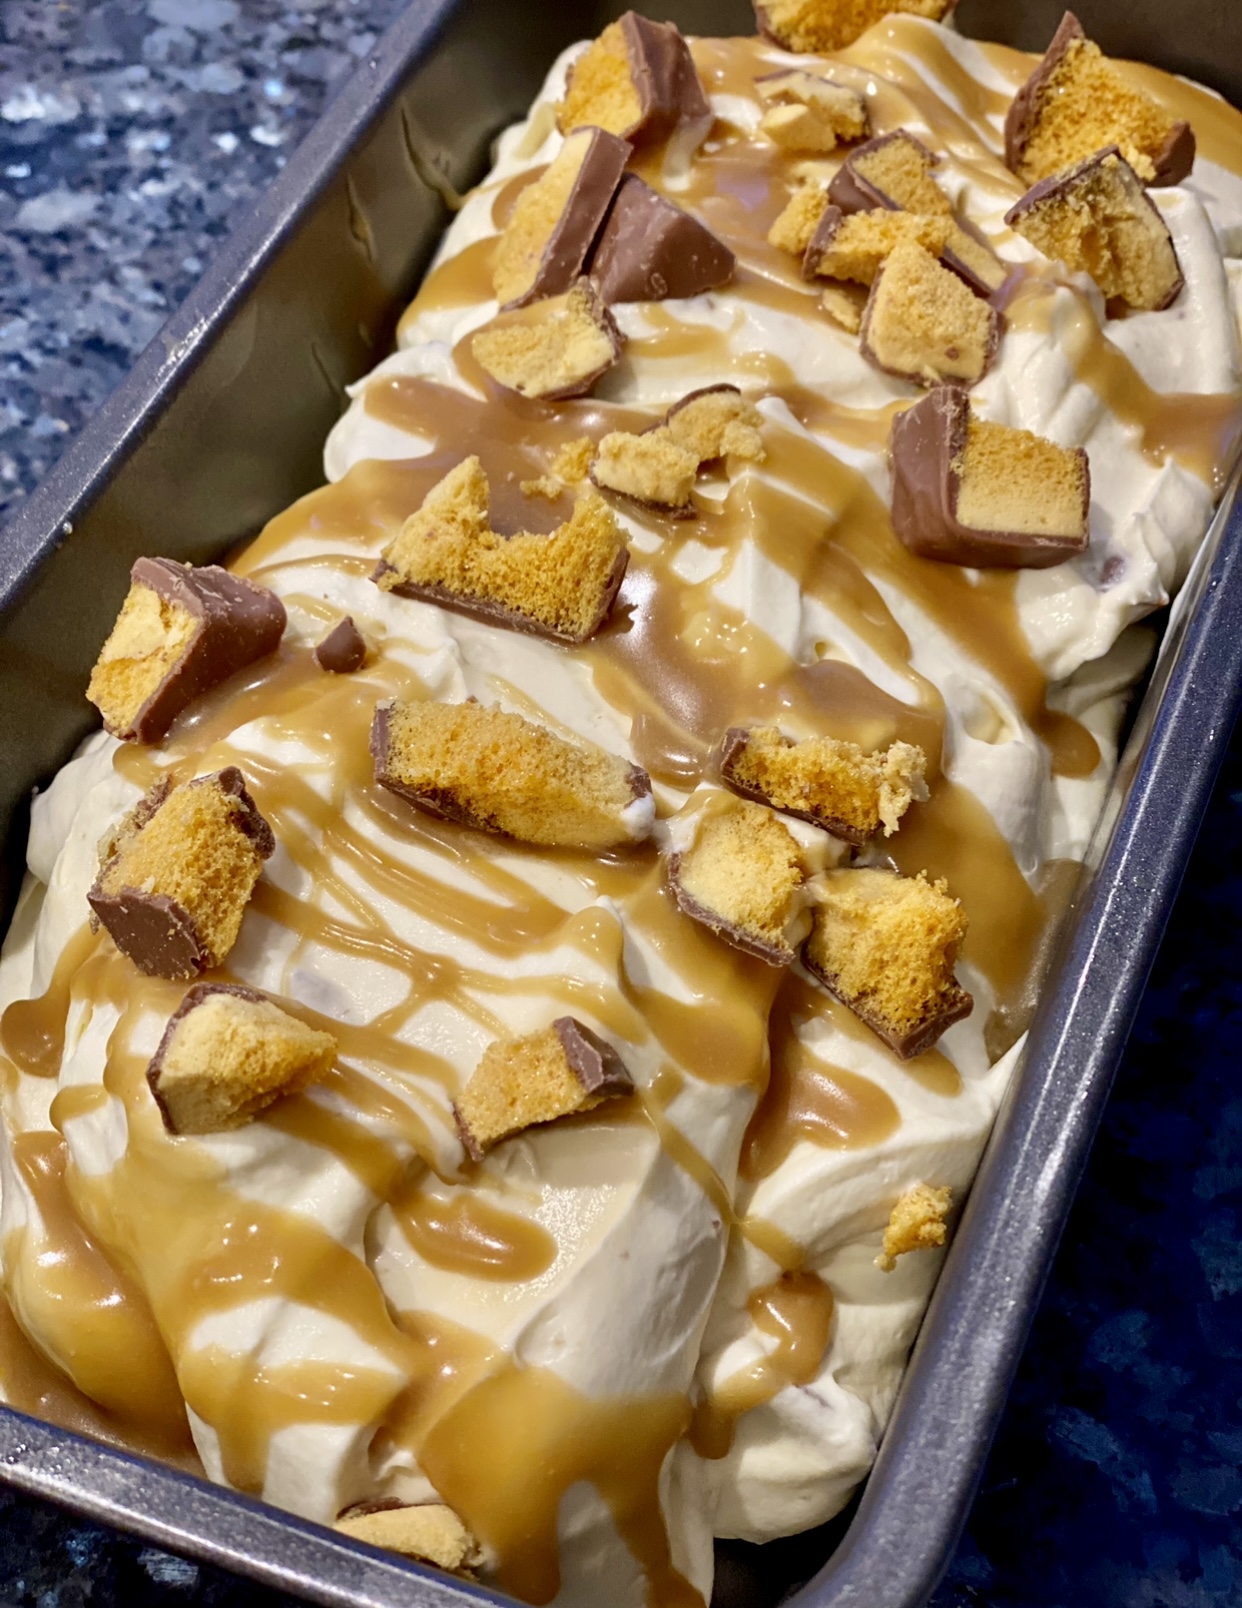

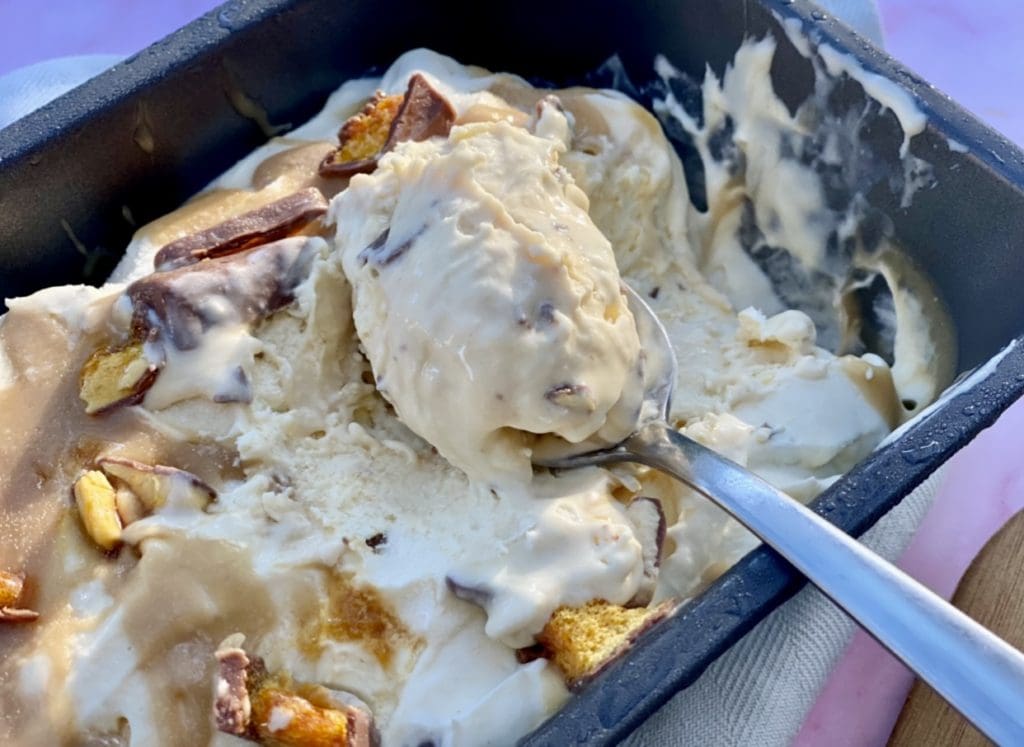
Add the butterscotch syrup and chocolate bars into the bowl with the cream mixture. Optional: leave some syrup and chocolate to place on top of the ice cream. Using a spatula, fold the syrup and chocolate into the cream gently until just combined. Place the ice cream mixture into the loaf tin that has been in the freezer, then wrap the tin with plastic film/wrap. Freeze the ice cream for 4 hours or until firm enough to scoop.
For ice cream frozen overnight or longer: Place the ice cream at room temperature for 10 to 15 minutes or until the ice cream softens before scooping. It’s also helpful to dip the ice cream scoop in hot water.
Leftovers – Homemade ice cream doesn’t last as long as store-bought ones. Place the ice cream into a sealed container. It should be good for 2 weeks, but be mindful that the longer it’s stored, the more ice crystals will develop.
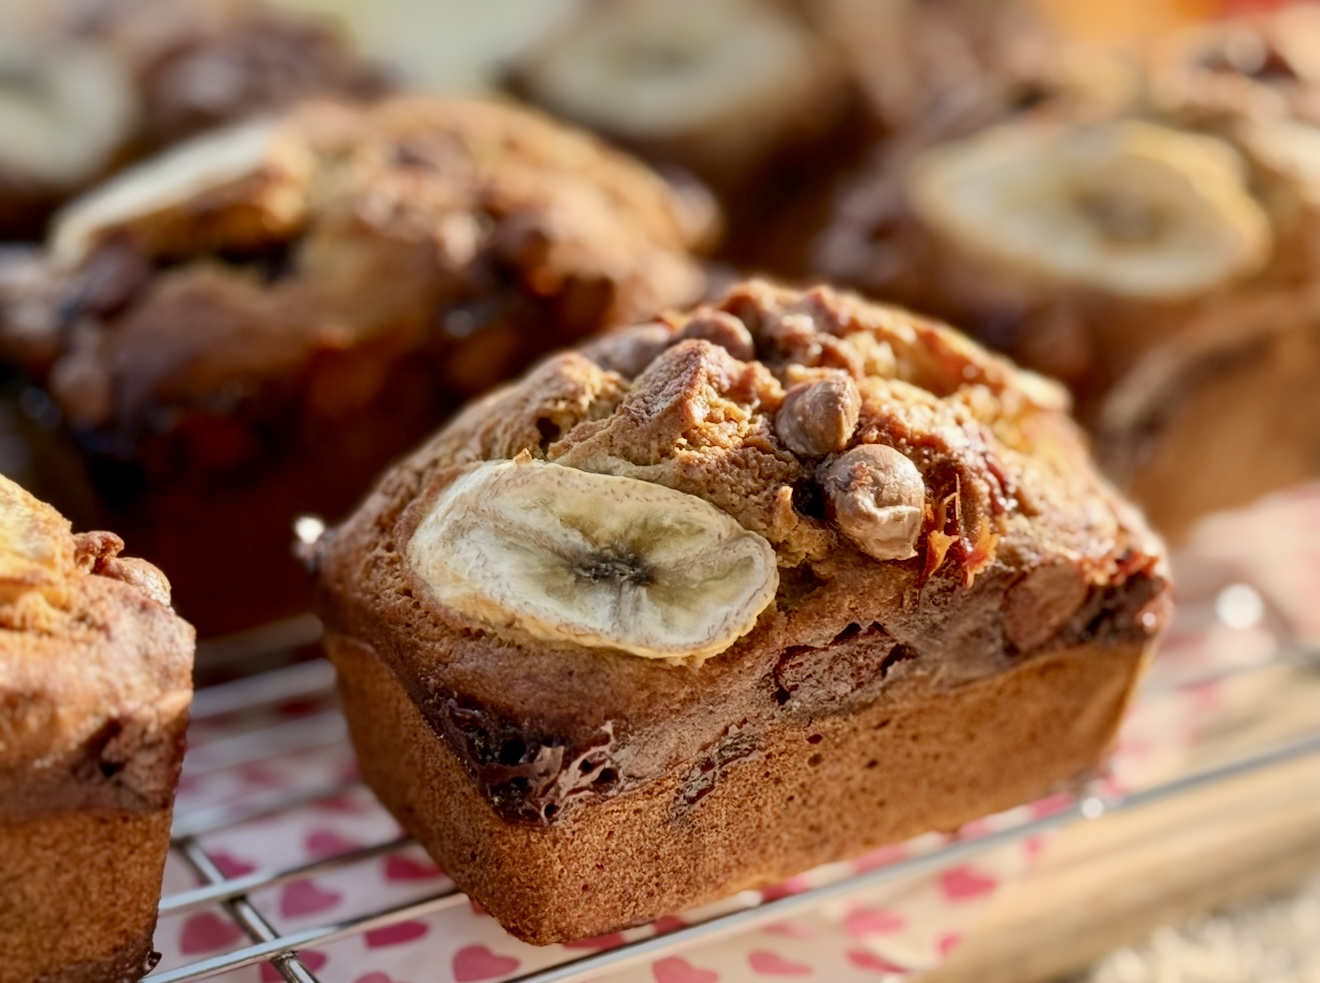
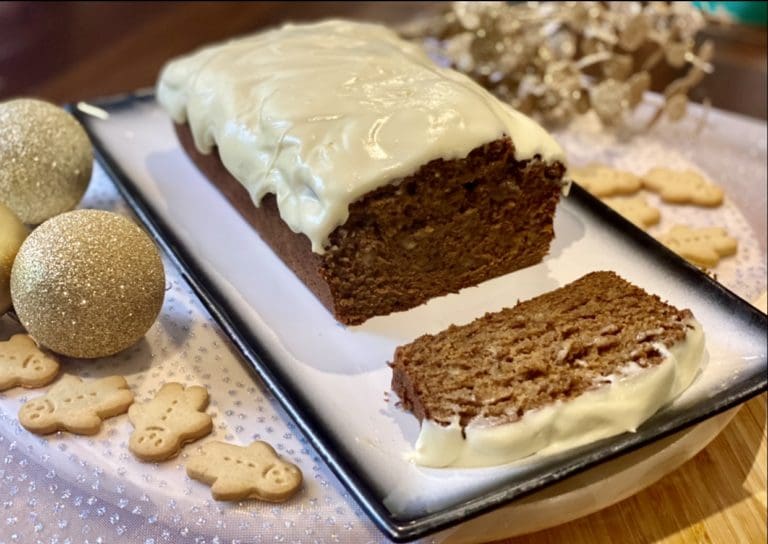
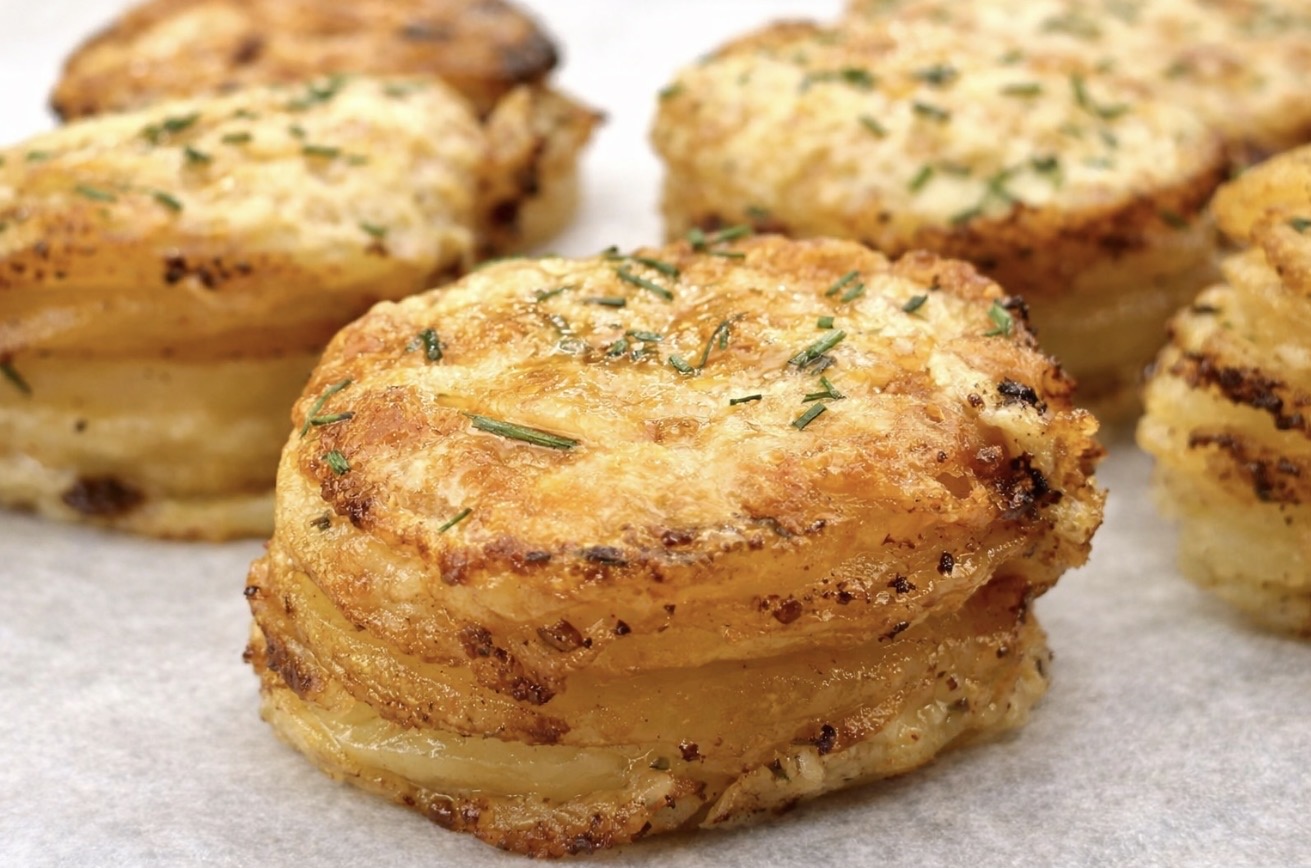
For more easy delicious dessert try these recipes:
Coffee Panna Cotta with Kahlúa
Chocolate Guinness Cake with Cream Cheese
A Third-Party Application calculated the calories and nutritional information. Please use this as an approximate guide only.
Cooking measurements are in Australian standard spoon and cup measurements.
I would love to hear your thoughts or feedback on this post. If you have made this recipe, please show your support by commenting and rating this recipe. You can do this by scrolling down or by clicking the green circle on the left. To prevent spam on this site, an email address is required but it won’t be published.
Cheers (I’ll drink to that) – Cat Tre
Hokey Pokey Ice Cream
Ingredients
- 100 gm chocolate coated honeycomb bars (NOTE 1)
- 395 gm tin of sweetened condensed milk (NOTE 2)
- 3 cups thickened cream (whipping cream) (NOTE 3)
- 2 tsp vanilla extract
- ⅛ tsp salt (or a pinch)
Butterscotch syrup
- 30 gm butter
- 3 tbsp thickened cream
- 3 tbsp brown sugar (firmly packed)
Instructions
- Place a large loaf tin into the freezer and prepare the butterscotch syrup an hour before whipping the cream mixture. For the butterscotch syrup – In a small saucepan, place the butter, cream and brown sugar over medium-low heat. Stir regularly until butter melts and the mixture just starts to bubble. Pour the syrup into a heatproof bowl and set it aside at room temperature for an hour or until it thickens to a syrup-like consistency. If it's still too loose, place it in the fridge for 15 to 20 minutes, then stir to combine.

- Chop the chocolate honeycomb bars roughly into chunky bite-sized pieces.

- For the no-churn ice cream – Place the condensed milk, vanilla and cream into a large mixing bowl. Use a hand or stand mixer to whisk the cream on medium-high speed until it reaches firm peaks. The consistency of the cream mixture should be firm enough to hold on to the chocolate and syrup so they don't sink into the bottom.

- Add the butterscotch syrup and chocolate bars into the bowl with the cream mixture. Optional: leave some syrup and chocolate to place on top of the ice cream. Using a spatula, fold the syrup and chocolate into the cream gently until just combined. Place the ice cream mixture into the loaf tin that has been in the freezer, then wrap the tin with plastic film/wrap. Freeze the ice cream for 4 hours or until firm enough to scoop. For ice cream frozen overnight or longer: Place the ice cream at room temperature for 10 to 15 minutes or until the ice cream softens before scooping. It's also helpful to dip the ice cream scoop in hot water.