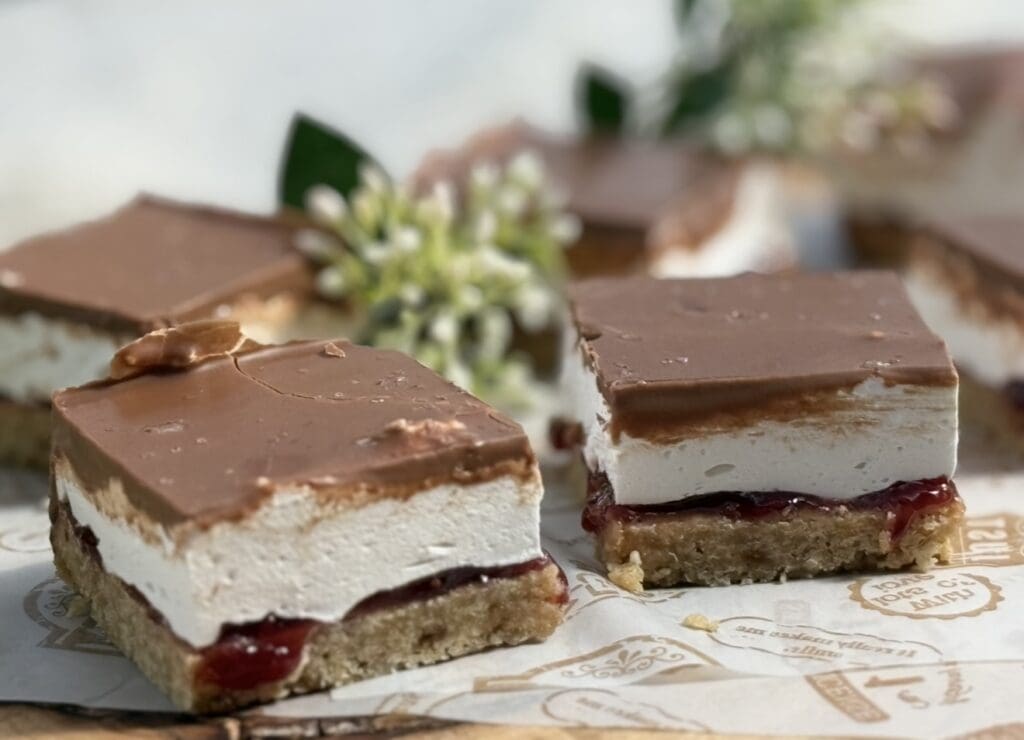
Wagon Wheel Slice
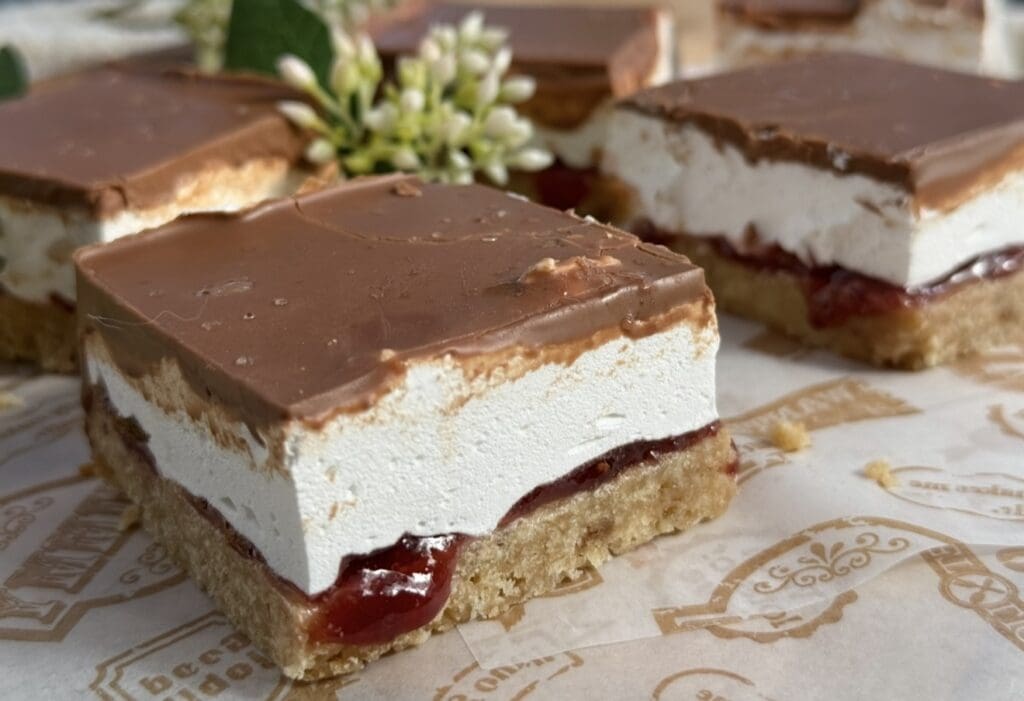
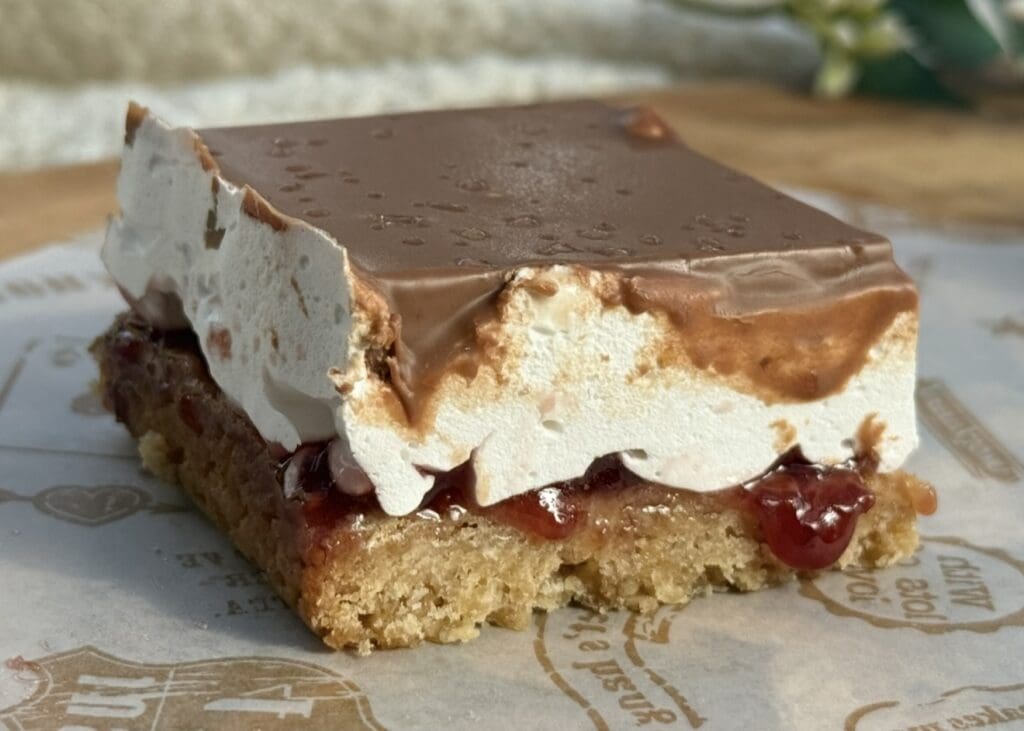
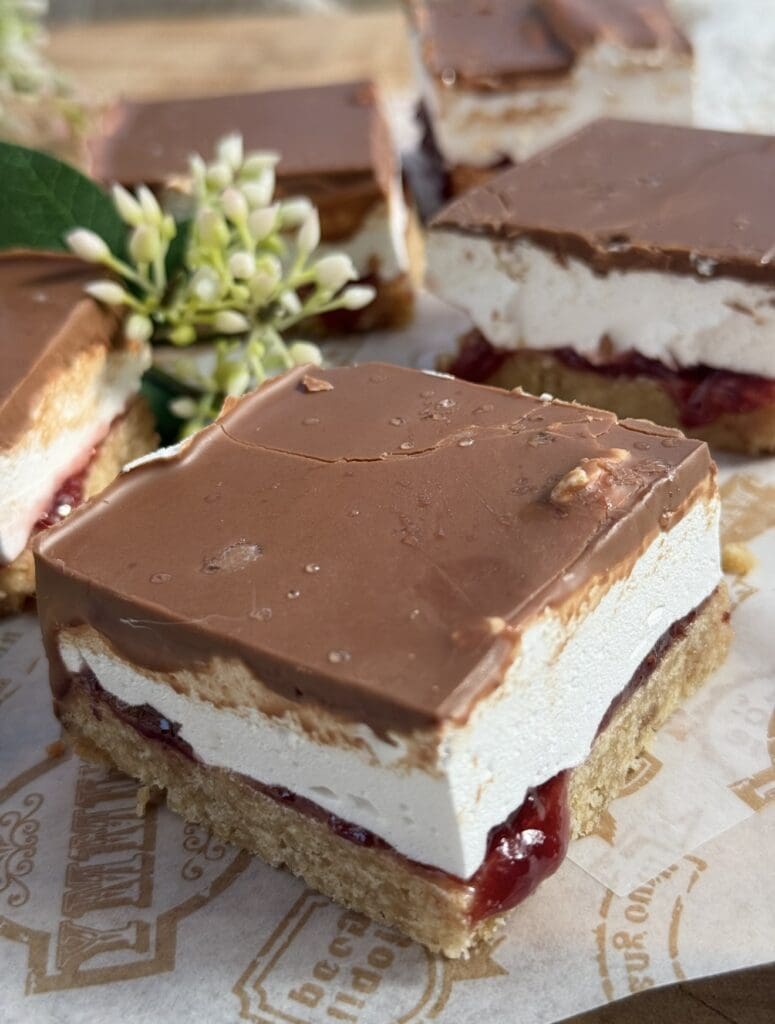
This tempting homemade Wagon Wheel Slice will bring back happy childhood memories. Chewy coconut base, fluffy marshmallow, raspberry jam and lush chocolate
Old-school nostalgia
The other day my sister brought home a packet of Wagon wheel biscuits and offered us some. We got excited because they’re classic old-school nostalgia treats, but it’s been so long that I almost forgot about them.
I still recall Wagon Wheel’s bizarre pickled herring TV ads, and as a kid, I wondered what canned fish had to do with chocolate biscuits ? Those ads must have been effective given Wagon wheel’s continued popularity!
This inspired me to create a homemade version, and I was hoping to do so with Kai. Well, that didn’t work out because he wanted to help build shelves with his dad instead! Dude? What the?! He’s only 5 but already he’s too cool to hang out with his mum in the kitchen ? Anyway, here’s my slab version of a wagon wheel biscuit. They were a bit messy, but who cares when they taste so good!
Wagon wheel lovers forgive me! I changed a few things because I can’t help myself. For the biscuit base, I added desiccated coconut to make it a little chewy, and I sprinkled some sea salt flakes on the chocolate to contrast the overall sweetness. I made my own fluffy marshmallow layer but used store-bought raspberry jam.
You might know I live with a tough crowd, and I’m happy to say they all loved my version. The problem is we now have all these tempting wagon wheel slices to ourselves, and that’s one dangerous situation to be in!
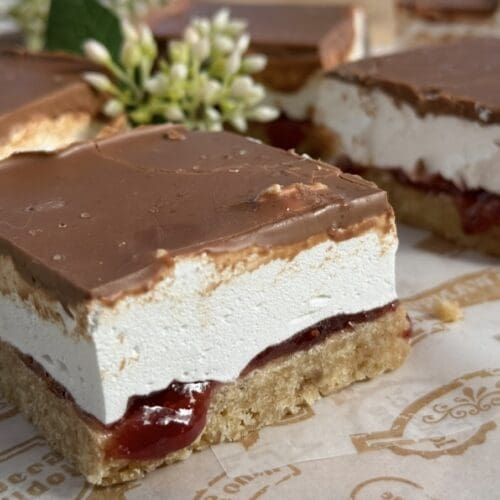
Homemade Wagon Wheel Slice
What are wagon wheel biscuits?
A popular and classic chocolate-covered biscuit snack, Wagon Wheels have a jam and marshmallow filling between biscuits.
Why should you make homemade wagon wheel biscuits?
These layered, homemade wagon wheel biscuits require time and patience but are worth it! They (in my opinion) taste so much better than store-bought versions. They can be a little messy to eat, but that adds to the fun! Just don’t wear your favourite outfit while enjoying one of these.
Is marshmallow difficult to make?
Marshmallow can be quite tricky to get right! However, this recipe for marshmallow is pretty much fail-proof. You only require four ingredients, including water, and you don’t need corn syrup or a sugar thermometer here! You’ll still get pillowy, airy and soft marshmallows though! A stand mixer makes mixing effortless, but a hand mixer works too.
How to prevent the chocolate top from cracking when slicing
I often forget to heat my knife before slicing, which is clear in my video recipe guide. By doing this, I cracked the chocolate on a few of my wagon wheel slices. Honestly, I don’t mind since it’ll still be delicious, but I should act like a professional recipe blogger ? This means my slices should have no cracks, right?
The softness of the marshmallow underneath the chocolate makes it challenging to cut without cracking. To prevent further cracking, I briefly heated my knife in boiling water before slicing.
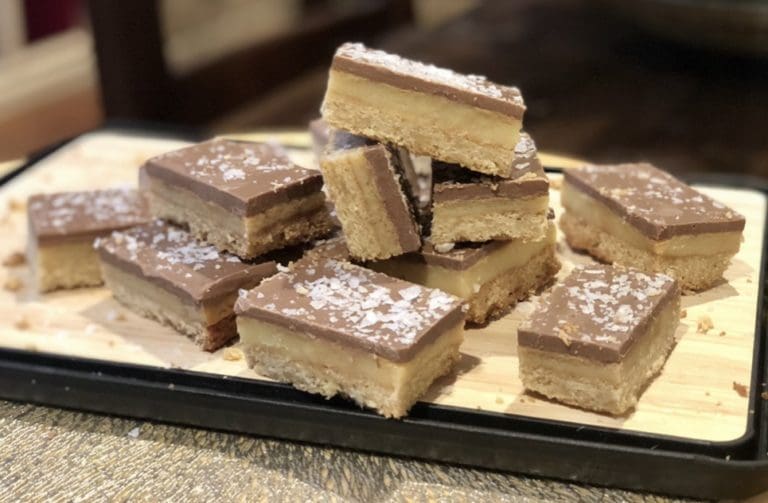
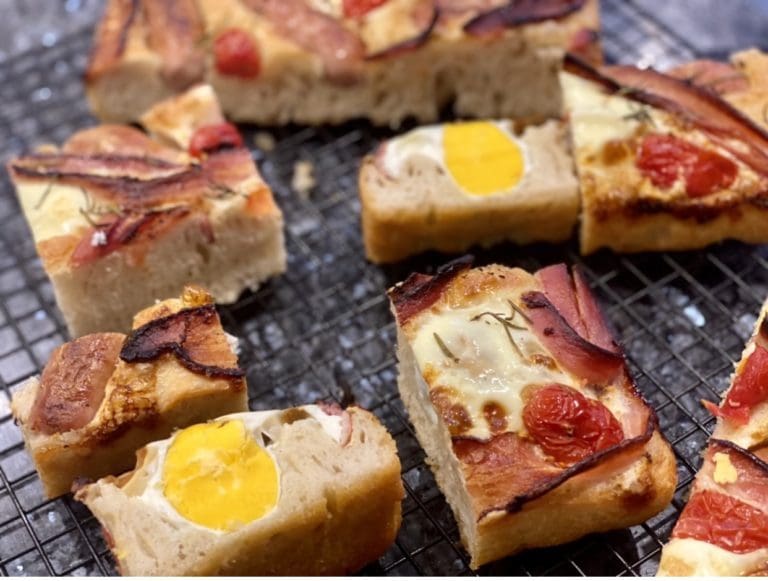
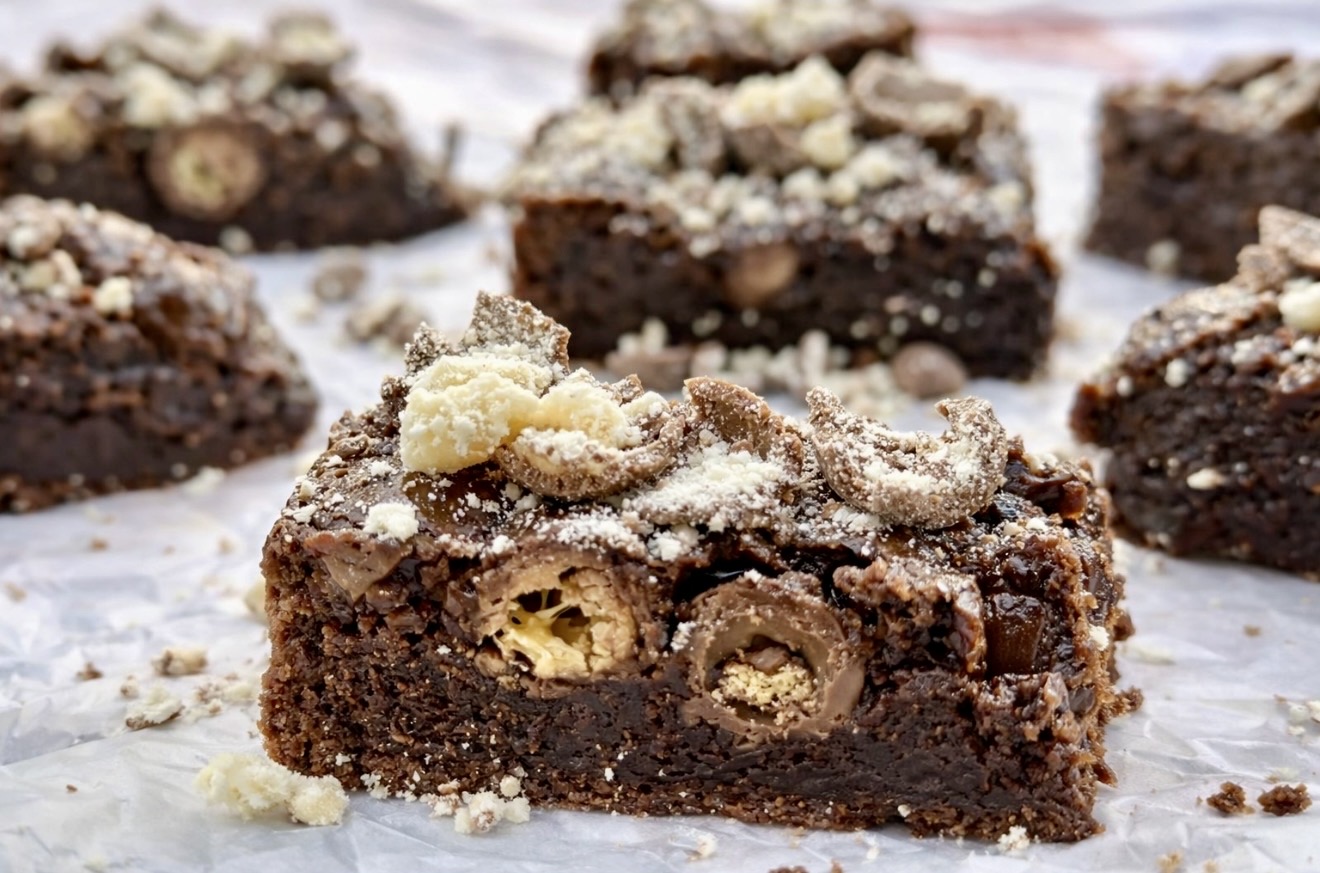
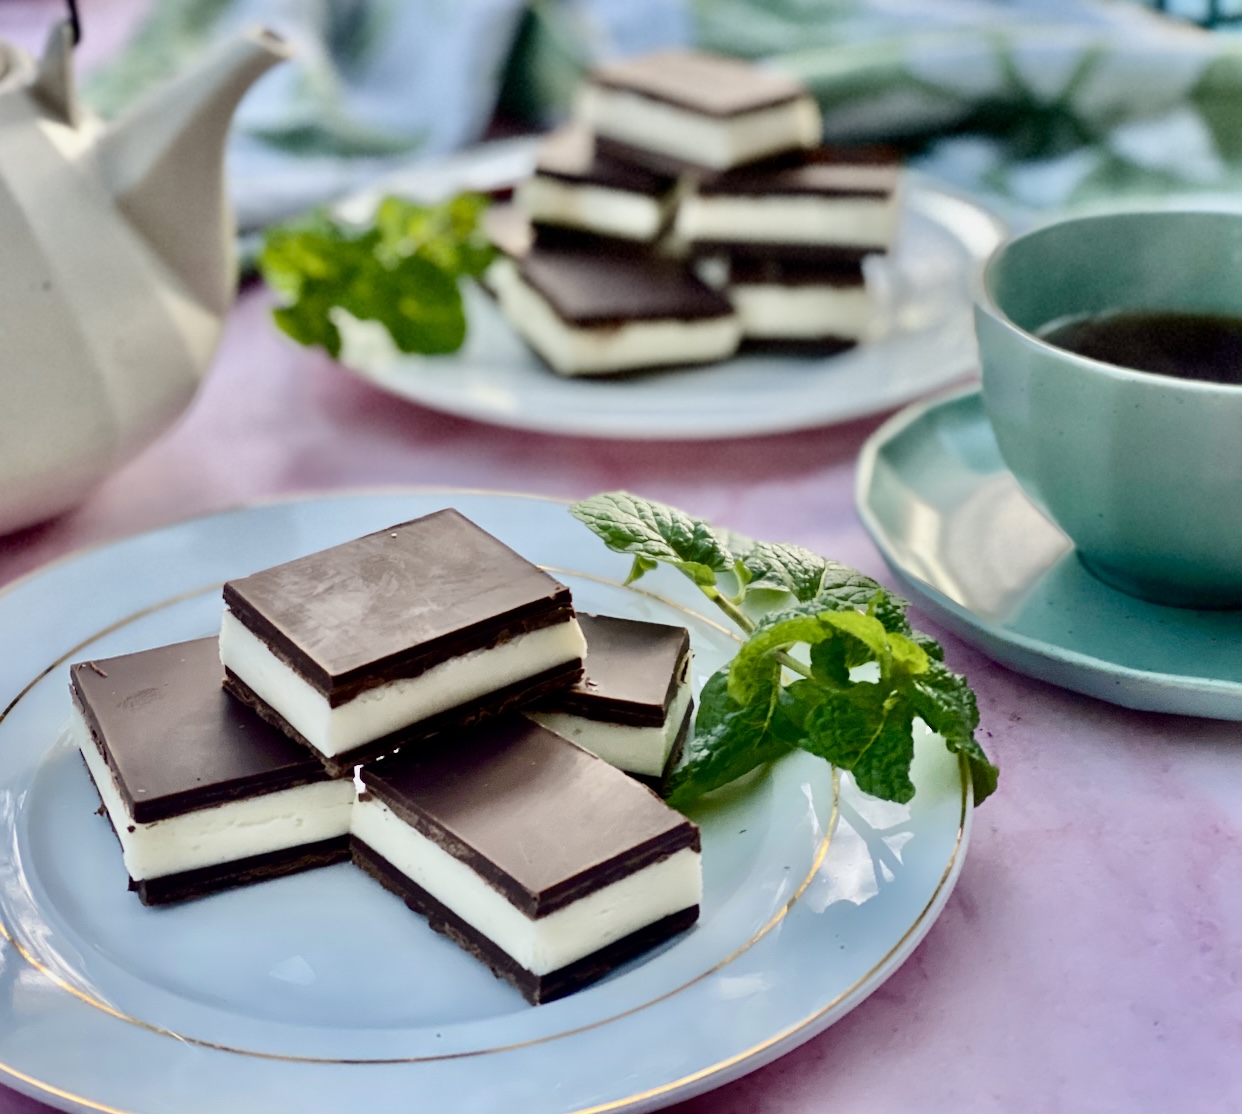
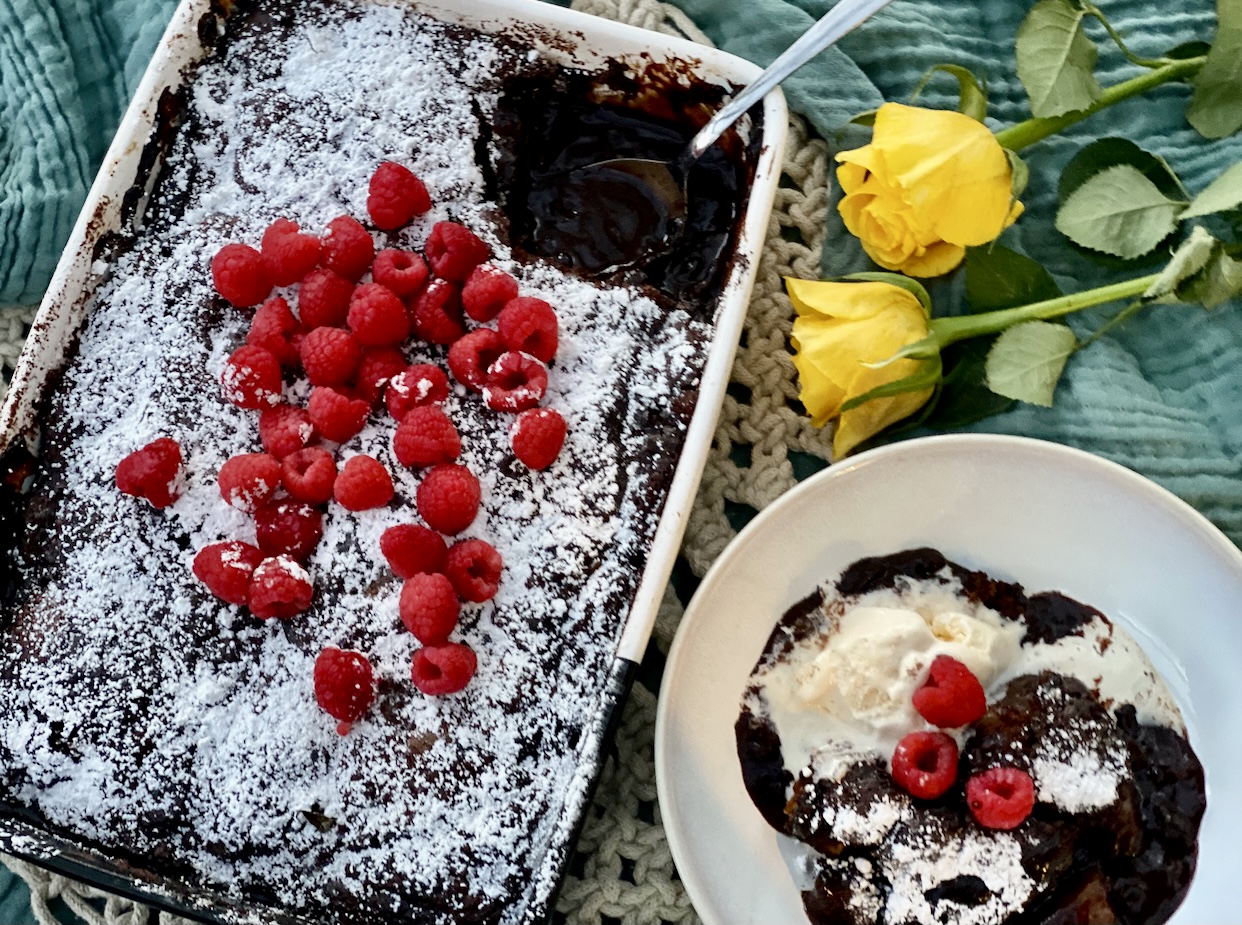
More recipes to thrill chocolate lovers:

Ingredients for Wagon Wheel Slice
For the biscuit base
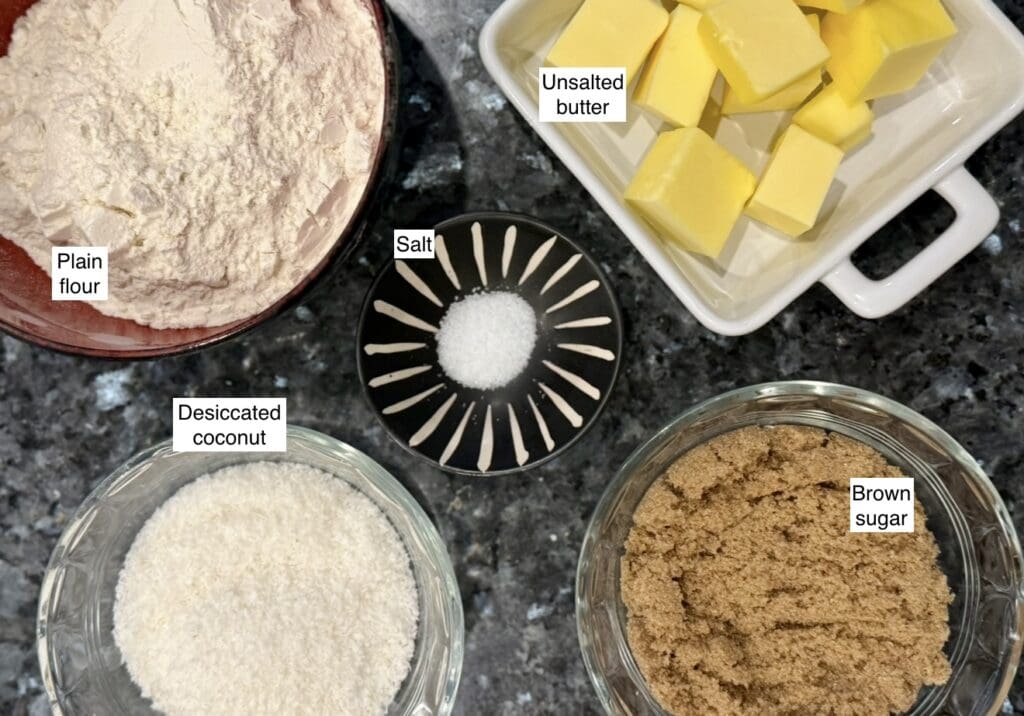
Plain flour (all-purpose flour) doesn’t have salt or leavening agents like baking powder.
Unsweetened desiccated coconut may also be known as unsweetened dried, shredded or flaked coconut.
For the jam, marshmallow and chocolate
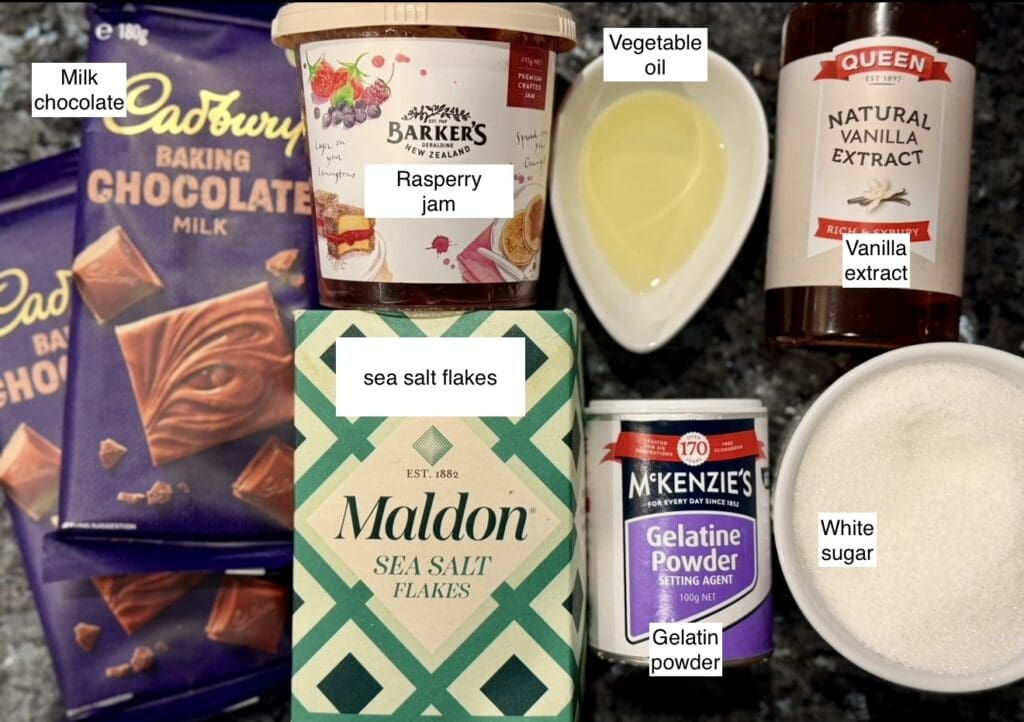
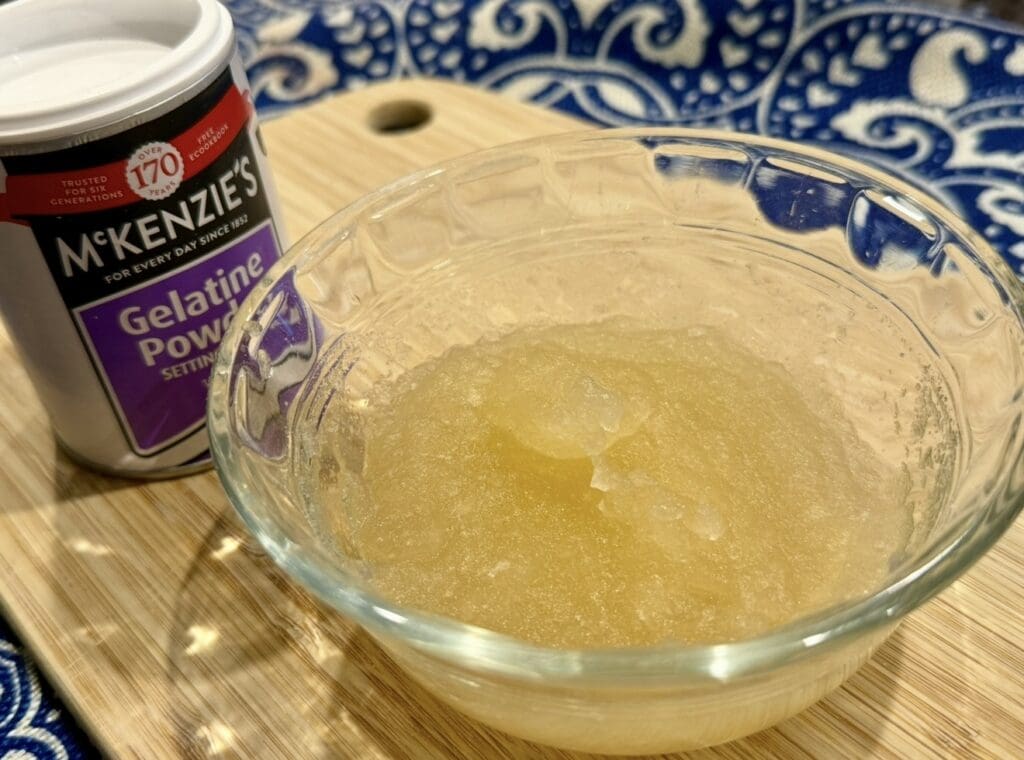
Gelatin (or gelatine) is a translucent and flavourless powder derived from collagen from animal body parts. It’s commonly used as a gelling agent in food such as jelly or jello!
Milk chocolate – I prefer using baking chocolate since it typically contains more cocoa butter, which helps the chocolate melt quickly and smoothly. In saying that, eating chocolate would also work too.
Sea salt flakes enhance the flavour of sweets by creating a contrast between salty and sweet, intensifying the sweetness and adding complexity. I sprinkled a small amount over the chocolate, but you can omit this step, if preferred.
Subscribe to 3CatsFoodie’s FREE Newsletter
For the latest recipes and other fun stuff!
How to make Wagon Wheel Slice
Step-by-step guide with photos

For the base
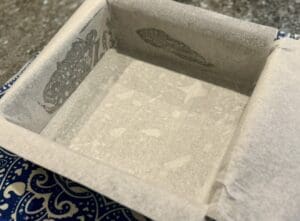
Preheat oven to 180°C (350°F). Grease and line a 24cm / 9.4 inches square tin with nonstick baking/parchment paper. Leave the sides to overhang so we can use this to lift the slice out of the tin. Spray the baking paper inside the tin with oil.
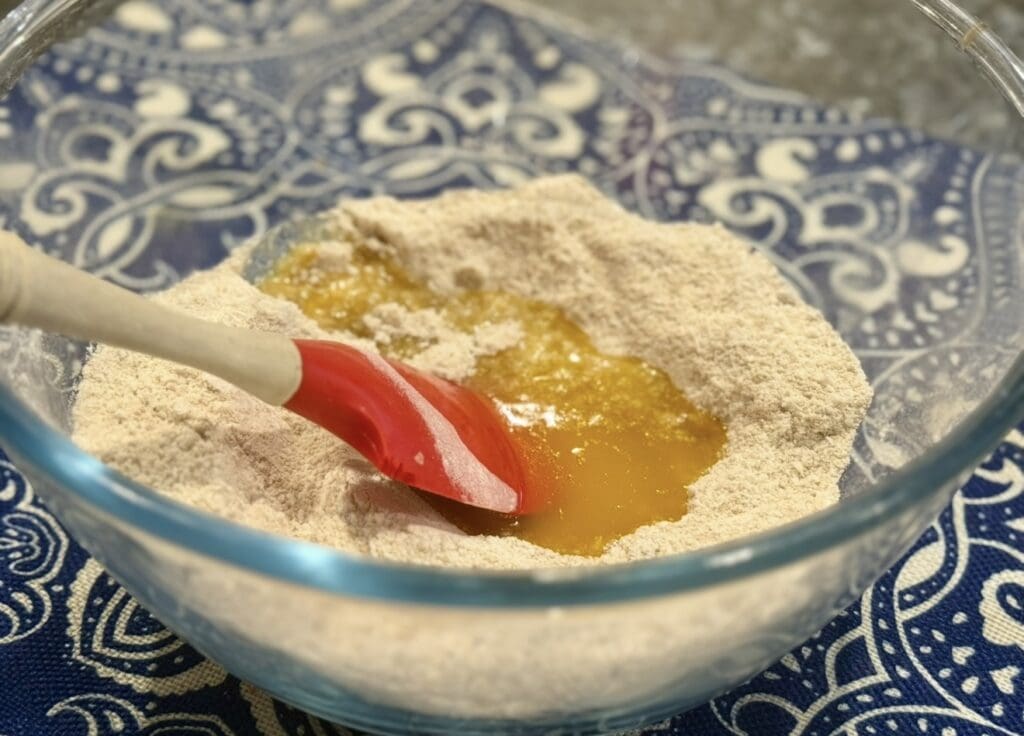
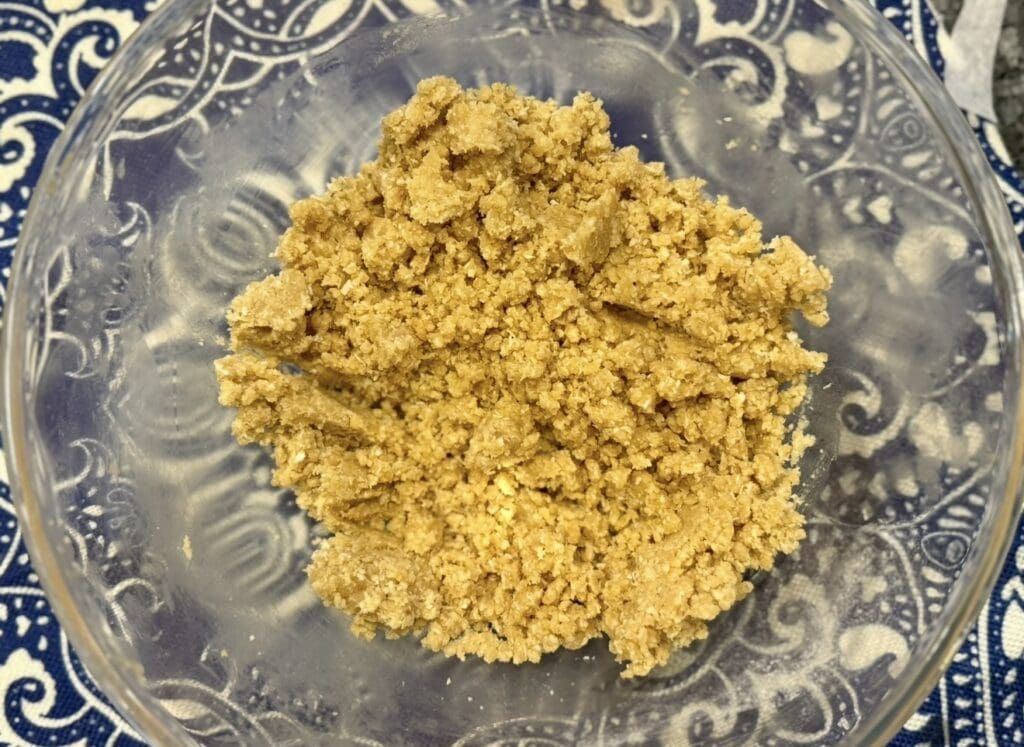
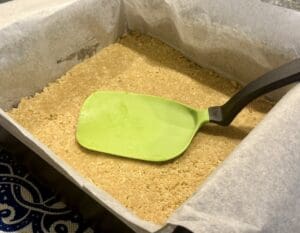
In a bowl, whisk together the flour, brown sugar, coconut and salt. Pour in the melted butter and mix until there are no dry patches of dry flour remaining. The crumbs should resemble wet sand. Pour the crumbs into the prepared tin and press down with a spatula so they come together. Don’t press down hard as the biscuit base will set too firm. Bake for 15 to 18 minutes or until golden. Chill in the fridge for an hour.
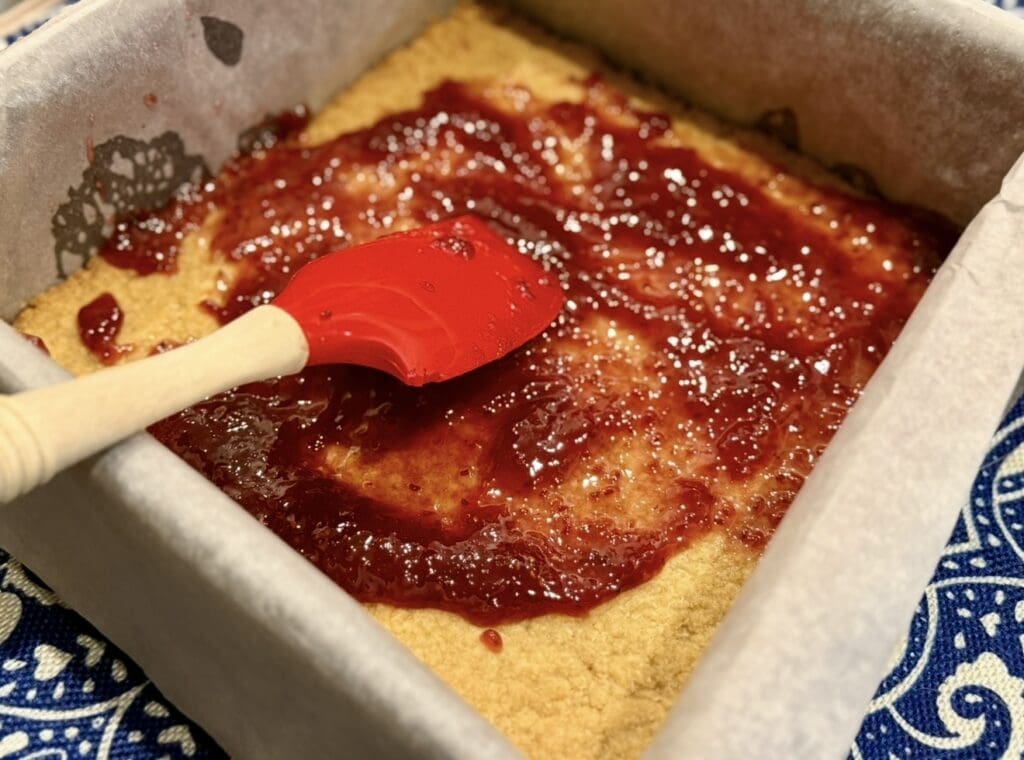

Once the biscuit base has chilled completely, spread the jam on top and place back into the fridge.
For the marshmallow
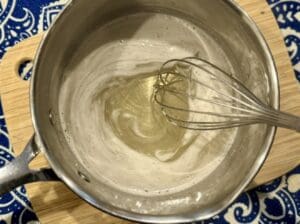
Mix the gelatine with 1/3 cup of water in a small bowl and leave to bloom. In the meantime, place the sugar and 1/4 cup of water into a small saucepan. Stir over low heat, and after the sugar dissolves, stir in the bloomed gelatin and bring to a boil, then immediately remove from the heat. There should be no lumps of gelatine in the sugar liquid.
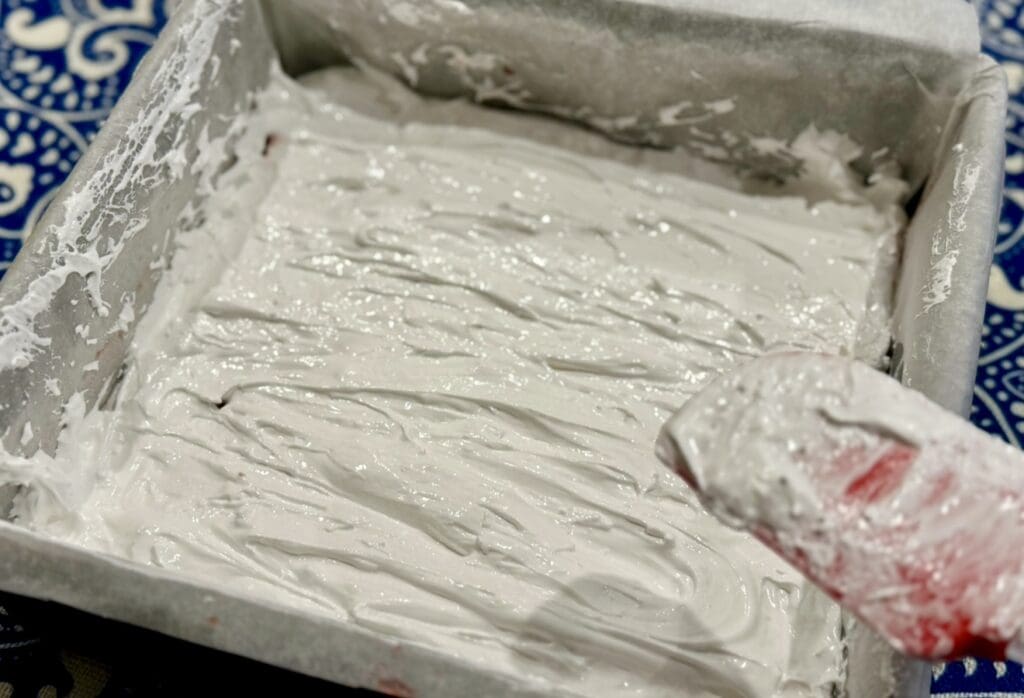
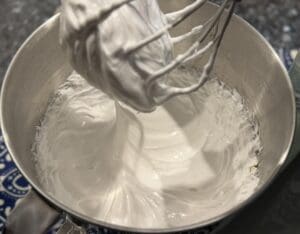
Transfer the sugar liquid into a stand mixer bowl. Mix on a low speed using the balloon whisk, then increase slowly to the fastest setting. Whisk for 10 minutes or until the mixture has doubled in volume. You can also do this using a hand mixer. Add the vanilla extract and whisk for another 1 to 2 minutes. Use two spatulas to spread the sticky marshmallow evenly over the jam layer, then return to the fridge for 15 to 20 minutes to set.
For the chocolate
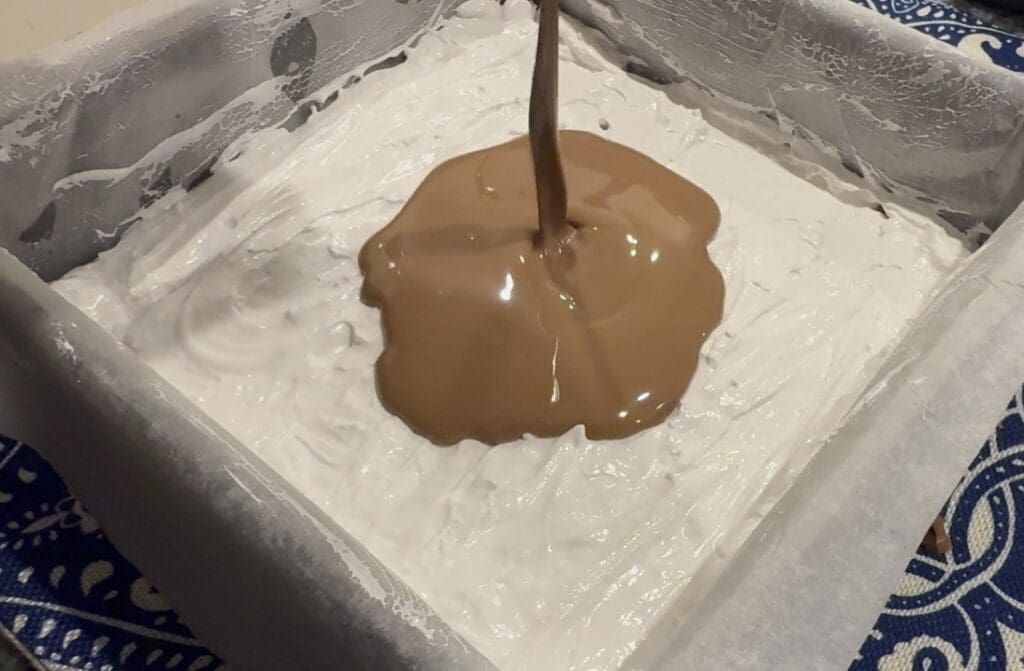
Place the chocolate and oil into a microwave-safe bowl. Heat in the microwave for 20 to 40 second bursts. Stir well after each burst until the chocolate has completely melted. Pour the chocolate over the set marshmallow, then tilt the pan to coat evenly in chocolate. Sprinkle the salt over the chocolate (if using). Chill in the fridge for an hour or until the chocolate has set. To get clean slices and prevent the chocolate from cracking, warm the knife in hot water first.
How to store Wagon Wheel Slice
Leftovers – Store the wagon wheel slices at room temperature for up to 2 to 3 days in a snap-lock bag or in a sealed container. They’ll last in the fridge for up to a week, but soften them to room temperature before serving.
I’ve used a third-party application to calculate the calories and nutritional information, so please use this as an approximate guide only.
Cooking measurements are in Australian standard spoon and cup measurements. For specific details and conversions, visit our Australian Cooking Measurements page.
I would love your feedback and support if you made this recipe. To do this, please rate this recipe and provide a comment by scrolling down this page or by clicking that green circle on the bottom left. An email address is required (for spam), but it won’t be published. I would also love to see your dish, so don’t forget to tag me on my Instagram account ‘3catsfoodie’
Cheers – Cat T
Wagon Wheel Slice
Video
Ingredients
FOR THE BASE
- 1 cup (165g / 5.8oz) plain or all-purpose flour (NOTE 1)
- ½ cup (110g / 3.9oz) packed brown sugar
- ½ cup (48g / 1.7oz) unsweetened desiccated coconut (NOTE 2)
- ¼ tsp salt
- 125g / 4.4oz unsalted butter, melted
- oil spray for greasing
FOR THE JAM
- ⅓ cup (110g / 3.9oz) raspberry or strawberry jam
FOR THE MARSHMALLOW
- 1 tbsp (15g / 0.5oz) gelatin (NOTE 3)
- ⅓ cup (80ml / 2.7floz) water
- 1 cup (230g / 8.1oz) white sugar
- ¼ cup (60ml / 2floz) water
- 1 tsp vanilla extract
FOR THE CHOCOLATE
- 250g / 8.8oz milk chocolate, chopped roughly (NOTE 4)
- 1 tbsp (20ml / 0.7floz) vegetable oil, or any neutral-flavour oil
- ¼ tsp sea salt flakes (optional) (NOTE 5)
Instructions
- Preheat oven to 180°C (350°F). Grease and line a 24cm / 9.4 inches square tin with nonstick baking/parchment paper. Leave the sides to overhang so we can use this to lift the slice out of the tin. Spray the baking paper inside the tin with oil.
- For the biscuit base – In a bowl, whisk together the flour, brown sugar, coconut and salt. Pour in the melted butter and mix until there are no dry patches of the dry flour remaining. The crumbs should resemble wet sand. Pour the crumbs into the prepared tin and press down with a spatula so they come together. Don't press down hard as the biscuit base will set too firm. Bake for 15 to 18 minutes or until golden. Chill in the fridge for an hour.
- Once the biscuit base has chilled completely, spread the jam on top and place back into the fridge.

- For the marshmallow – Mix the gelatine with 1/3 cup of water in a small bowl and leave to bloom. In the meantime, place the sugar and 1/4 cup of water into a small saucepan. Stir over low heat, and after the sugar dissolves, stir in the bloomed gelatin and bring to a boil, then immediately remove from the heat. There should be no lumps of gelatine in the sugar liquid.
- Transfer the sugar liquid into a stand mixer bowl. Mix on a low speed using the balloon whisk, then increase slowly to the fastest setting. Whisk for 10 minutes or until the mixture has doubled in volume. You can also do this using a hand mixer. Add the vanilla extract and whisk for another 1 to 2 minutes. Use two spatulas to spread the sticky marshmallow evenly over the jam layer, then return to the fridge for 15 to 20 minutes to set.
- For the chocolate – Place the chocolate and oil into a microwave-safe bowl. Heat in the microwave for 20 to 40 second bursts. Stir well after each burst until the chocolate has completely melted. Pour the chocolate over the set marshmallow, then tilt the pan to coat evenly in chocolate. Sprinkle the salt over the chocolate (if using). Chill in the fridge for an hour or until the chocolate has set. To get clean slices and prevent the chocolate from cracking, warm the knife in hot water first.