Halloween Meringue Cookies (Ghosts and Pumpkins)
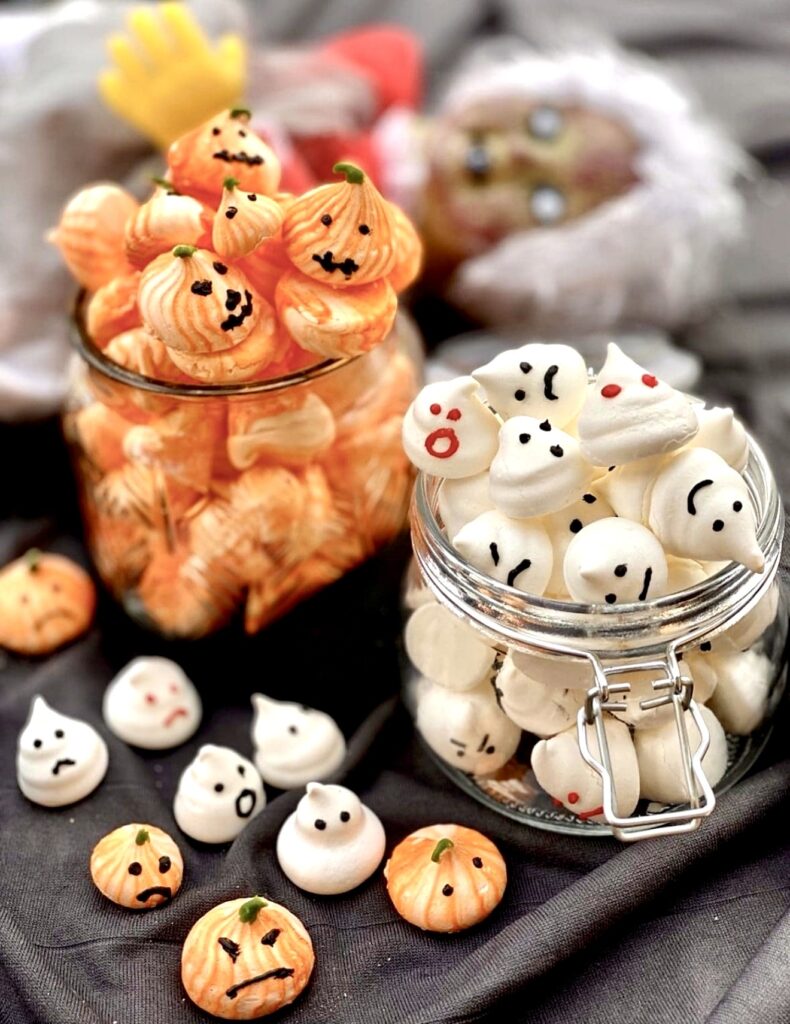
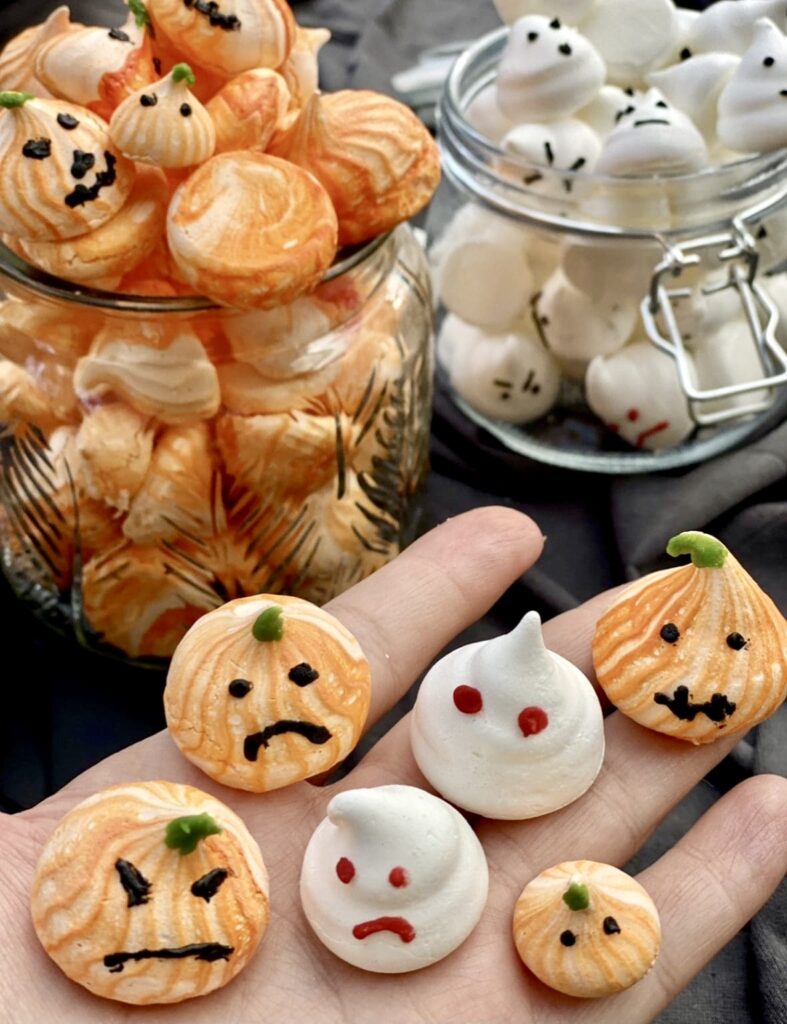
These cute Halloween Meringue are crispy outside and chewy on the inside. Place them on cakes, cupcakes or pop them in your mouth
Let the fun begin!
It’s almost the end of October, so that means Halloween is near so it’s hard not to get caught up with the excitement. Sadly, here in Australia, we don’t go all out celebrating Halloween, which is a bummer because it’s time to get creative and have loads of fun.
Scary movies have always been a weakness of mine and I’m intrigued by ghost stories, but I am totally a chicken. I do myself no favours with this, as I’ll end up thinking about ghosts throughout the night and scare myself silly. As a teenager, there was nothing better than going to the movies with a bunch of good mates to watch a horror flick. There were enormous boxes of buttered popcorn, jumps and cheers. Such cheap thrills and I loved it!
One day, I would love to be in America during the Halloween celebrations and stay around for their white Christmas in New York. My bucket list is endless and most of it is to do with travel and food!
I had to post at least one fun Halloween recipe. Last year it was Bloody marshmallow ice creams. This year it’s Halloween Meringue cookies in the form of mini ghosts and pumpkins.
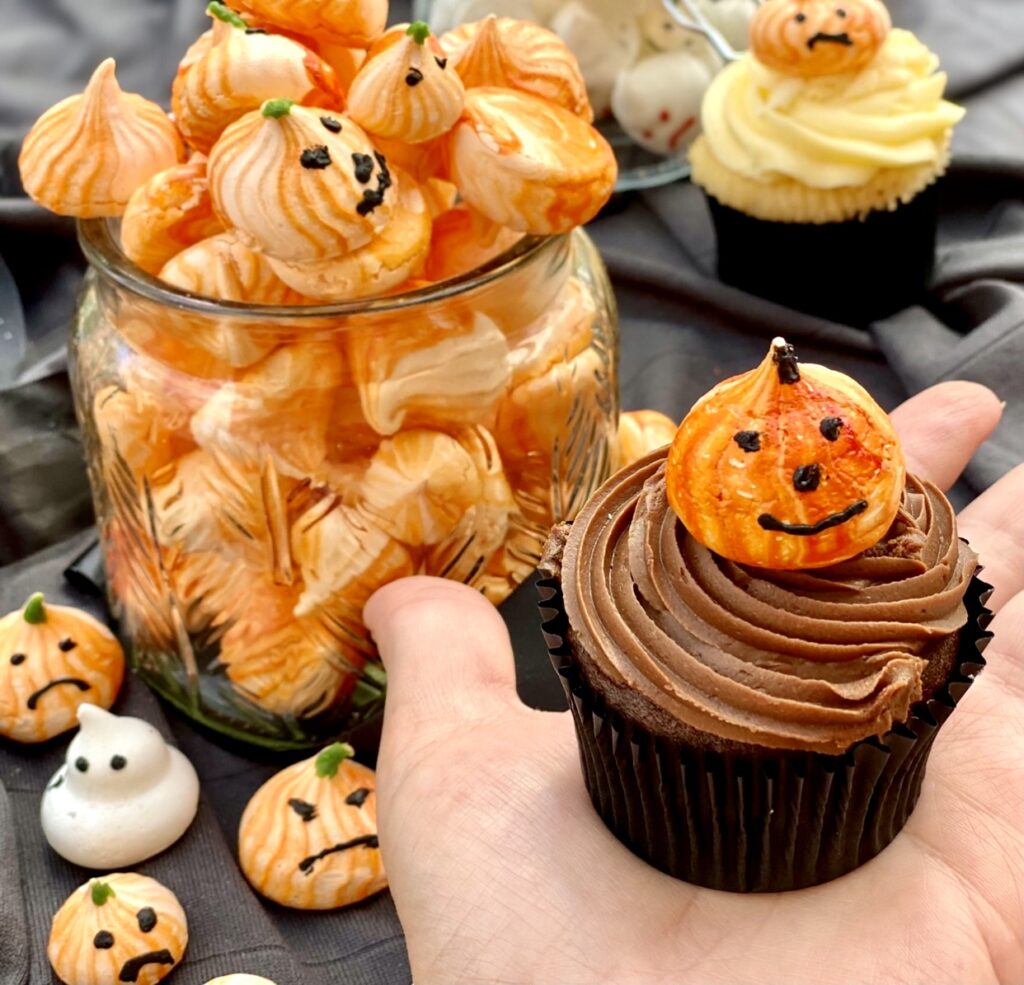
These little Halloween Meringue cookies are super adorable and would likely put a smile on everyone’s faces. They also taste great with a crispy shell on the outside and a soft centre that just melts in the mouth. Totally irresistible! They’re cheap to make and are a fantastic gift idea. You could also place them up on top of cupcakes, cakes, or make them float on drinks.
If you have little ones, I’m sure they would love to help with drawing on the faces. But, be careful though, as many of them may mysteriously disappear prior to this step and it may not always be the children!
Meringue with just two ingredients
These Halloween Meringue has two modest ingredients, caster sugar (superfine sugar) and egg whites. However, meringues can be a little tricky to get right, as many things can go wrong.
I’ll put my hand up and admit that I hit a few road blocks whilst making meringues. I’ve experienced all the above gritty, cracking, seeping and deflating meringues. As much as this is annoying, I learn from these mistakes and truth be told, I’m still learning! I have provided my tips below and I’m sure I’ll be adding on to it each time I make a new batch of meringues!
Meringues are one of those things where practice makes perfect. You’re forced to develop an intimate relationship with your oven, mixer and ingredients. The better you know them, the better your meringues will turn out. So my advice is not to be disheartened if your first few attempts don’t yield perfect meringues. The consolation is that Imperfect meringues actually don’t taste bad. I’ve never had to throw a batch out as they were still enjoyable to munch on.
I have experimented and tried out lots of popular meringue recipes online and so far my best results are from ‘The Meringue Girls’.
Unlike most basic meringue recipes where you’re likely to see cream of tartar, salt or vanilla essence, the Meringue girls only use caster sugar and egg whites in theirs. However, the heat up the sugar in the oven before mixing them into the egg whites. The heated sugar partially cooks the egg whites, which makes the meringue mixture glossy smooth and stable.
Basic Meringue 101 tips
After making endless batches of failed meringues, I have picked up some good pointers.
No fats allowed – Fats are meringues worst enemy. Any film of fat left or caught in the mixing bowl may prevent egg whites from whipping into a thick, beautiful and glossy meringue. Ensure your bowls, whisk, and utensils are grease free by wiping them with vinegar or lemon/lime juice. Egg whites should also be free from any yolk. If a tiny amount of yolk is mixed in, it will stuff up the entire mixture.
Egg whites – It’s best to use fresh eggs and at room temperature. However, it’s easier to separate chilled eggs, so separate chilled eggs then leave the whites at room temperature for approximately 30 minutes. It’s also ideal to use 3 clean grease free bowls to separate the eggs. One for the yolks, one for the egg whites, and one to separate the egg. This way, if a yolk breaks, it won’t contaminate the entire bowl of egg whites. Store-bought carton egg whites do work but they don’t whip up as nicely as fresh eggs.
Have everything set up to go – Trust me, this is important. Keep your bench clean and have your tray and piping bag set up and ready to go.
Take your time when adding in the sugar – This part kills me because I am impatient and my brain relentlessly orders my hands to pour in the sugar faster! Don’t do this and you’ll end up with a grainy meringue because the sugar won’t dissolve. Grainy meringue may cause meringues to crack or seep, it will also affect the texture and may taste gritty. To avoid adding sugar too fast, I used a teaspoon and pause in between spoons to allow the egg whites to get back to stiff peaks.
Keep liquids to a minimum – These include food colouring or flavourings such as vanilla essence. Adding too many liquids can change the consistency of the meringue and cause them to crack.
Temperature – Meringues can deflate after baking or crack if the temperature changes suddenly. After baking the meringues, turn off the oven and leave the door slightly open. Leave the meringues in the oven until completely cooled. This usually takes 2 to 3 hours or leave them in the oven overnight.
Ingredients for Halloween Meringue
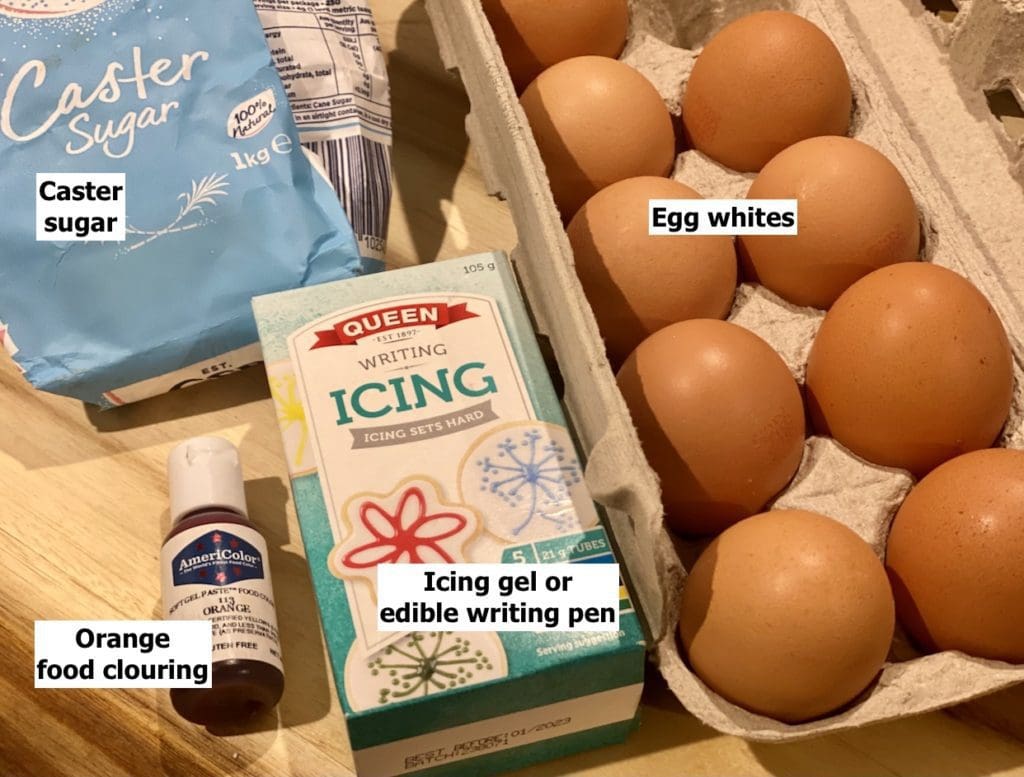
Caster sugar (superfine sugar) – Caster sugar has finer granules than regular white sugar. However, it’s not the same as confectionary, icing, or powdered sugar. Many baking or candy recipes call for caster sugar as it dissolves faster and better into mixtures. If you can’t find caster sugar, you can make your own by placing regular sugar in a food processor or blender. Pulse the sugar a few times until it looks finer, but take care not to over-blitz it so a powder consistency.
Egg whites – Fresh room temperature eggs are ideal for whipping up meringues. Separate the eggs when it’s been chilled, then leave the whites at room temperature for approximately 30 minutes. When separating the eggs, use 3 clean grease-free bowls. One bowl to separate the egg, one for the yolk, and one to place all the egg whites in. This way, if a yolk breaks, you won’t end up contaminating the entire egg whites. I’ve used carton egg whites to make these meringues and they do work, but they don’t whip up as nicely as fresh eggs.
Food colouring – For the pumpkin meringue you’ll need orange food colouring which may be difficult to find. You can mix your own by adding an equal amount of yellow and red food colouring together. Use non-oil-based colours and only one or two tiny drops at most as too much moisture may crack the meringues. I couldn’t get the perfect pumpkin orange colour that I desired, so added the colouring to the piping bag with a skewer.
Icing decoration – For the faces, I used store-bought icing gels, the ones that set dry. Royal icing or edible writing pens would also work.
How to make Halloween Meringue
Step-by-step guide with photos
Preheat oven to 220°C (430°F) or 200°C (390°F) for fan-forced ovens. Use paper towels with lemon juice or vinegar to clean the bowls, whisk, and utensils. Line a large baking tray with non-stick baking paper (parchment paper) for the meringues. Do not grease the tray or the paper because we will use the meringue mixture later to ‘glue’ the paper to the tray to keep it in place. Place a star tip for the pumpkins or a round tip for the ghosts and place the bags over a tall glass.
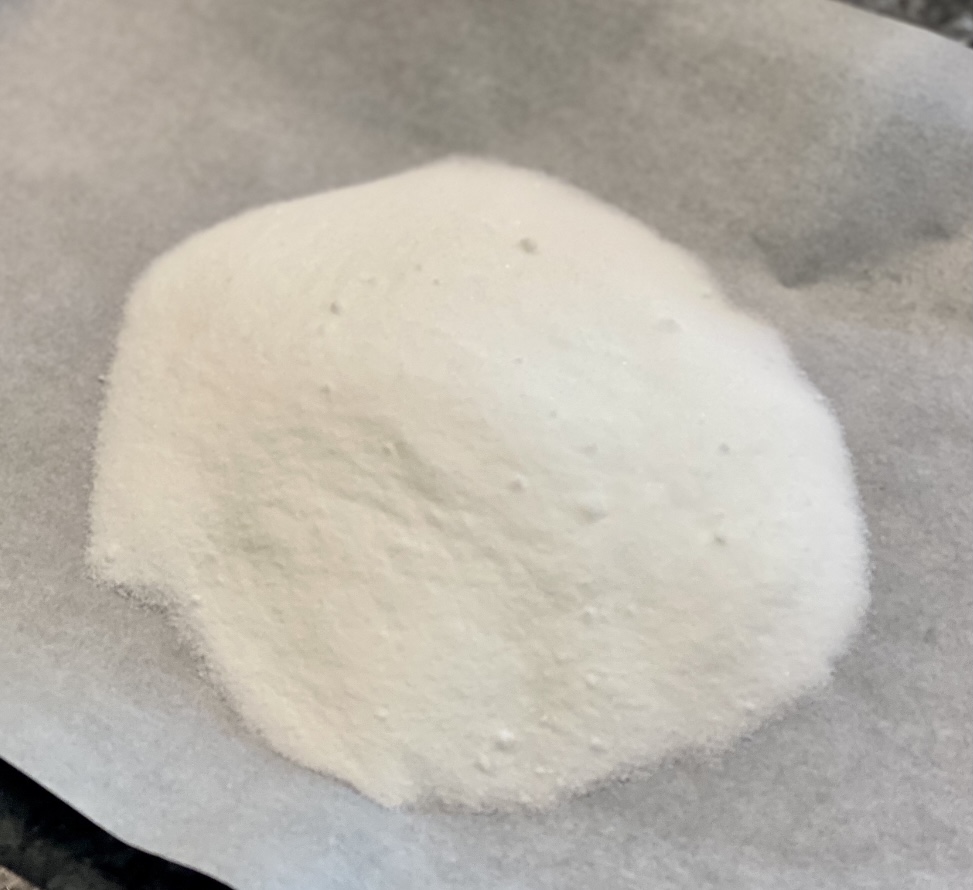
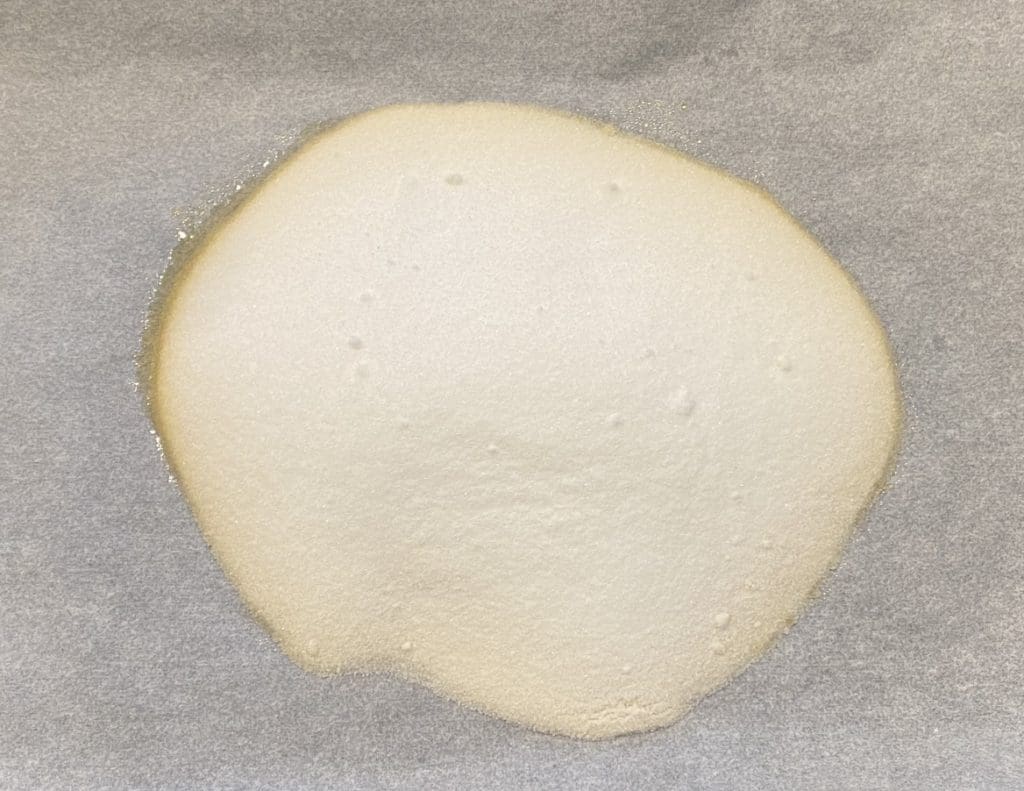
Line a separate small baking tray with baking paper and place the sugar in the middle. Place this sugar tray in the oven for 7 minutes or until the outside edges of the sugar will melt slightly. Avoid leaving the heated sugar on the bench top for too long before adding it into the meringue. Reduce the heat to 120°C (250°F) or 100°C (210°F) for fan-forced ovens. Leave the oven door open as this will help the oven temperature go down faster.

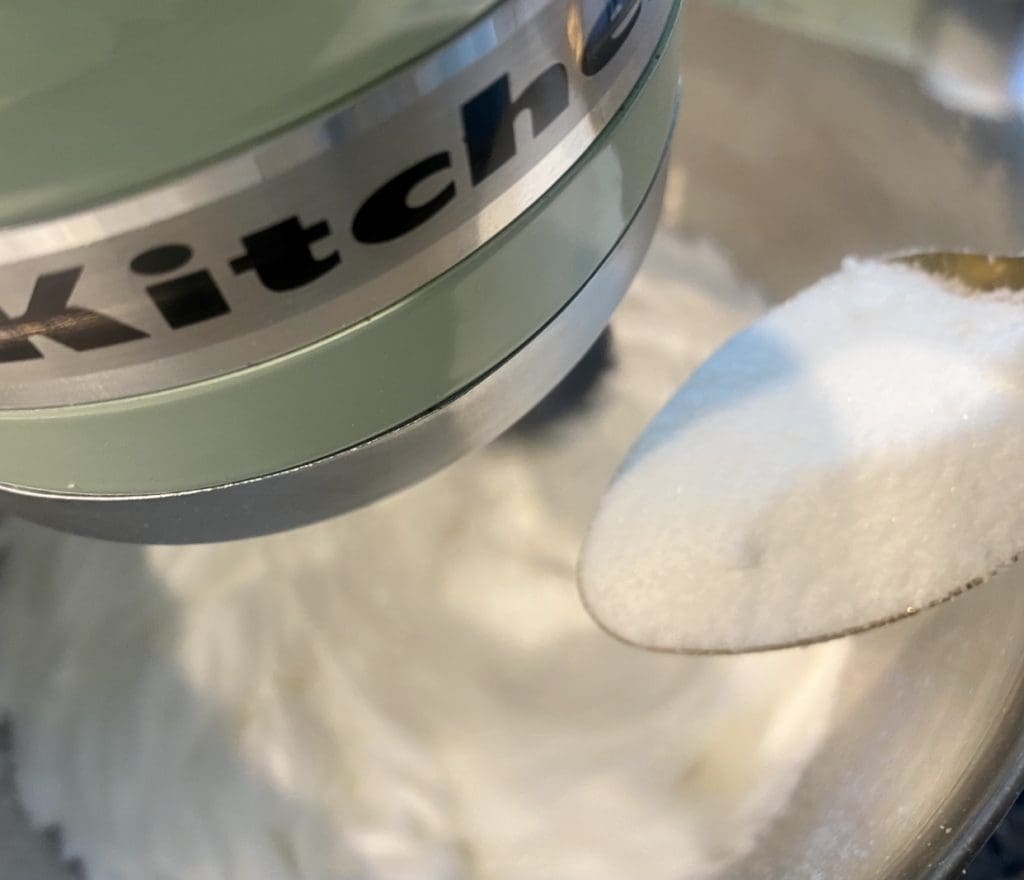
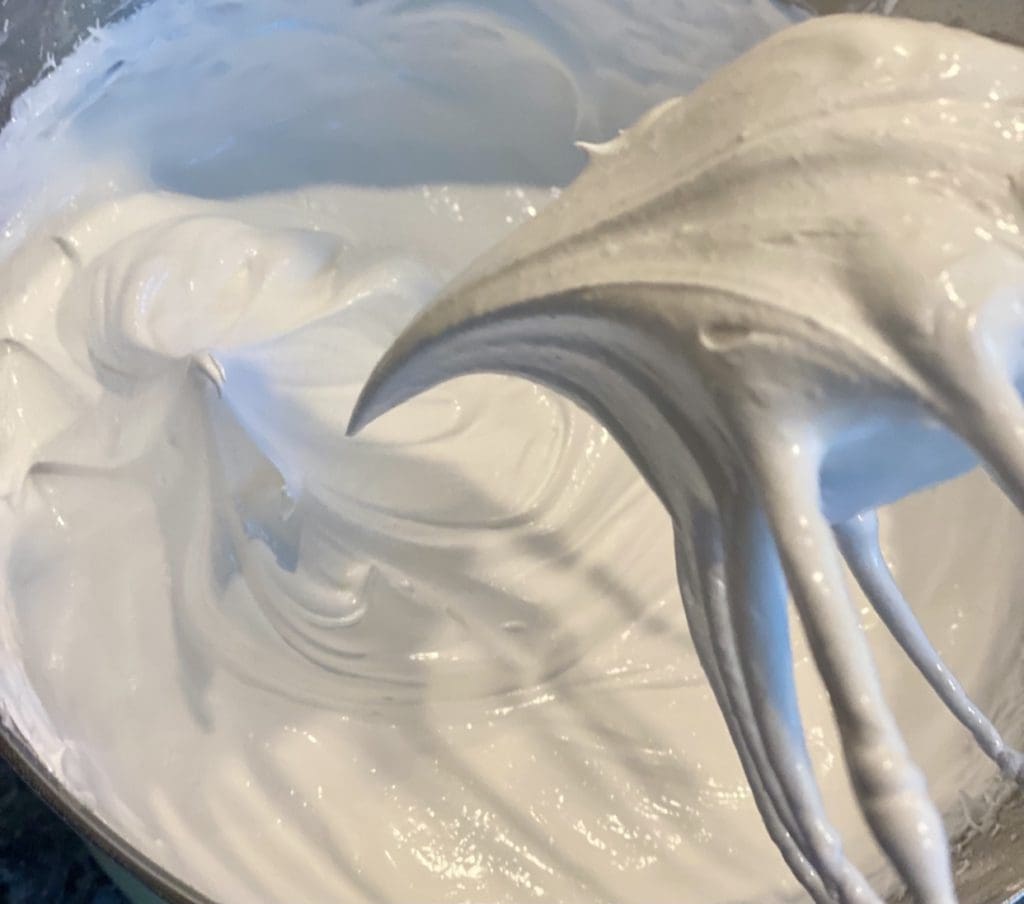
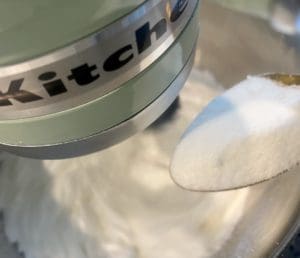
Whilst the sugar is in the oven, start whisking the egg whites in the stand mixer using the balloon whisk attachment. Start on low speed and gradually increase the speed. Once the egg whites start to foam and small bubbles appear, increase the speed to medium high. Whisk until the egg whites are at stiff peaks, then increase the speed to the highest setting and slowly add the heated sugar in a teaspoon at a time, pausing for a few seconds in between to allow the eggs to get back to stiff peaks.
Once all the sugar is all added, stop the mixture and scrape the sides of the bowl. Continue to mix at the highest speed for 5 to 8 minutes. Test the meringue mixture by placing a small amount between your fingers. If it’s still gritty, keep mixing for a little longer. Once the meringue is smooth and the sugar has dissolved, add in 1 or 2 drops of orange food colouring (if making pumpkins). Whisk it at high speed for a few seconds until the colour has combined evenly.
Bake and decorate the Halloween meringue
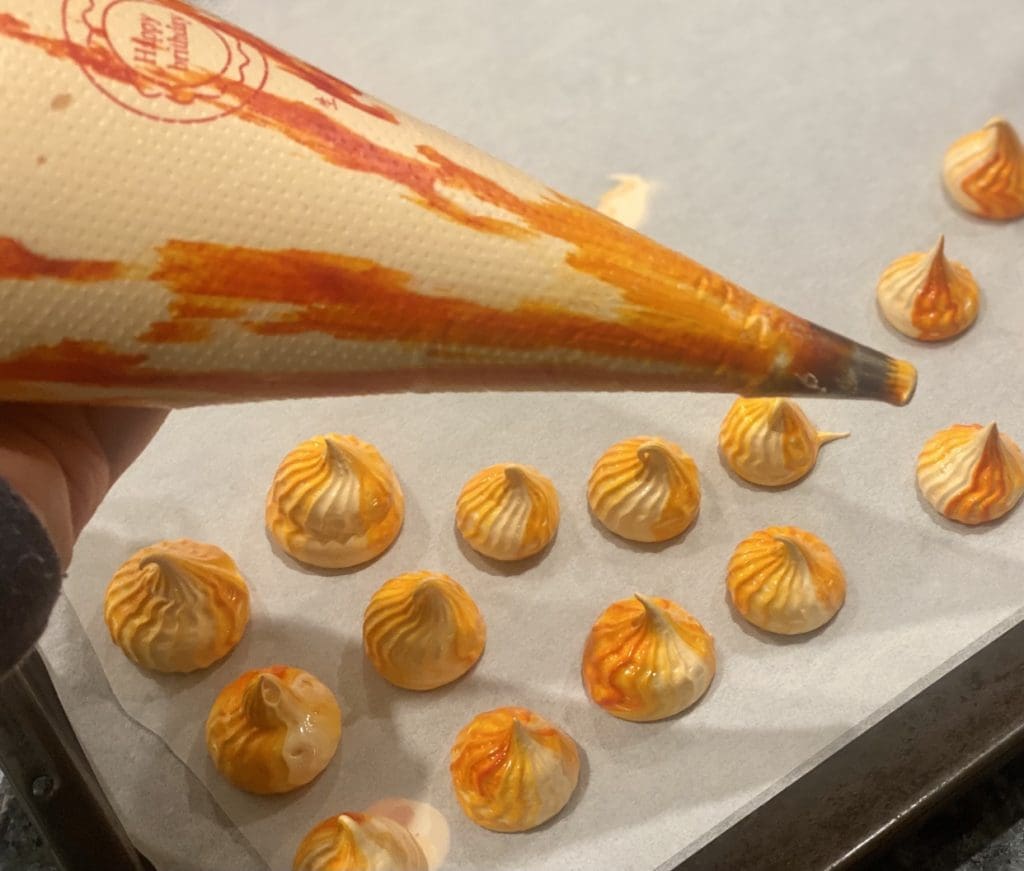
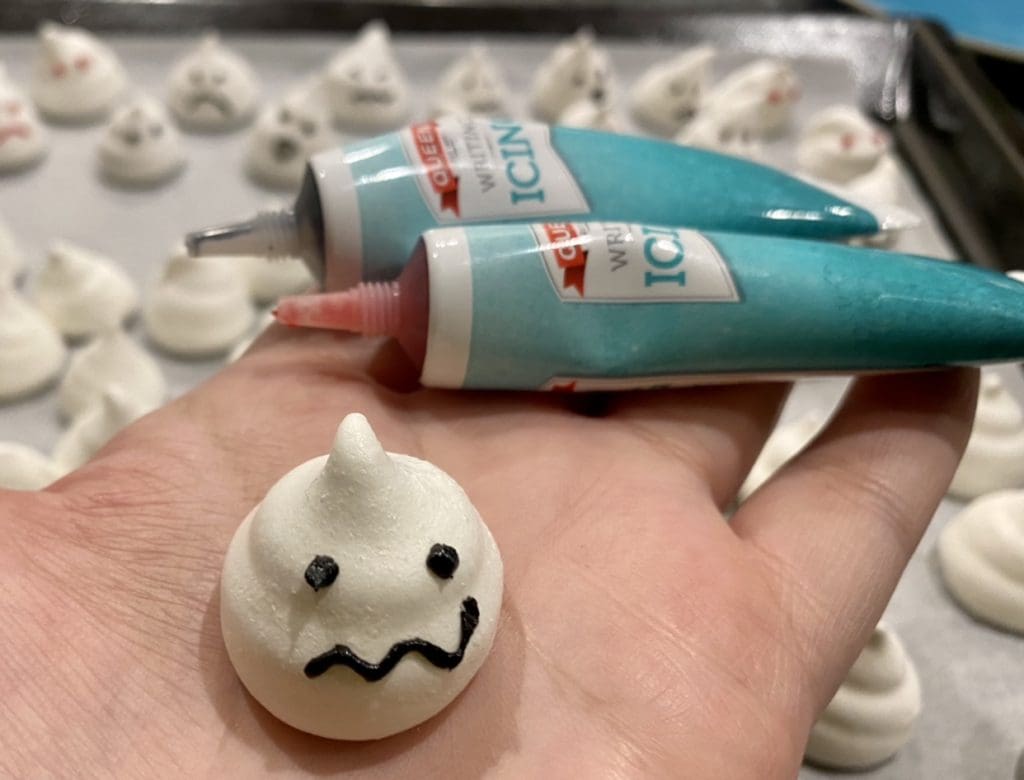
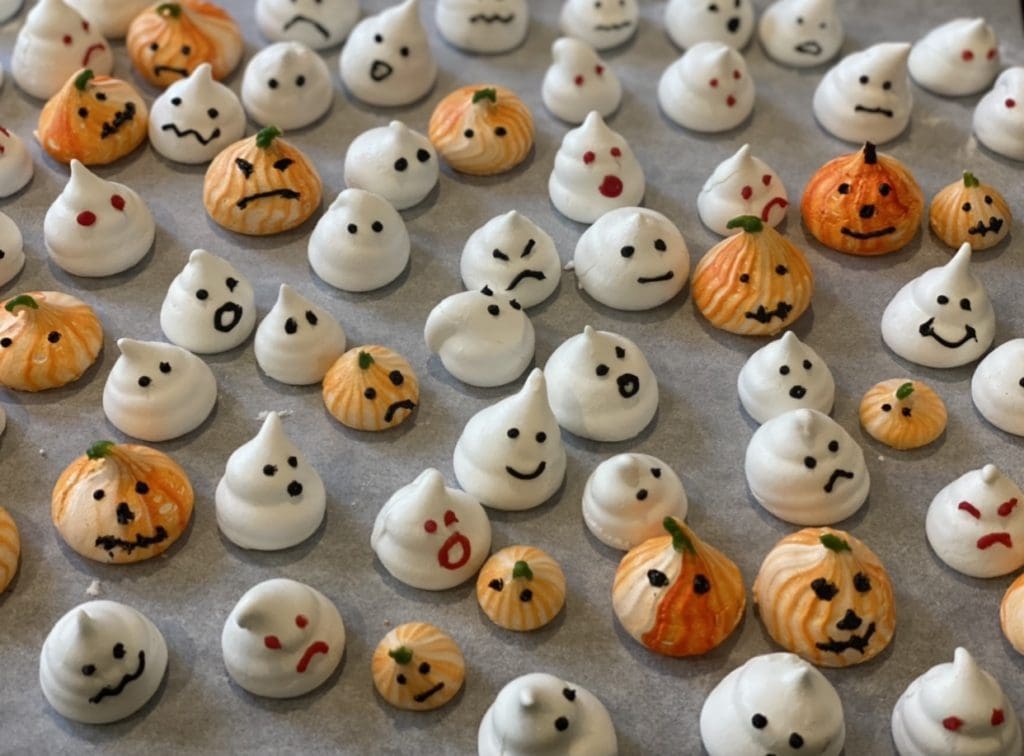
Optional – For the pumpkin, use a skewer to apply orange food colouring into the piping bag lengthwise. Place half of the meringue in the piping bag and pipe 1cm size ghosts or pumpkins on the prepared tray. You can pipe them close to each other but not touching as they shouldn’t expand too much. Bake them for 20 to 30 minutes or until they are dry to the touch, and easy to lift from the baking paper. Leave the meringues cool completely in the oven, with its door ajar. This usually takes 3 to 4 hours, or you can leave it overnight. Draw faces on the pumpkins and ghosts.
Leftovers – Place the Halloween Meringue cookies in an airtight container at room temperature. They should keep for up to 3 weeks.
Would you love to wake up to no fuss, delicious and EASY WAFFLES? try out this recipe, you won’t regret it. If you want to fancy it up a bit, try serving it with this luscious EASY STRAWBERRY COMPOTE
Nutrition Information
Nutrition information is estimated using a third-party calculator and should be used as a guide only.
Australian Measurements
All measurements on this website use Australian standard cups and spoons. For conversion details, see my Australian Cooking Measurements page.
I’d love your feedback!
If you made this recipe, please leave a star rating and comment below; it really supports my blog and helps others find the recipe. Your email address is required to comment (to prevent spam) but will not be published. If you share your dish on Instagram, don’t forget to tag me. I’d love to see it! @3catsfoodie
Cheers – Cat T
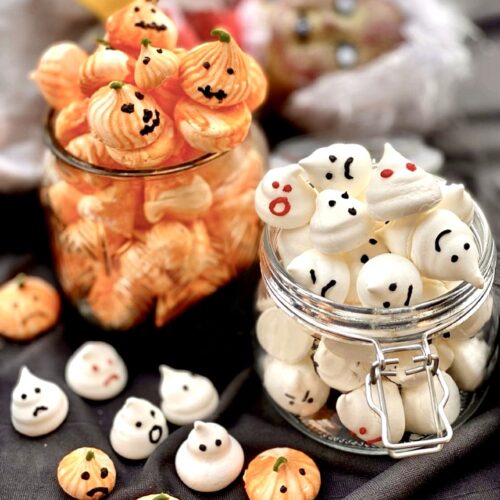
Halloween Meringue Cookies (Ghosts and Pumpkins)
Ingredients
- 300 gm sugar (NOTE 1)
- 150 gm egg whites (approx, 5 to 6 large eggs) (NOTE 2)
- Orange food colouring (for the pumpkins only) (NOTE 3)
- Black and red Icing gel or pen (NOTE 4)
Instructions
- Preheat oven to 220°C (430°F) or 200°C (390°F) for fan-forced ovens. Use paper towels with lemon juice or vinegar to clean the bowls, whisk, and utensils. Line a large baking tray with non-stick baking paper (parchment paper) for the meringues. Do not grease the tray or the paper because we will use the meringue mixture later to 'glue' the paper to the tray to keep it in place. Place a star tip for the pumpkins or a round tip for the ghosts and place the bags over a tall glass.
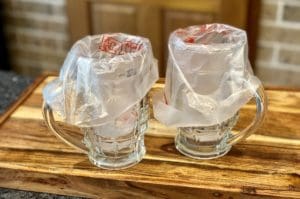
- Line a separate small baking tray with baking paper and place the sugar in the middle. Place this sugar tray in the oven for 7 minutes or until the outside edges of the sugar will melt slightly. Avoid leaving the heated sugar on the bench top for too long before adding it into the meringue. Reduce the heat to 120°C (250°F) or 100°C (210°F) for fan-forced ovens. Leave the oven door open as this will help the oven temperature go down faster.
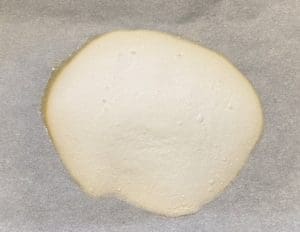
- Whilst the sugar is in the oven, start whisking the egg whites in the stand mixer using the balloon whisk attachment. Start on low speed and gradually increase the speed. Once the egg whites start to foam and small bubbles appear, increase the speed to medium high. Whisk until the egg whites are at stiff peaks, then increase the speed to the highest setting and slowly add the heated sugar in a teaspoon at a time, pausing for a few seconds in between to allow the eggs to get back to stiff peaks.
- Once all the sugar is all added, stop the mixture and scrape the sides of the bowl. Continue to mix at the highest speed for 5 to 8 minutes. Test the meringue mixture by placing a small amount between your fingers. If it's still gritty, keep mixing for a little longer. Once the meringue is smooth and the sugar has dissolved, add in 1 or 2 drops of orange food colouring (if making pumpkins). Whisk it at high speed for a few seconds until the colour has combined evenly.
- Optional – For the pumpkin, use a skewer to apply orange food colouring into the piping bag lengthwise. Place half of the meringue in the piping bag and pipe 1cm size ghosts or pumpkins on the prepared tray. You can pipe them close to each other but not touching as they shouldn't expand too much. Bake them for 20 to 30 minutes or until they are dry to the touch, and easy to lift from the baking paper. Leave the meringues cool completely in the oven, with its door ajar. This usually takes 3 to 4 hours, or you can leave it overnight. Draw faces on the pumpkins and ghosts.

